Managing Traffic Filters: Applications
You must have Root scope to use this feature.
You can create traffic filters that are used by sensor profiles to filter applications before they get to the Data Processor. The filters can be applied to Linux agents, and network and security sensors to drop network traffic that matches your criteria. The application filter applies only to data intended for the Traffic index and has no impact on other traffic (such as syslogs) or Windows agent sensors. After you create these application definitions, you can also group them for more efficient use when configuring your sensors for metadata filtering.
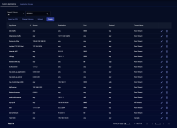
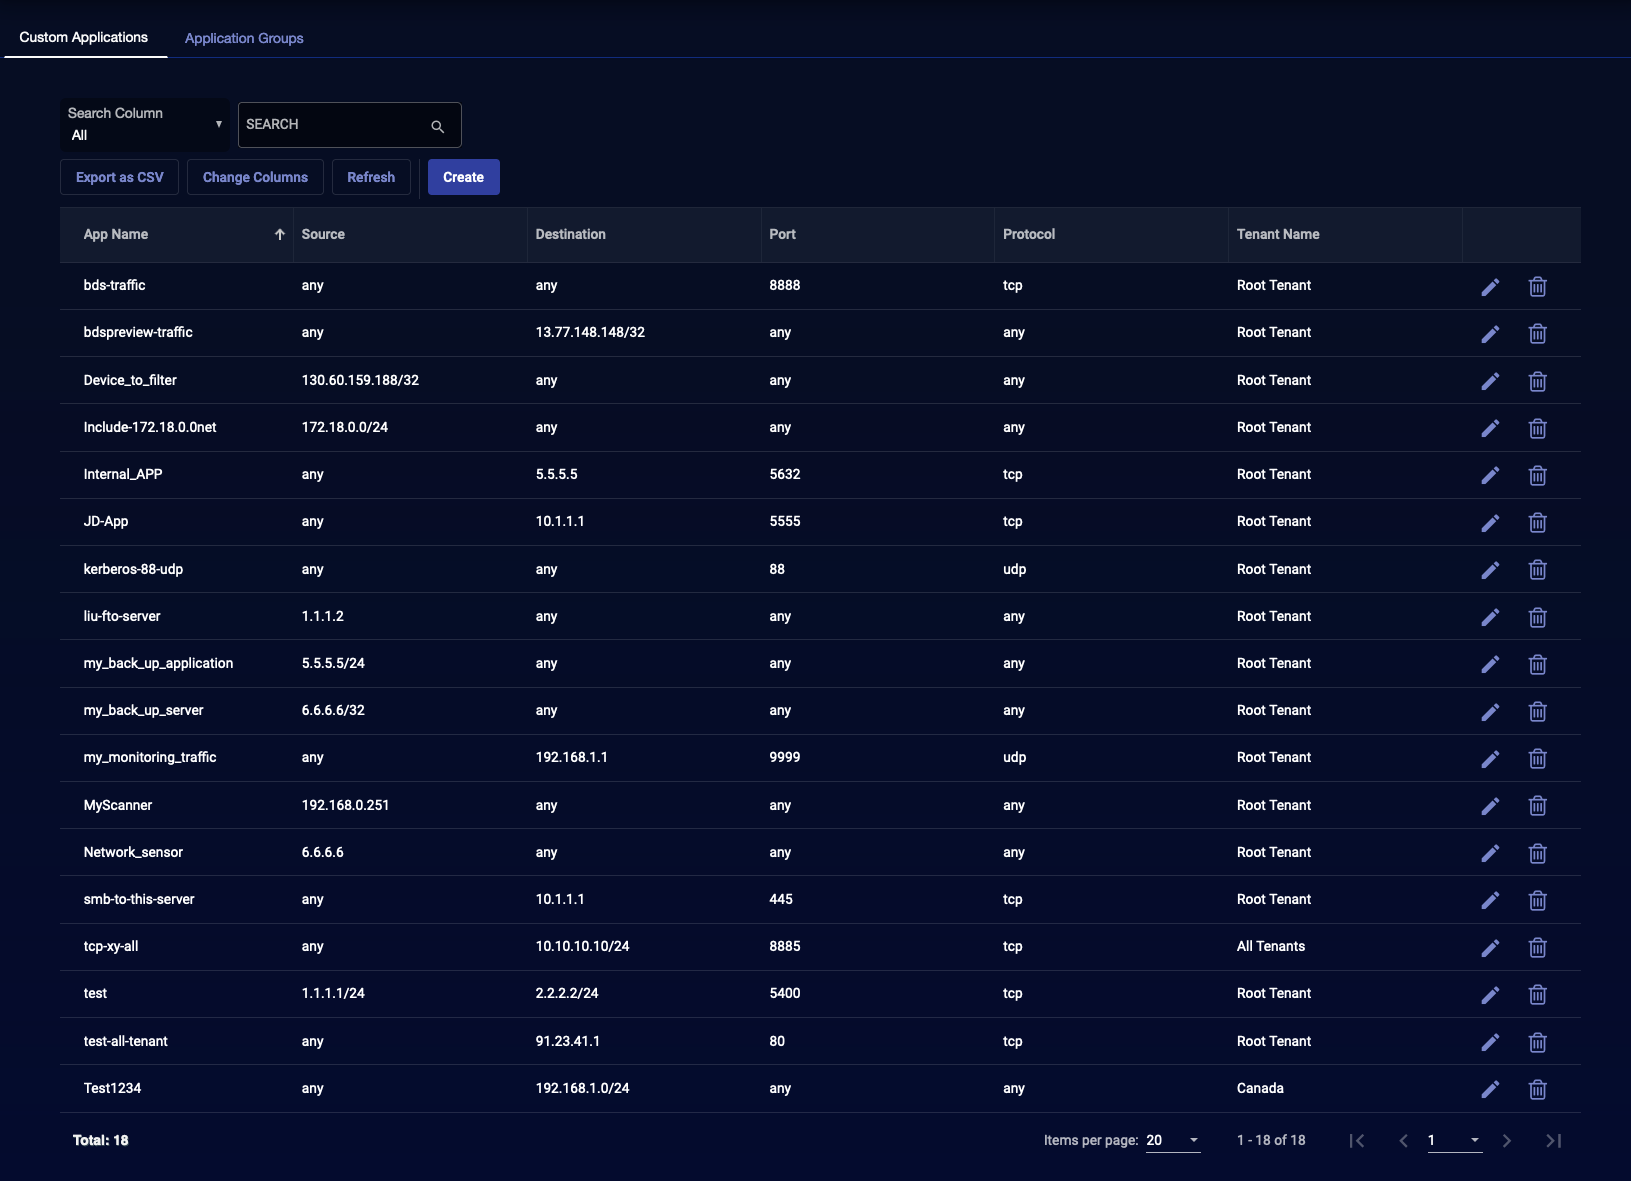
The table in this pane operates the same as all other tables in Stellar Cyber. You can sort, add, edit, and delete, and export the displayed list.
To create or edit an Application filter:
-
Click System | Collection | Traffic Filters. A panel for managing the traffic-based Application filters is displayed.
-
Click Create to add a filter (the Add Custom Application screen appears) or click the pencil button to edit a row.
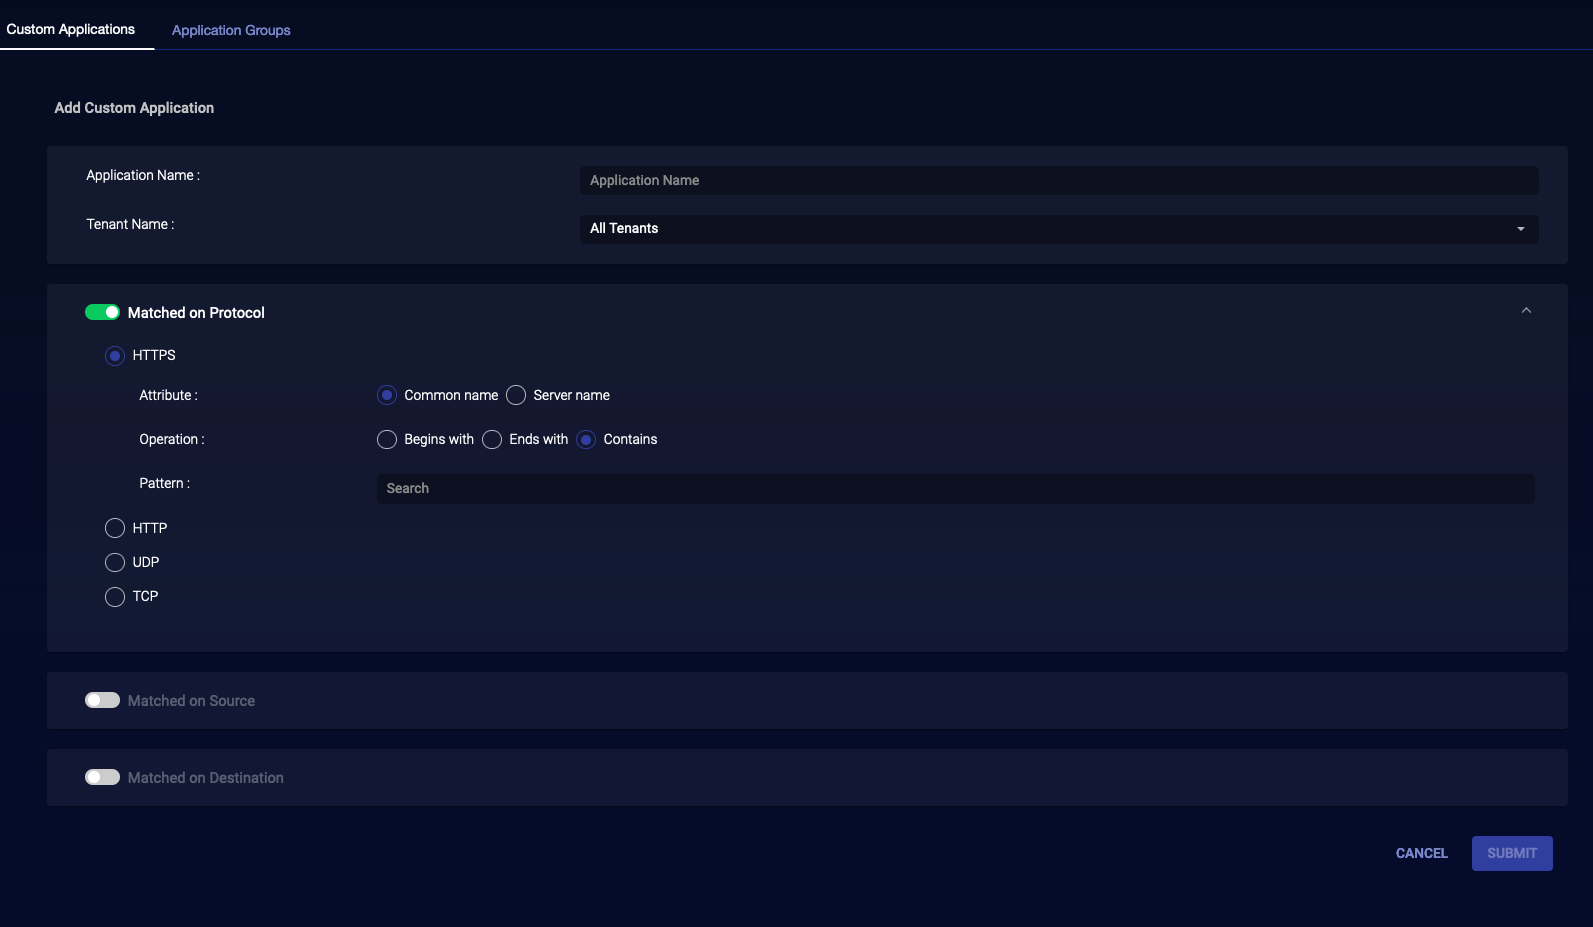
- Enter the Application Name. This is the name of the filter that appears when you assign it in a sensor profile.
-
Choose the Tenant Name. You can choose a specific tenant or All Tenants.
-
Define the filter using a combination of Protocol, Source IP address, and Destination IP address. These fields are available as follows:
-
When Matched on Protocol is set to HTTP or HTTPS, you use the Attribute, Operation, and Pattern fields to define your filter. The Matched on Source and Matched on Destination options are not available when Matched on Protocol is set to HTTP or HTTPS.
-
When Matched on Protocol is set to UDP or TCP, you can use either one or both of the Matched on Source and Matched on Destination options to specify the address to match for the filter.
-
-
If you set Matched on Protocol to either HTTPS or HTTP, set up a pattern match as follows:
-
For HTTPS, choose whether to match a pattern in a Common name or a Server name. For HTTP, choose whether to match a pattern in a URI or a Server name.
-
Specify whether the string to match Begins with, Ends with, or Contains the specified pattern.
If two traffic filters are configured with the same pattern but use different operators (Begins with, Ends with, or Contains), Stellar Cyber prioritizes the operators as follows, from highest to lowest – Begins with, Ends with, Contains.
For example, if you create separate filters for a pattern that ends with mydomain.com and a pattern that contains mydomain.com, any network traffic with this string present will match the ends with filter because that filter has higher priority. -
Use the Pattern field to specify the string to match.
-
-
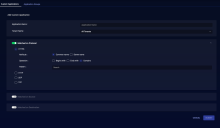
If you set Matched on Protocol to either UDP or TCP, you can use either one or both of the Matched on Source and Matched on Destination options to specify the address to match for the filter.
- A Matched on Source filter matches based on the source IP address of the packet. Enter the Source IP/Mask in CIDR format.
-
A Matched on Destination filter matches based on the destination IP address and/or port of the packet. Use the Define by specific IP and/or Define by specific Port fields to define the filter.
If you use one of the Matched on Source/Destination fields, but not the other, the other is presumed to be set to Any. For example, if you set Matched on Source to 192.168.1.25/24 and leave Matched on Destination unspecified, all traffic from 192.168.12.25/24 is matched.
-
Click Submit. The filter is immediately available, but is not active until you include it in a sensor profile.
Although the new filter is active as soon as it is bound to a sensor profile, it can take a few minutes before Stellar Cyber shows matching data under the new application name configured for the filter in aella-adr-* (for example, My_Traffic_Filter) instead of an internal name (for example, HTTPS-20000).
Applying Traffic Filters
-
You can add the filter to a modular sensor profile under Feature Customization | Network Traffic| Application Metadata | Exclude certain applications.
-
You can add the filter to a standard sensor profile under Feature Customization | Network | Application Metadata | Exclude certain applications.
