Launching the Worker Node Instances in AWS
Use the following procedure to launch and configure worker node instances using the Stellar Cyber DP AMI:
Use our example as a guideline, as you might be using a different software version.
-
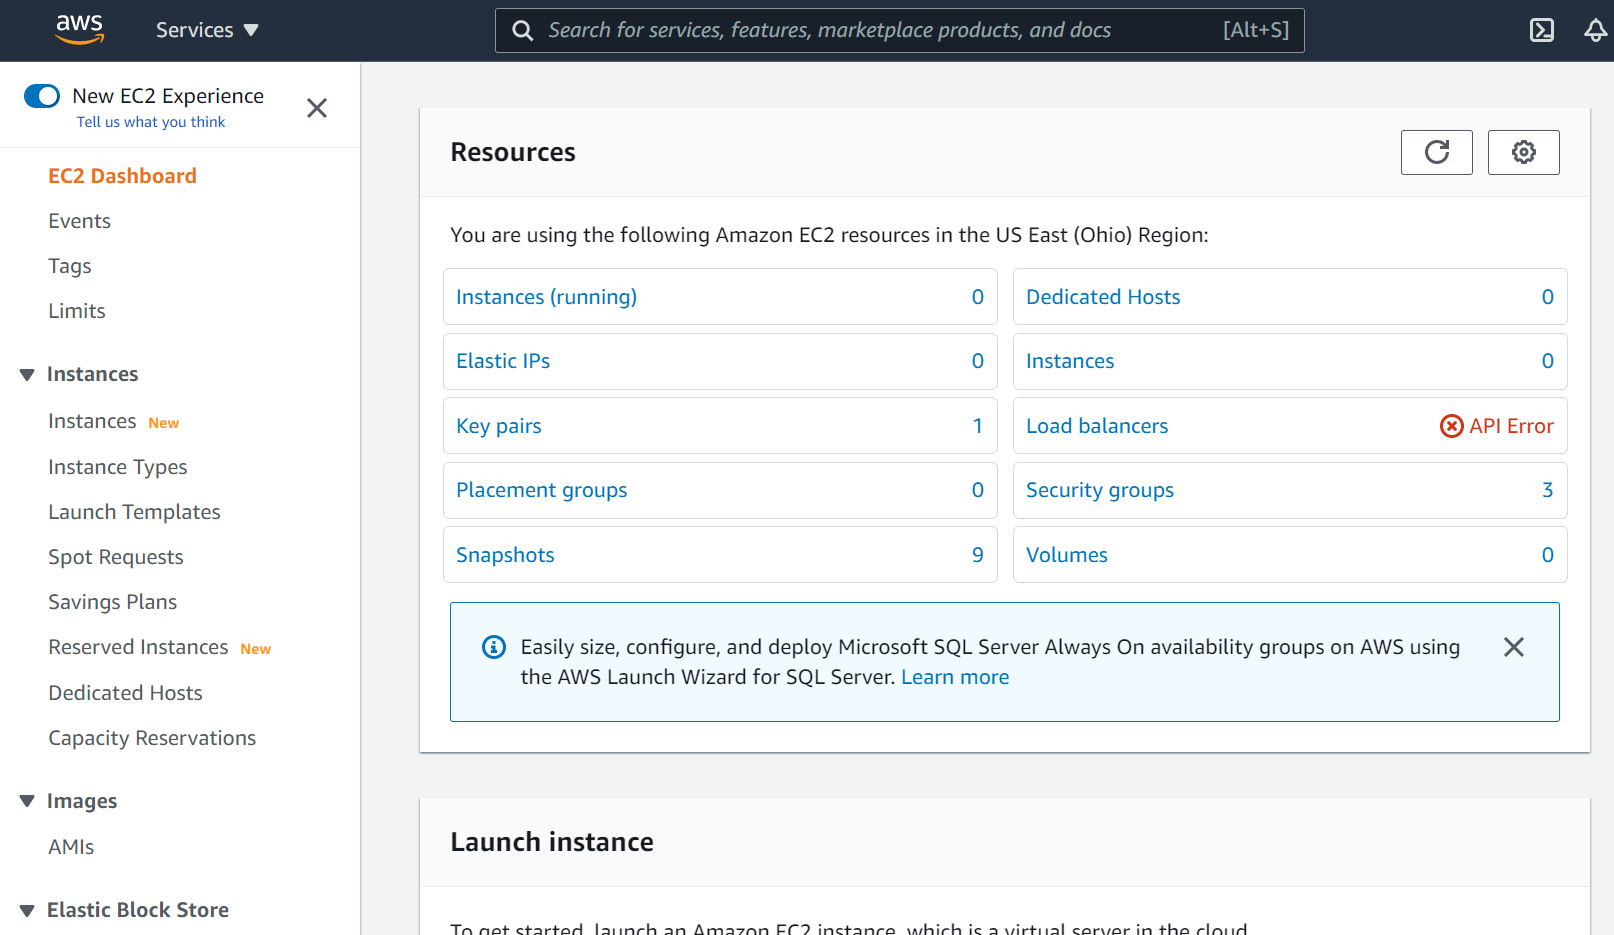
Log in to your EC2 Dashboard.
-
Click on AMIs, under Images.
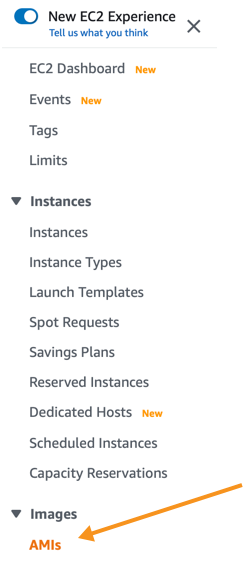
A list of existing AMIs appears.
-
If you don't see any products, click the drop-down next to the search bar and choose Private images.

If you still don't see any products, make sure your region setting is correct.
If you still don't see any products, contact technical support.
-
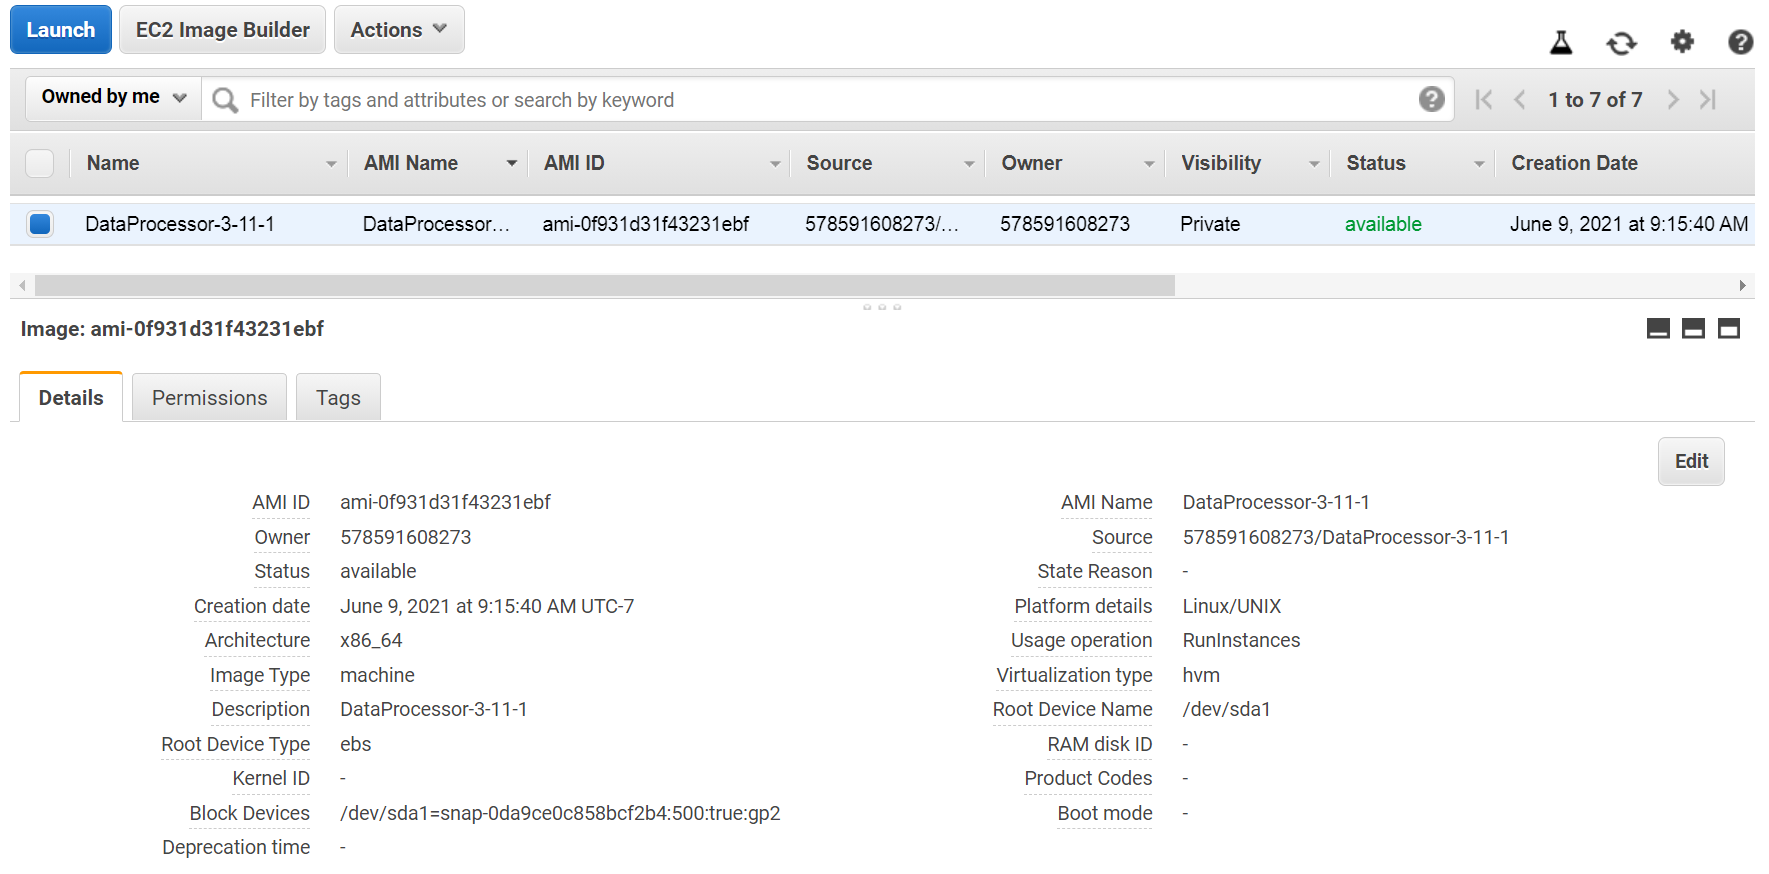
Locate the AMI for the Stellar Cyber DP. The DP AMI is named using a DataProcessor-x-x-x format, where the x-x-x indicates the version number (for example, DataProcessor-4-1-1).
You use the same DP AMI regardless of whether you are deploying a DL, DA, or worker node. Later on, you'll assign a role specifying what the VM actually does.
-
Click the check-box to the left of the DP AMI. The Launch button activates and the details appear. For example:
-
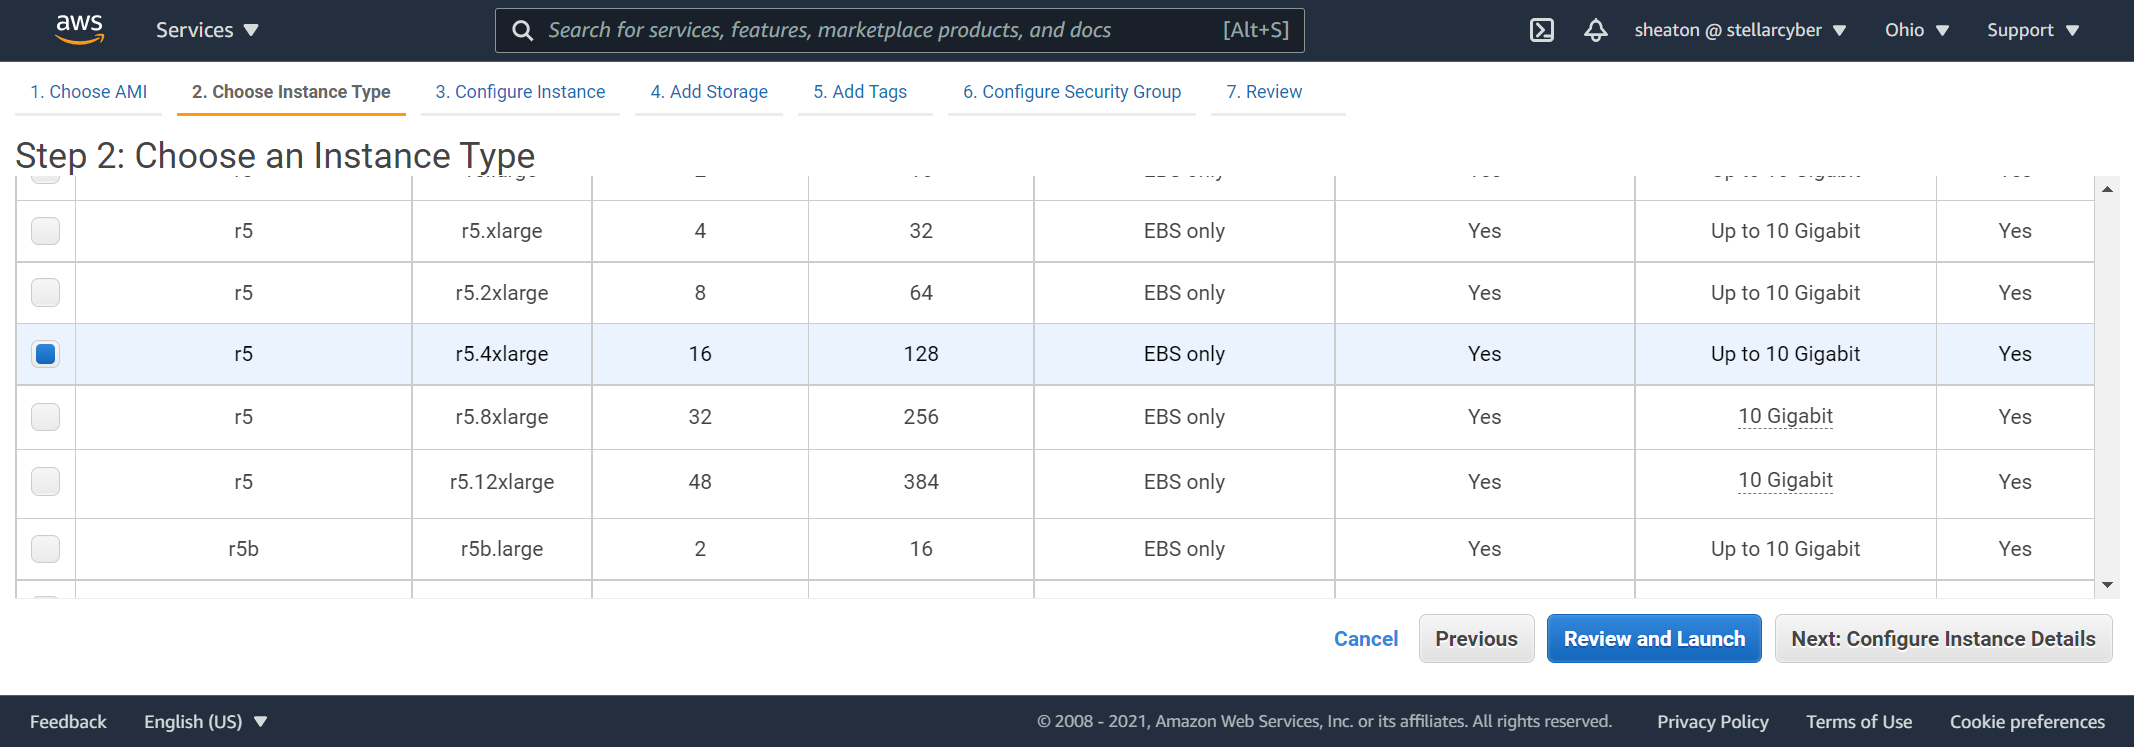
Click Launch. The Choose an Instance Type page appears.
-
Choose the instance type corresponding to the type of VM you are launching, as follows:
-
DL-worker – r5.4xlarge or higher
-
DA-worker – m5.4xlarge or higher
Smaller instance types are not supported.
-
-
Click Next: Configure Instance Details. The Configure Instance Details page appears.
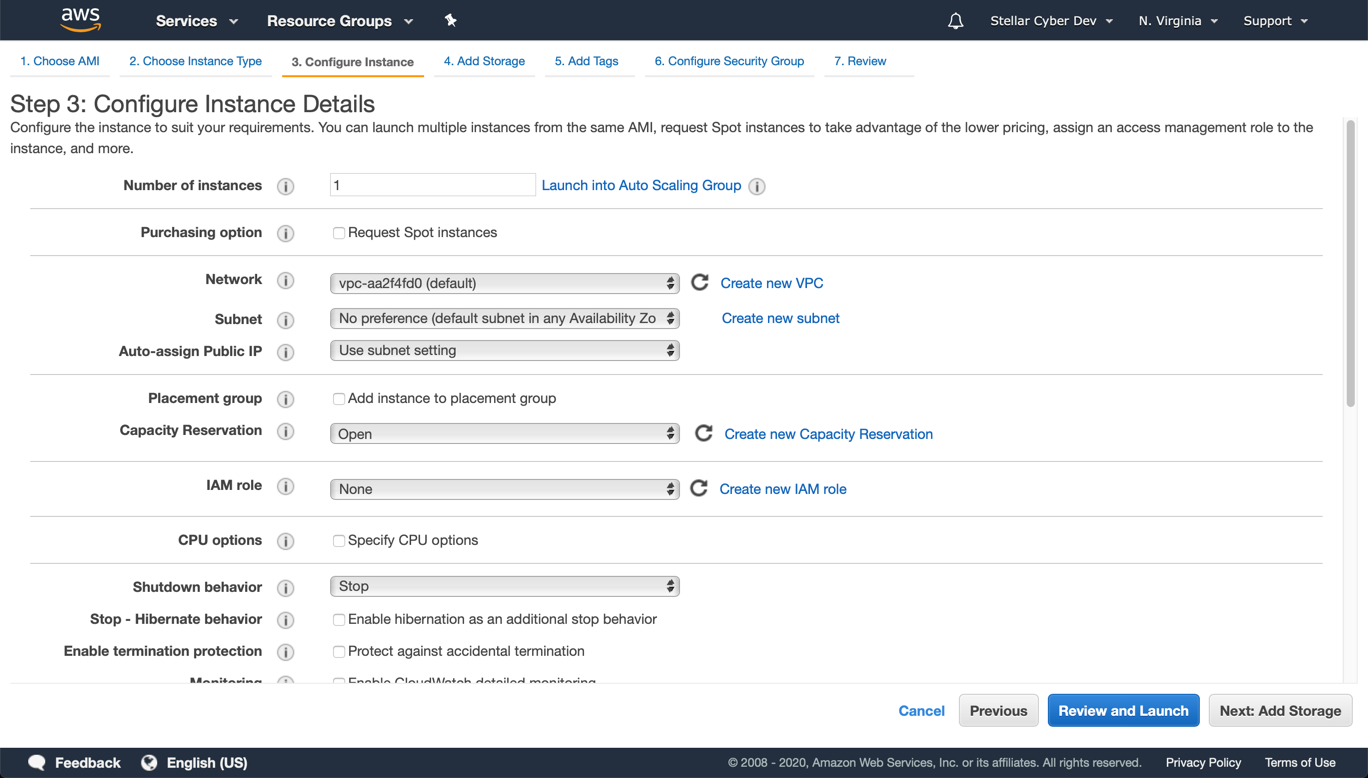
In most cases, Stellar Cyber recommends keeping the default settings, though you may have a specific network and subnet in mind for the VM. In addition, the DL-m must have a public IP address if you want to be able to access the Stellar Cyber user interface from the internet.
-
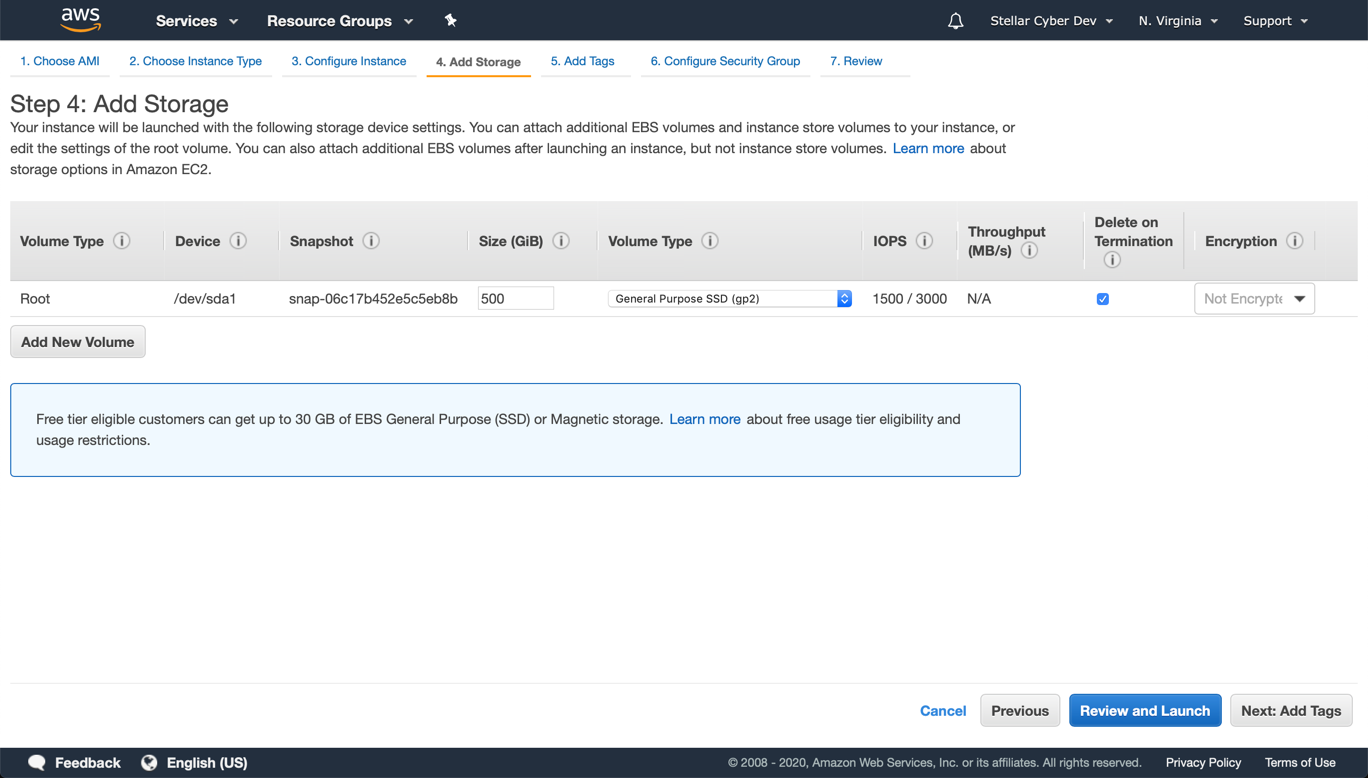
Click Next: Add Storage. The Add Storage page appears.
-
If you are launching a DL-worker node, add a second storage disk as follows:
-
Click the Add New Volume button.
-
Set the Size dropdown to between 1024 and 2048.
-
Leave the other settings at their defaults and click Next: Add Tags.
-
-
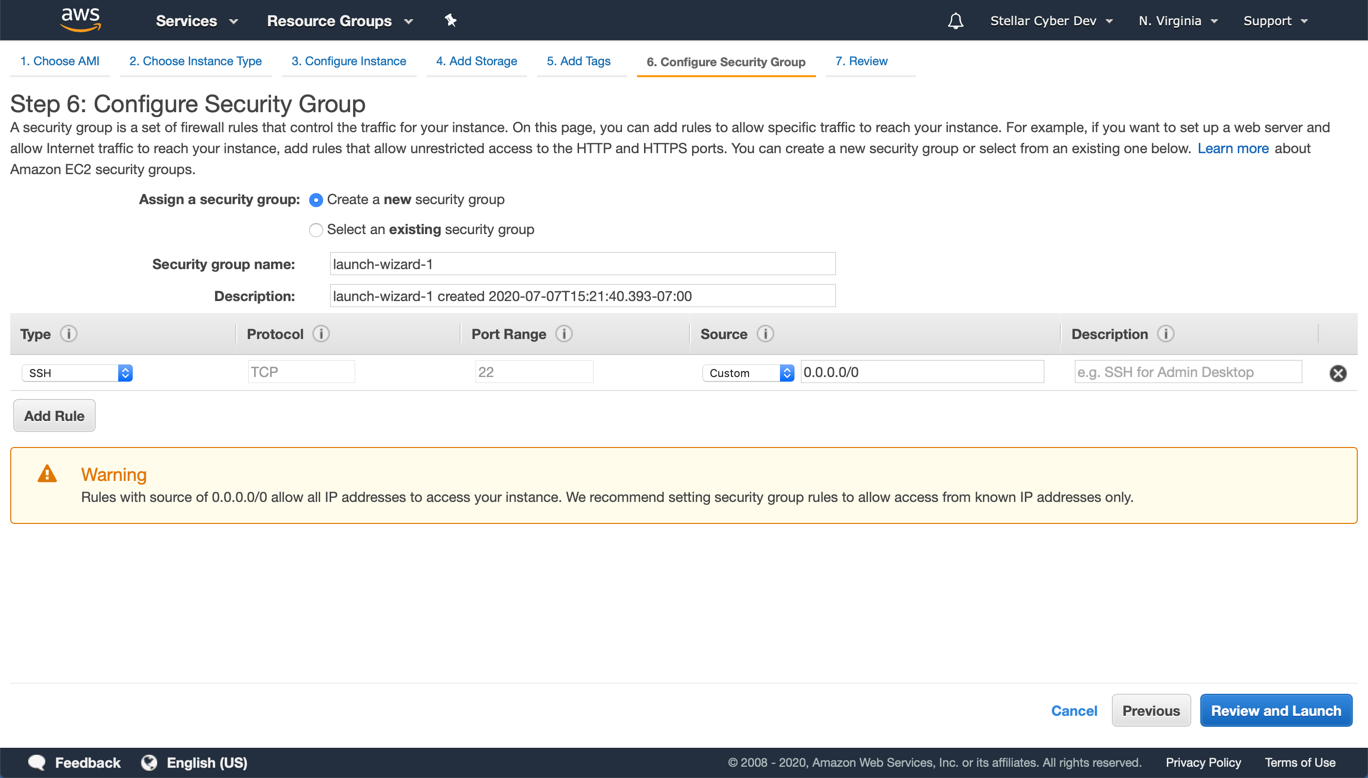
Stellar Cyber does not use tags. Click Next: Configure Security Group. The Configure Security Group page appears.
-
Security groups define which local ports and remote hosts can reach the VM. You can either create a new security group or use the Select an existing security group option to choose a group from a previous installation.
Regardless of whether you create a new security group or choose an existing one, keep in mind the following:
-
AWS enables SSH by default.
-
The group must have inbound rules to allow your sensors to communicate with the DP.
-
All TCP ports must be open between the internal network addresses of cluster VMs. For example, if the DL-m is on 172.31.7.0/24 and the DL-worker is on 172.31.10.0/24:
-
The DL-m must have a rule that allows all inbound TCP traffic from the 172.31.10.0/24 subnet.
-
The DL-worker must have a rule that allows all inbound TCP traffic from the 172.31.7.0/24 subnet.
-
-
- Enter the Security group name.
-
Click Review and Launch. Make changes if necessary.
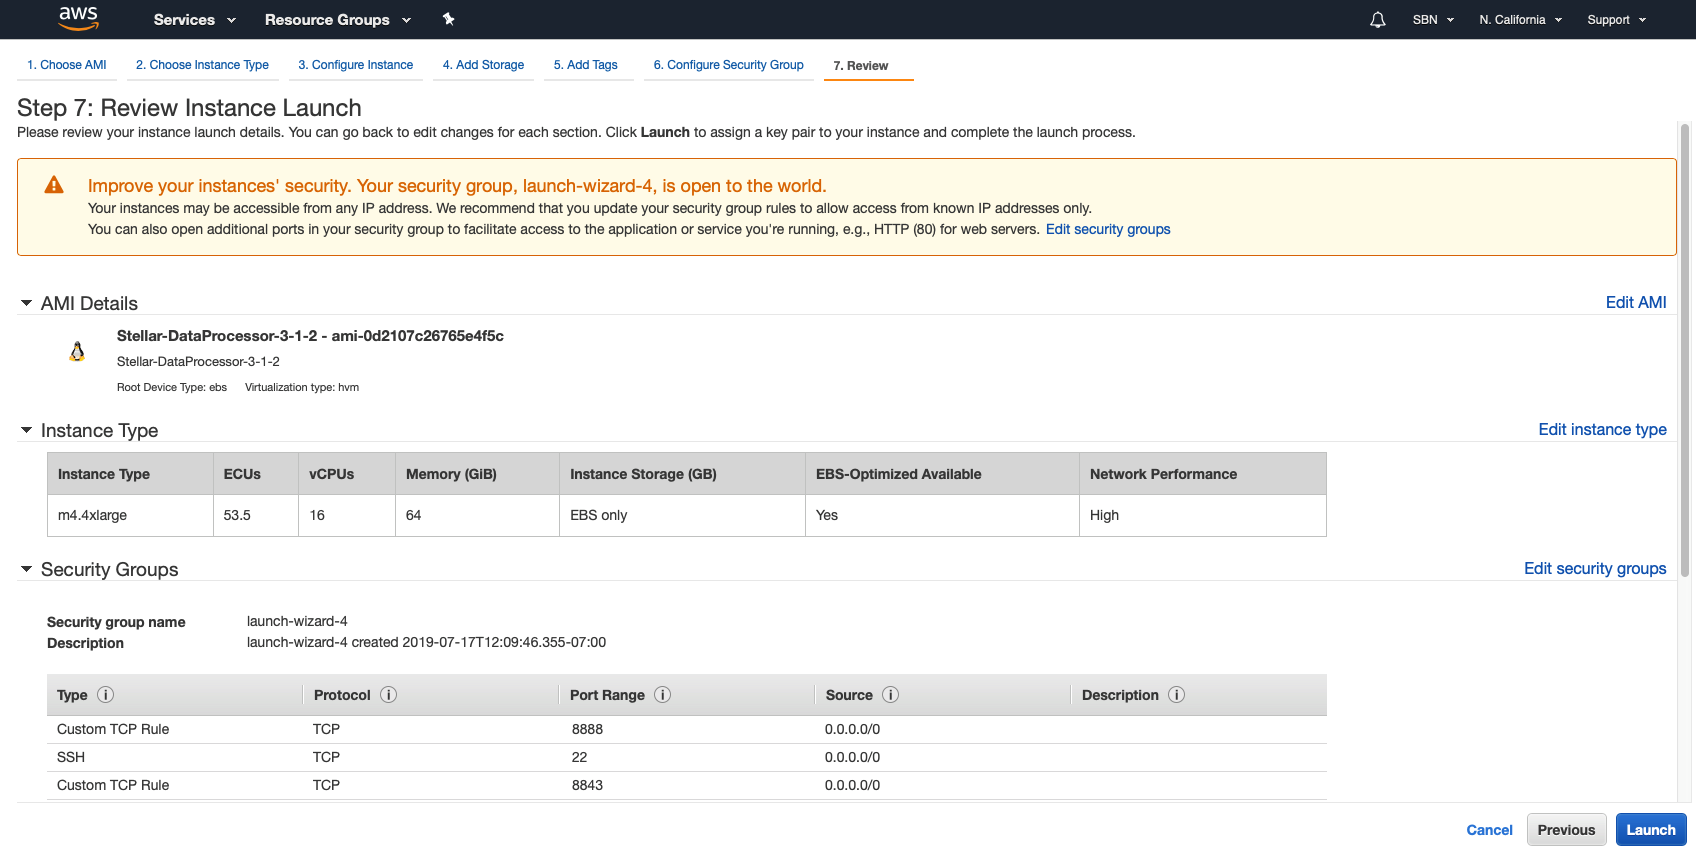
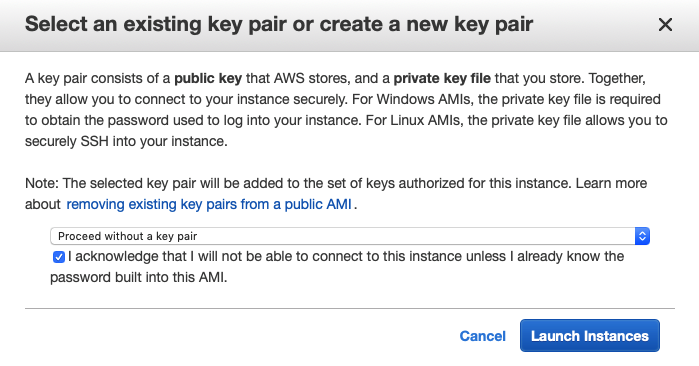
- Click Launch. The Select an existing key pair screen appears. Stellar Cyber is configured with a user name and password, so does not need a key pair.
- Choose Proceed without a key pair.
-
Click the check-box to acknowledge.
-
Click Launch Instance.
You can launch the image but you cannot copy it. This means that the VM must be deployed in the AWS region where the image was authorized.
-
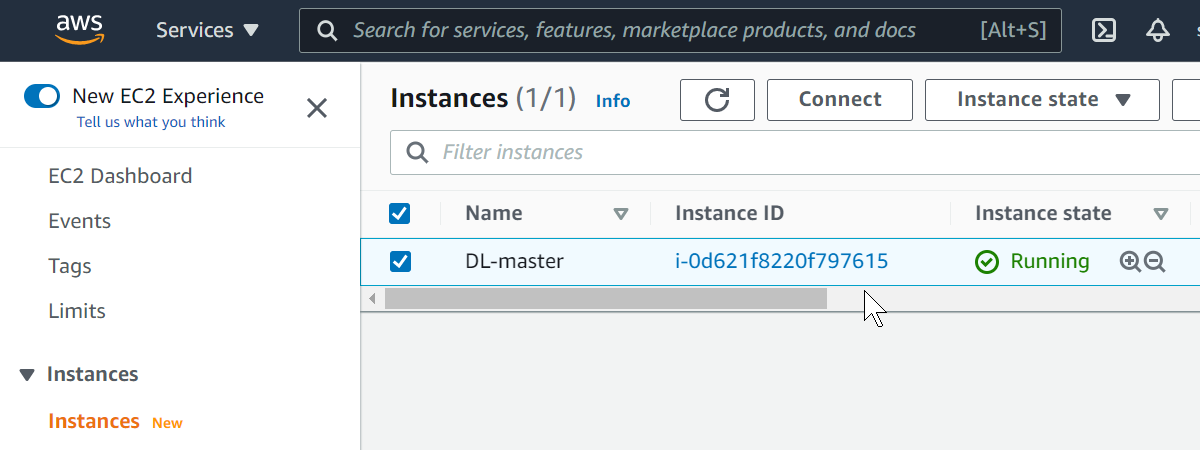
The instance launches. Click on the Instances entry in the left panel to view your running instances.
-
Click the edit button in the Name column and assign a meaningful name to your instance to remind you of its role. For example, DL-master, DA-master, DL-worker, and so on.
-
Repeat this procedure for the DA-worker VM.
The DL-worker and DA-worker VMs are now running in the AWS cloud. You can configure them in their respective CLIs.
