Configuring XDR Connector

This topic covers a feature that is not available for all customers yet. See Early Access Program Features and Topics Under Development. XDR Connector is available for Limited Availability.
You must have Root scope to use this feature.
XDR Connect is a webhook ingestion method that makes it easy to integrate external data sources. It provides a scalable and standardized framework for rapid connector development and consistent data ingestion. Use XDR Connect to seamlessly integrate third party data sources into Stellar Cyber.
An XDR connector is a webhook-based custom connector. You configure the connector in the user interface, normalize the data, then POST events using the custom-generated webhook URL.
The XDR connector can be used to integrate a new data source particularly when:
-
the data is in JSON format
-
the third party vendor product can send the JSON data directly to a webhook URL
-
the ingestion does not need custom normalization or enrichment
The data ingested through the XDR connector does not support customized normalization and enrichment, so the ingested data does not support third party alert integration, ML-based detections, or built-in analytics. You can use Automated Threat Hunting (ATH) rules for additional detections and custom alerts.
If the data requires full normalization, enrichment, third party alert integration, or must be retrieved through a vendor API rather than pushed via a webhook, you can use a custom script to post the data in JSON format or you can request a new native API connector from Stellar Cyber.
To participate in the Early Access Program, contact your account manager. To request an API connector from Stellar Cyber, you can submit a ticket or contact your Customer Support representative.
See the following:
- Recommended Prerequisite
- Creating an XDR Connector
- Testing Data Ingestion
- Editing a Connector
- What is Supported
Recommended Prerequisite
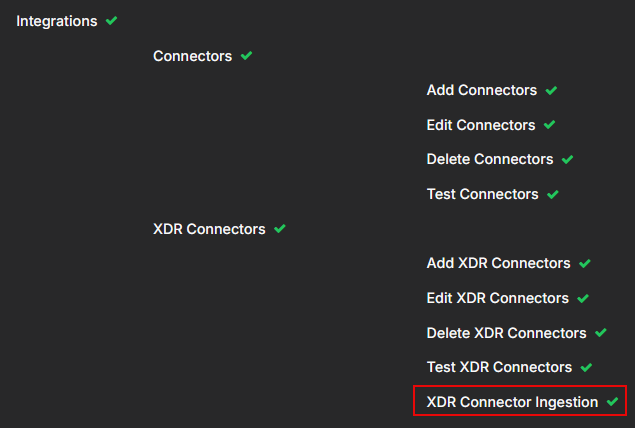
It is recommended that you use Role-Based Access Control (RBAC) to configure a new role, such as XDR Ingestion Only. This new role is restricted to only have the XDR Connector Ingestion capability, which is the Webhook (HTTP) POST capability.
Administrators (Super Admin or Platform Admin) can set up an ingestion-only API key to restrict the amount of capabilities associated with that key.
API keys are identity-based, not connector-based.
For RBAC, navigate to System | ORGANIZATION MANAGEMENT | Role-Based Access Control. See Configuring Role-Based Access Control.
For API keys, click your account name on the menu bar and select Profile. In the User Profile window, click the API Keys tab. See Editing Your User Profile.

Creating an XDR Connector
To create an XDR Connector:
-
Log in to Stellar Cyber.
-
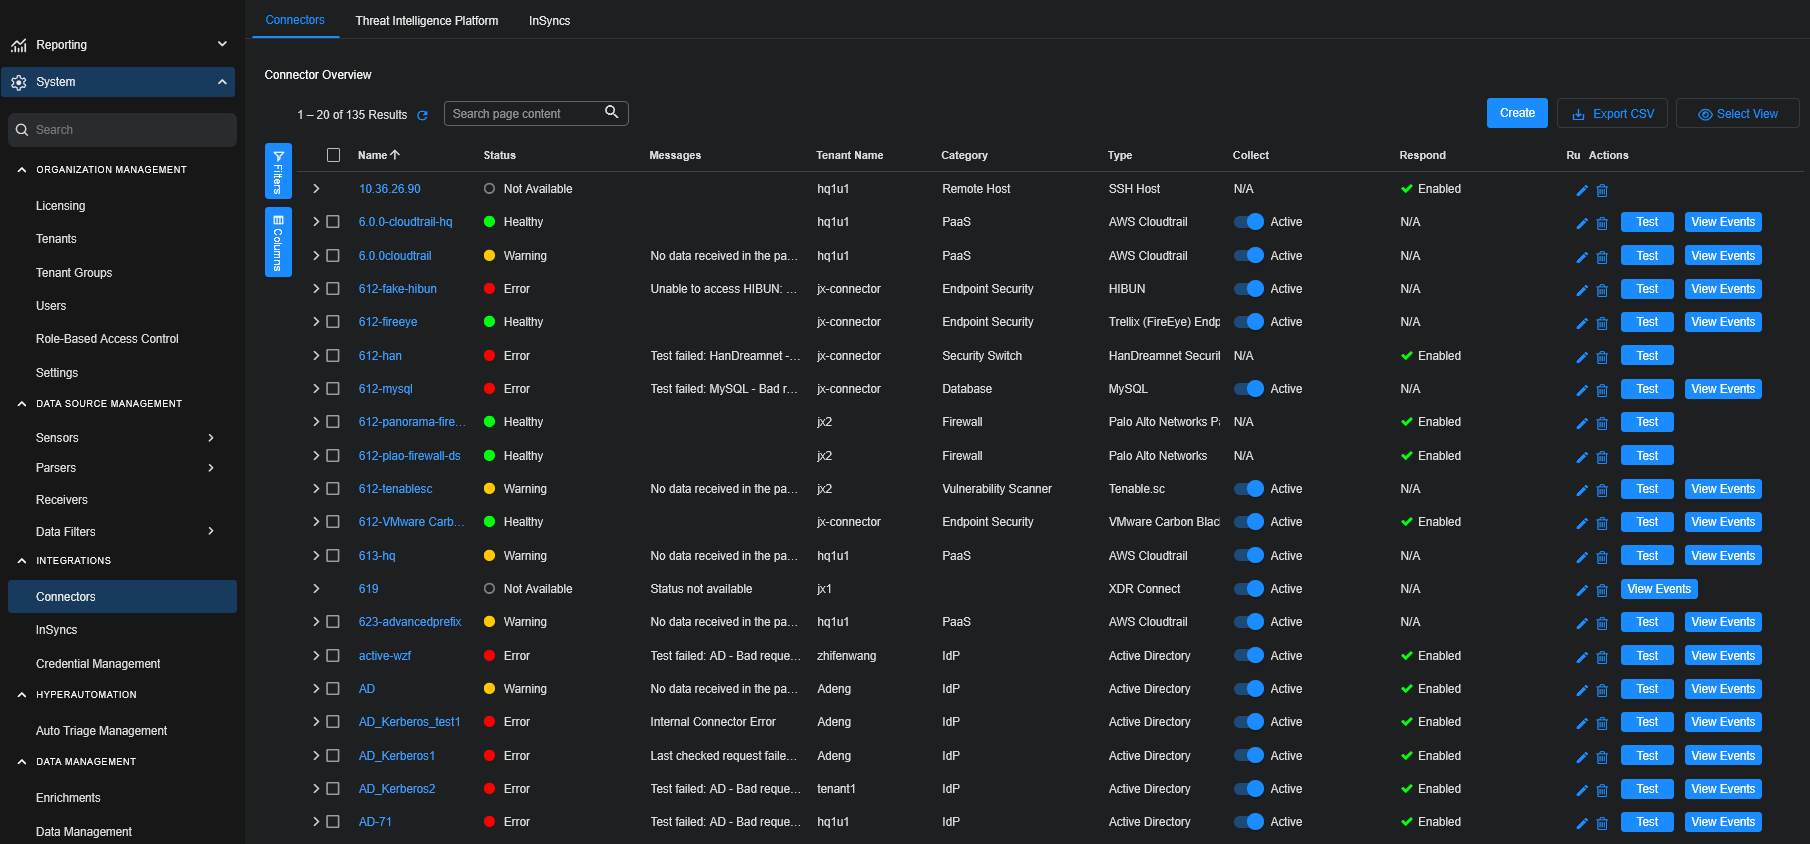
Click System | INTEGRATIONS | Connectors. The Connector Overview appears.
-
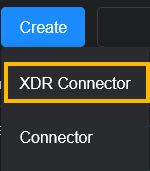
Click Create and select XDR Connector.
-
The configuration wizard opens. There are three main configuration steps: Index Type, Namespace, and Connection & Normalization.
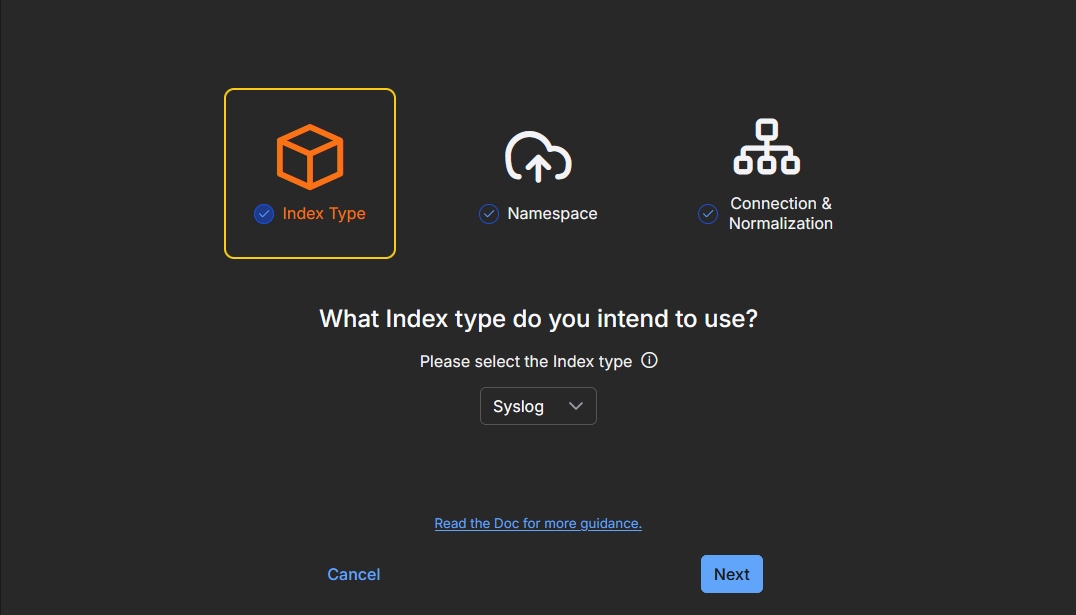
-
The first step for Index Type is already selected. Incoming data will be stored in the selected index. Select an Index type from the dropdown menu based on your data, such as AWS Events, Scans, Traffic, or Windows Events. The default is Syslog.
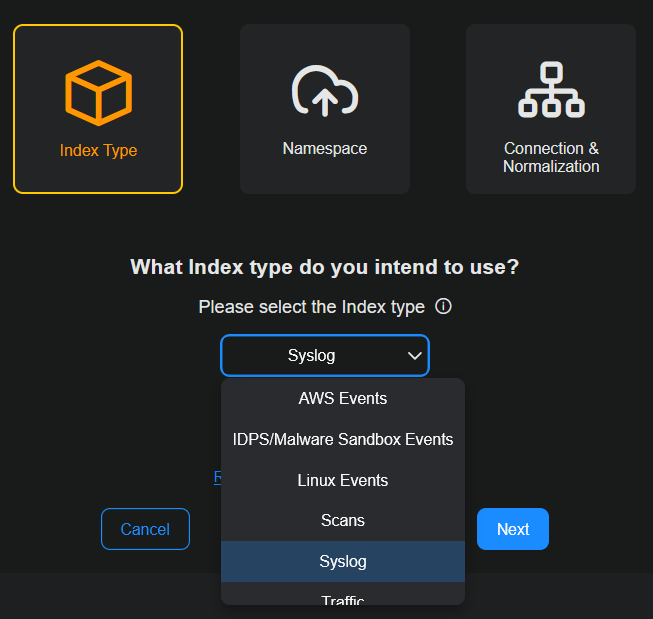
Indexes organize data to speed up searches. The following indexes are available:
Index
Details
Syslog (default) Syslog and Events AWS Events
AWS CloudTrail IDPS/Malware Sandbox Events IDS, Suricata, firewall threats from sensors or log forwarders, Maltrace SDS/Sandbox Linux Events Audit data from Linux agents, Google Workspace, and others Scans Vulnerability scanner results Traffic
Network Traffic, flow traffic from sensors, CloudTrail traffic, firewall traffic logs from sensor log forwarders, DHCP server logs from sensors
Windows Events
User data from Active Directory, Microsoft Entra ID (formerly Azure Active Directory), and Office 365, and Windows logs from Windows agents, Windows System Security logs, and Windows events from third party SIEMs
-
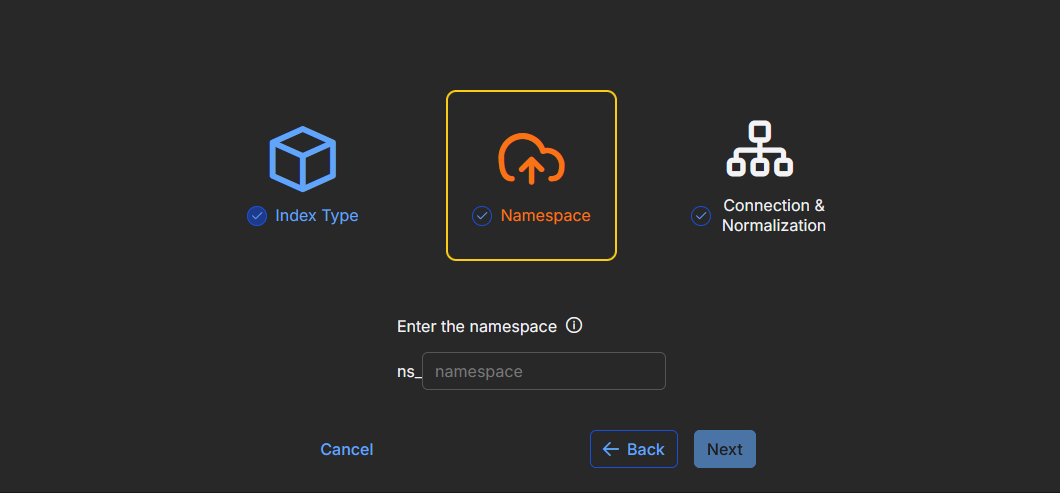
Click Next. The Namespace step is now selected.
-
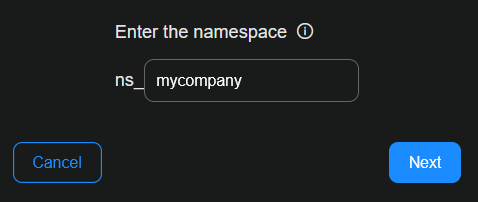
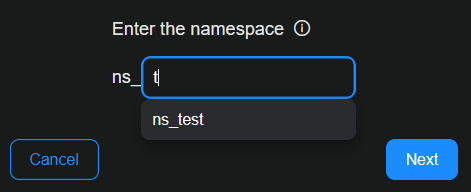
Enter a name for the vendor namespace. Namespace holds ingested data from common sources, in JSON format, for a source vendor. Namespace is a structured way to categorize and organize ingested data based on the originating vendor and product. It has a standardized naming convention, prefixed with ns_.
If there is an existing namespace, it will appear in the dropdown menu as you type.
A namespace is not unique. It can be shared with multiple connectors. The best practice is to keep data sources, such as from one vendor, in one namespace. Examples are Microsoft and Palo Alto.
-
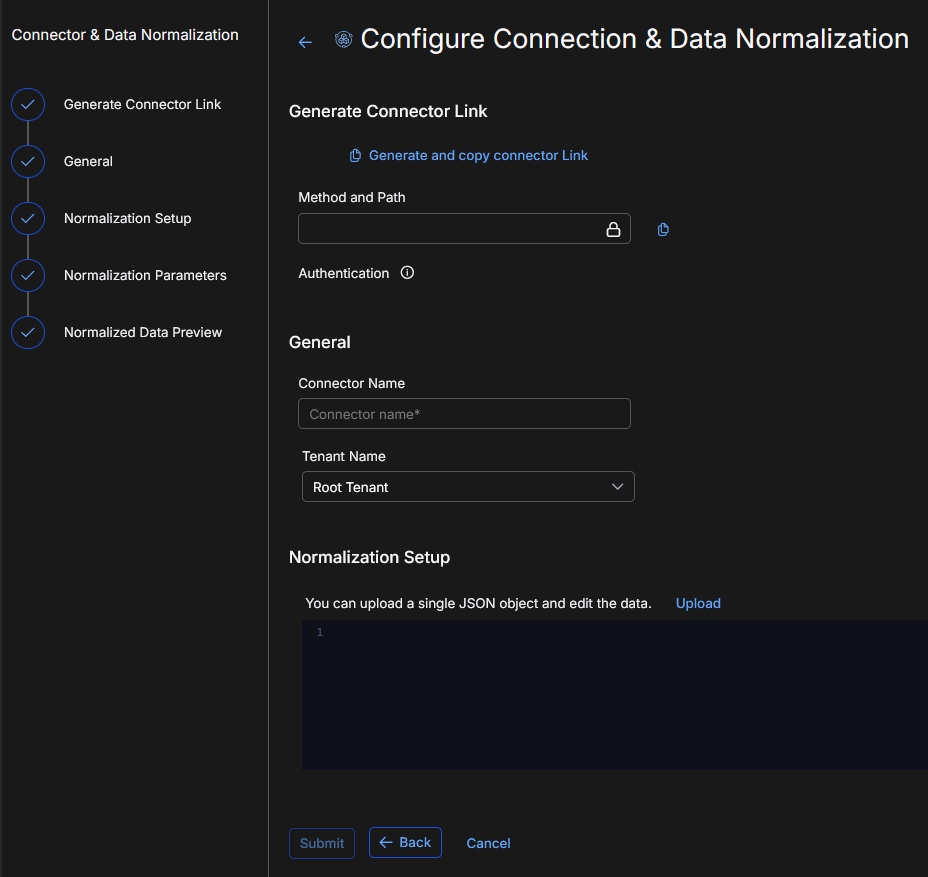
Click Next. The configuration wizard opens to the Configure Connection & Data Normalization page. This page has steps, which are listed on the left-hand side. Use them to configure the webhook connector settings.
-
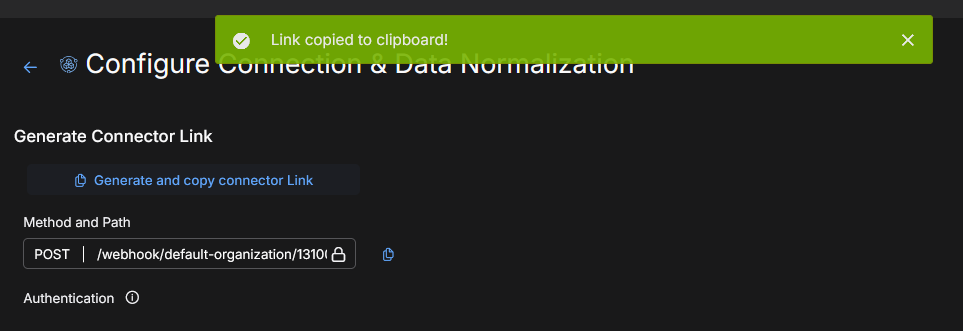
In Generate Connector Link, click Generate and copy connector Link. The system will generate a unique webhook path/link. This is the endpoint where you will post data from third party systems to go into Stellar Cyber.
A successful message is displayed. Also, the Method and Path populates.
Authentication uses your existing API token, which is stored in the API Keys tab of your User Profile. See Managing Users.
-
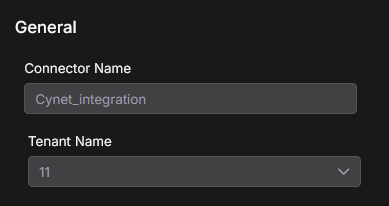
In General, name your connector. Provide a clear and descriptive name to easily identify the connector by name. Use up to 50 alphanumeric characters, (letters, underscores, dashes, and numbers). The connector name must be unique (across all connectors, not just XDR connectors).
-
Select the tenant to ingest data into. If you manage multiple tenants, select one tenant for this connector.
-
In Normalization Setup, click Upload to upload sample data from your source in a single JSON file.
The sample data sets up normalization. It helps with format validation and previewing data ingestion. In addition to uploading, you can also paste sample data into the window and edit the data.
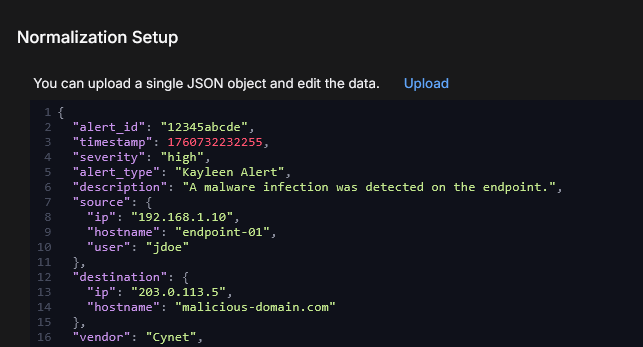
Use the Preview button in Normalized Data Preview to check the JSON syntax and validate the sample data.
-
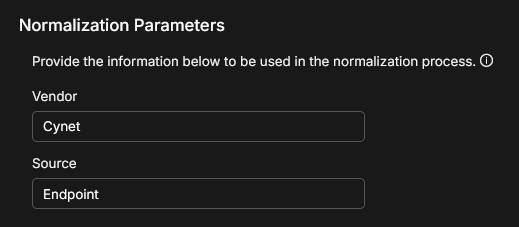
In Normalization Parameters, provide the vendor and source information. Specify the vendor name and data source to enrich metadata and improve event categorization. Use up to 50 alphanumeric characters.
The Vendor is the name of the vendor associated with the data source, such as event or log data. Examples of vendors are: Microsoft_Sentinel, PaloAlto_Prism, and Office365.
-
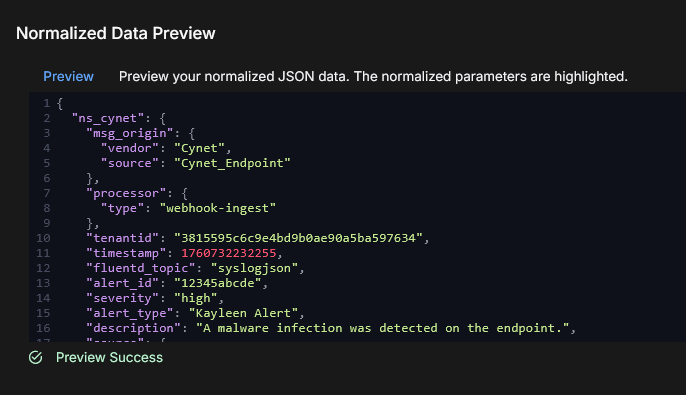
In Normalized Data Preview, you can review the data sample. You can visualize the results and verify the normalized data before submitting. Click the Preview button to validate the data sample. If successful, there is a Preview Success message.
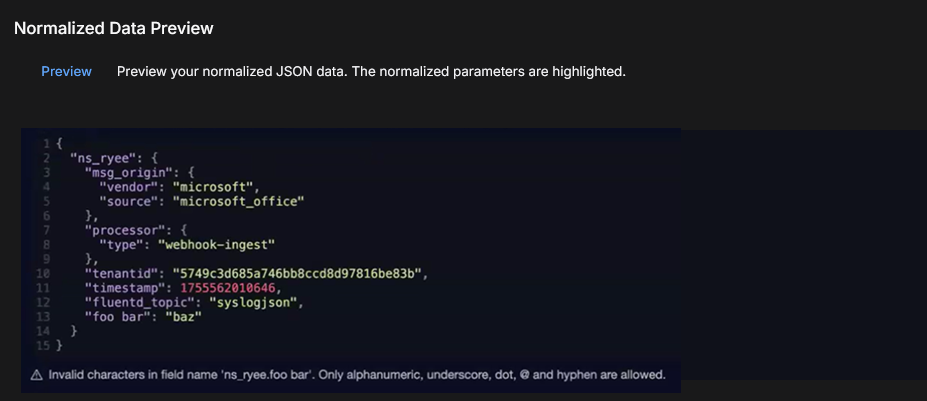
However, the following example shows an error message. See Validation Error Messages for all possible error messages and warnings. You will need to correct any errors before the Submit button is enabled.
-
Click Submit. In the Connector Overview, a successful message is displayed. You can use the XDR Connector you just configured to test data ingestion. See Testing Data Ingestion.
Validation Error Messages
The following error messages are possible during validation of the data sample.
Category of Error Message |
Name of Error Message |
Error Message Details |
|---|---|---|
|
Field Count Limit Errors |
Field limit exceeded |
|
|
Batch field limit exceeded |
|
|
|
Field Type Conflict Errors |
Type conflict within batch |
|
|
Individual field type conflict |
|
|
|
Incompatible field types |
|
|
|
Field Name Validation Errors |
Invalid characters in field name |
|
|
Field name too long |
|
|
|
Field name dot placement: |
|
The following warnings are possible during validation of the data sample.
Category of Warning |
Name of Warning |
Warning Details |
|---|---|---|
|
Type Coercion Warnings |
Type coercion warning |
|
|
Field Value Warnings |
String value too large |
|
|
Large array warning |
|
Testing Data Ingestion
To test data ingestion, post data to the saved webhook URL. For example, you can use Postman, or any other tool that generates HTTP requests, to forward the data to the endpoint.
XDR Webhook Hostname
For the XDR webhook hostname, in general you use the standard domain for your instance in front of the webhook path. For example, if your domain is stellarcyber.ai, an example of the entire URL is:
https://stellarcyber.ai/webhook/xxxxxxxxxxxx
But if you use a Data Analyzer (DA), provide the DA name and port 8889. You can use any DA. For example, if you have a receiver called da1.example.com, the full URL with the hostname and path will include the receiver URL and port, for example:
https://da1.example.com:8889/webhook/xxxxxxxxxxxx
Example of Testing Data Ingestion
To test data ingestion (this example uses Postman):
-
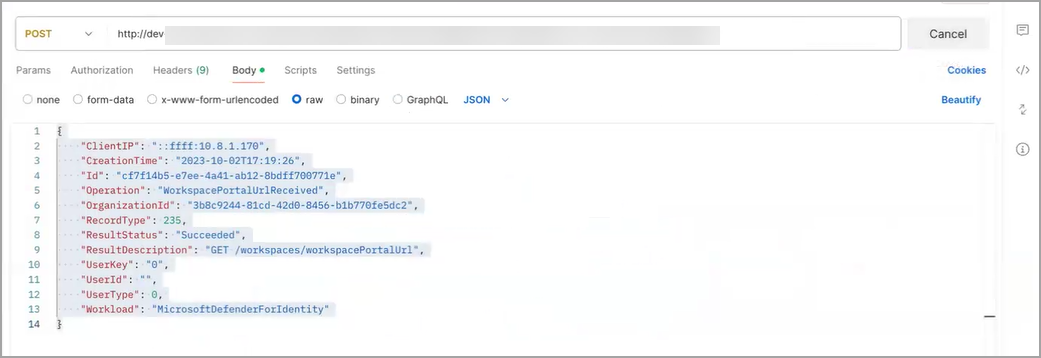
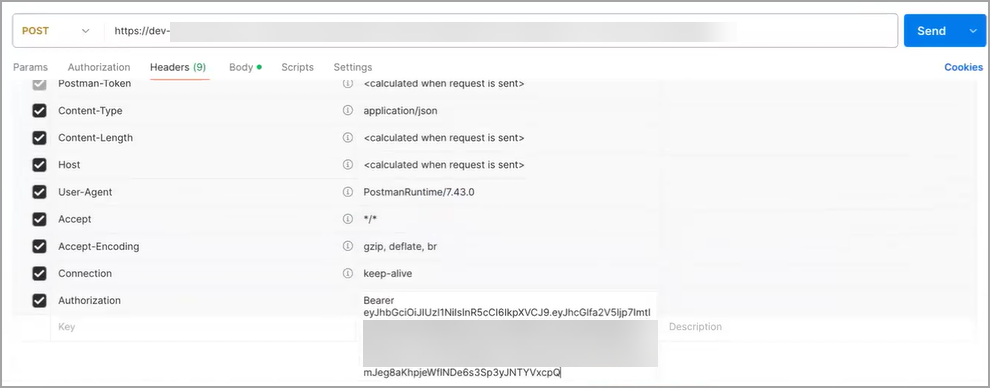
Paste the webhook URL into the POST and set the Body to JSON with the request you are sending. This is how a third party system pushes events to Stellar Cyber.
-
For Authentication, go to Headers and Authorization. The header format is Bearer token. Paste your existing API token.
-
Click Send.
-
In the Connector Overview, locate your configured connector. The Type will be XDR Connect.

-
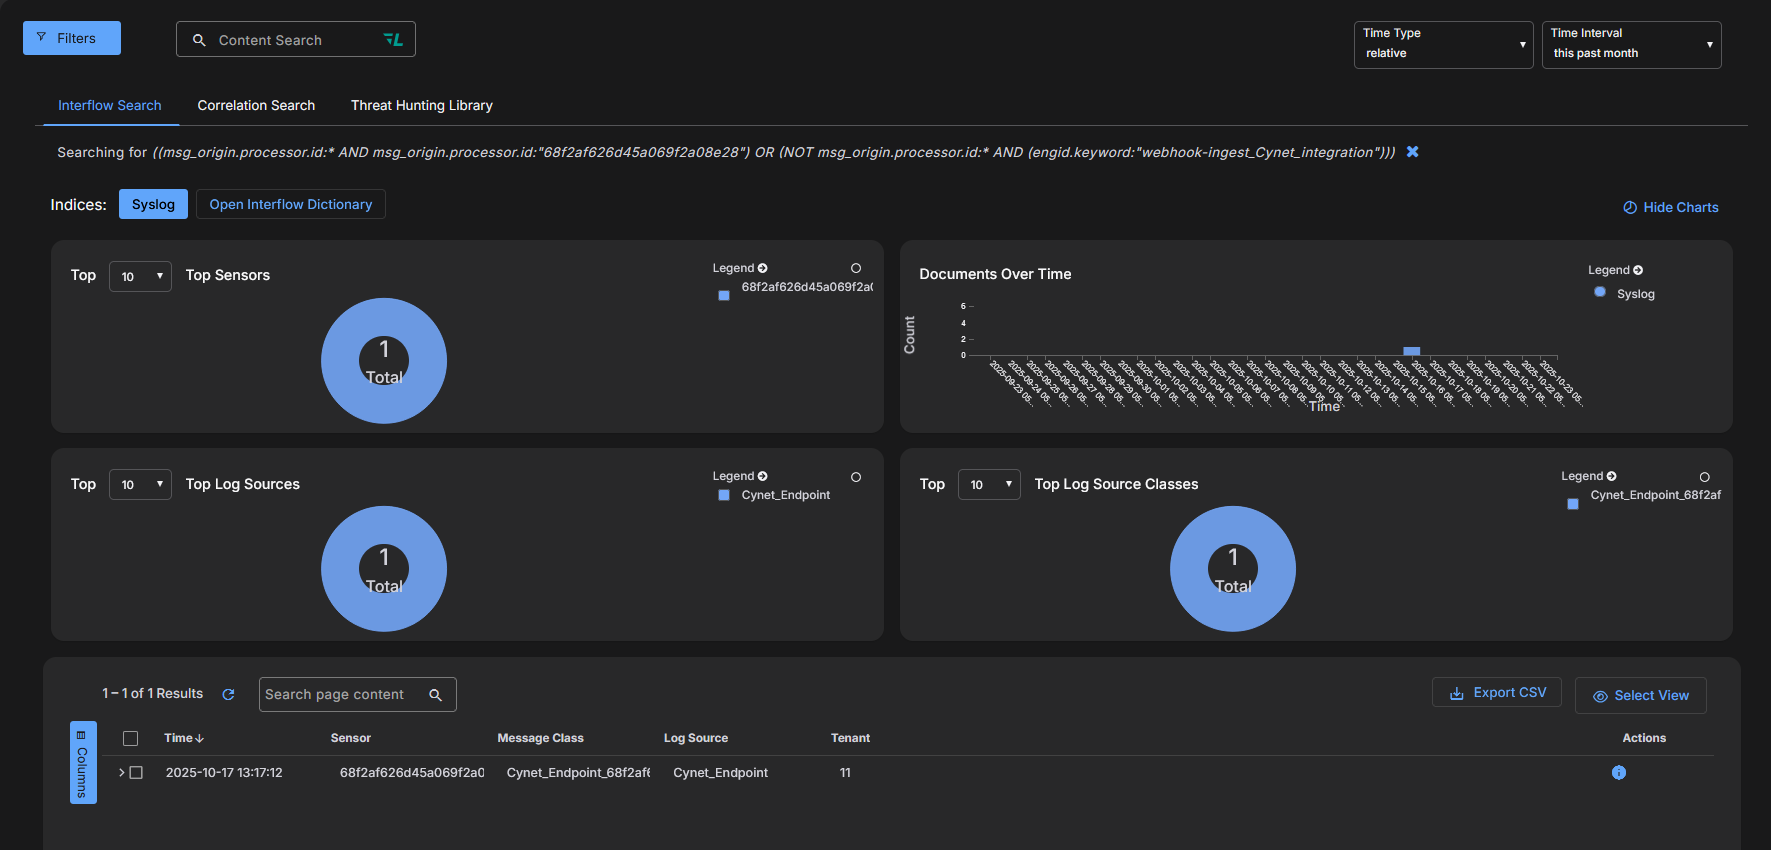
Once data is received, click View Events to see the new events.
-
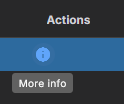
Drill down in the Event Details by selecting More Info. It is located in the Actions column of the connector table.
-
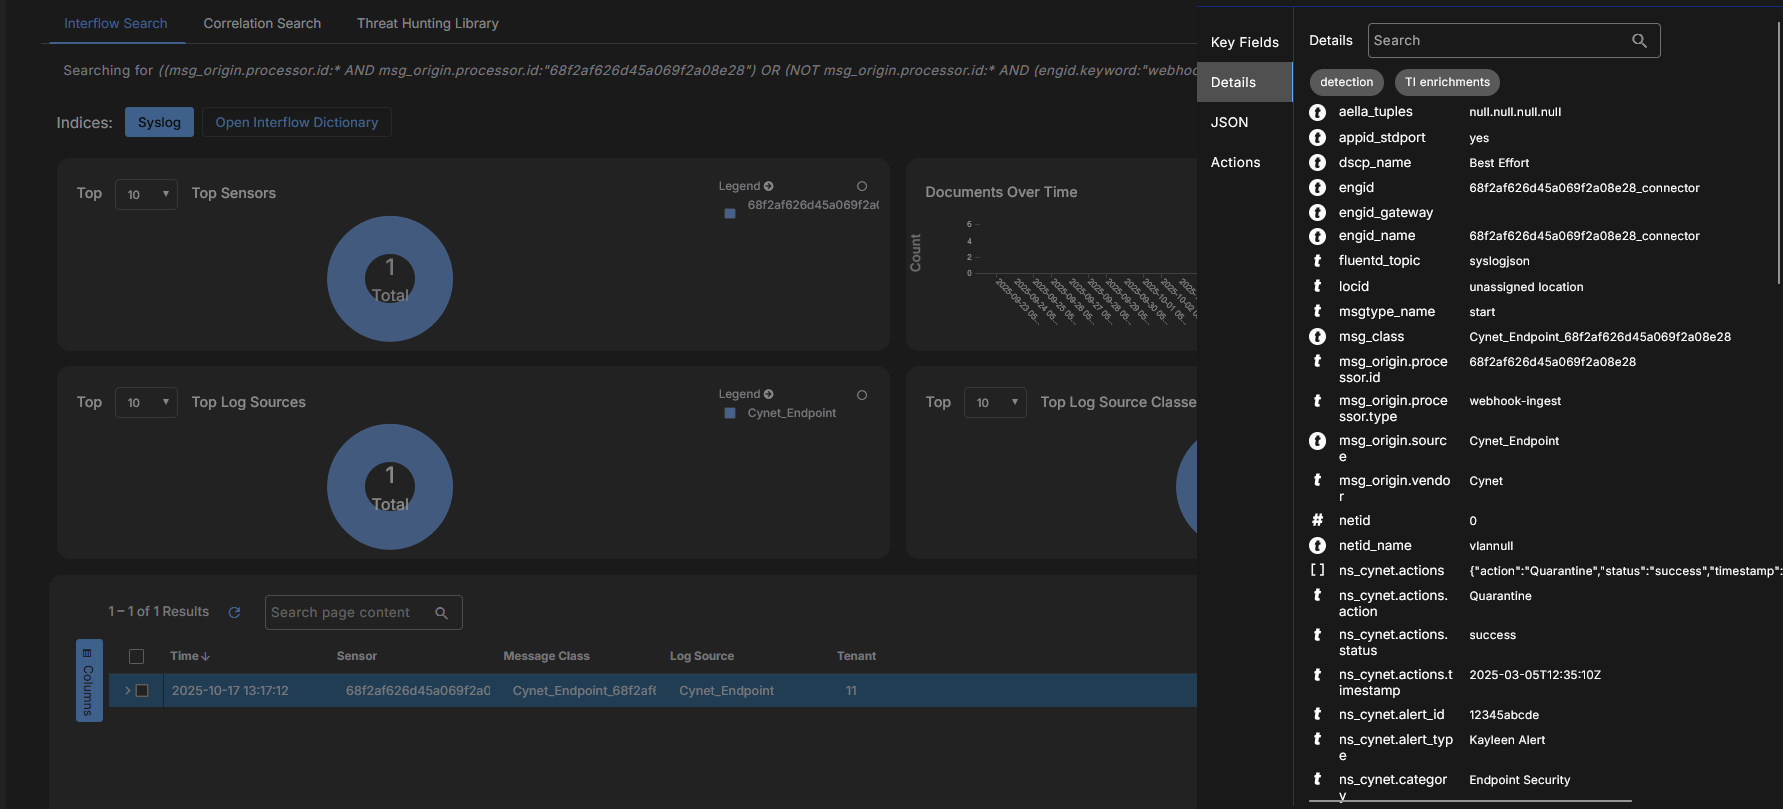
Click the JSON tab. You can verify the parsed fields, and ensure that data normalization is working correctly.

-
Click the Details tab to see the normalized fields.
Editing a Connector
To edit an existing connector:
-
In the Connector Overview, locate your configured connector. The Type will be XDR Connect.
-
Click the edit icon (
 ) on the row for your configured connector. It is located in the Actions column of the connector table.
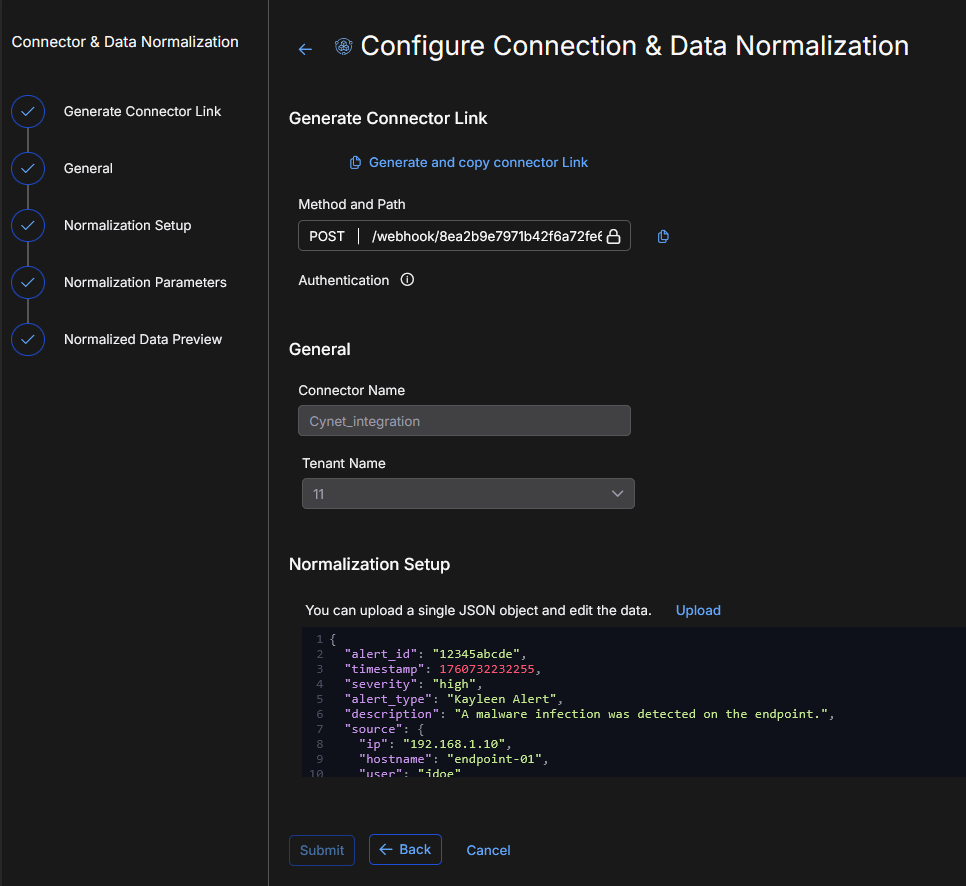
-
You can edit the fields in the Configure Connection & Data Normalization page.
What is Supported
This section details what is supported by XDR Connect in this release.
Protocols
-
HTTPS
HTTP Methods
-
POST
API Requests
-
A single API request is supported.
Authentication Method
-
A header-based authentication method is supported. A users' API token is used as a Bearer token for the ingestion.
Privileges
-
An API token with ingestion privilege.
API Token Expiration
-
90 days (recommendation)
Content Types
-
A single content type for each webhook is supported.
Deployed On
-
Data Processor (DP)
Tenants
-
A single tenant is supported.
RBAC
-
To create the configuration, the Root user (Super Admin) is supported.
Normalization
-
Level 1 (L1) normalization is supported (which means there will not be any alerts or detections).
Data Formats
-
Only well-formed JSON data is supported.
