Configuring Ingestion of CrowdStrike Detections (Events) to Stellar Cyber (4.3.0 - 4.3.4)
Use the table below to determine which configuration options to use for your deployment, based on your Stellar Cyber software version.
This topic describes how to use CrowdStrike's Falcon SIEM connector to stream Incident Detection Summaries to Stellar Cyber for ingestion. Use this toipic in conjunction with Stellar Cyber's CrowdStrike (Hosts Only) Connector for Stellar Cyber deployments on v4.3.0-4.3.4. For deployments running v4.3.5 or later, you can instead configure Stellar Cyber's CrowdStrike Connector that incorporates both capabilities with fewer configuration steps.
|
CrowdStrike Data Type |
Configuration Procedure |
Purpose |
|---|---|---|
|
Hosts Only |
Stellar Cyber's CrowdStrike (Hosts Only) Connector (Uses CrowdStrike's OAuth2 API) |
For v.4.3.0-v4.3.4 Use this to ingest host data and enable manual or automated response actions; records are visible in Stellar Cyber Asset Index. |
|
Incident Detections (Detection Summary Event Logs) |
CrowdStrike's Falcon SIEM Connector (this topic) (Uses CrowdStrike's streaming API) |
For v.4.3.0-v4.3.4 Use this for mapping CrowdStrike incidents (after deduplication and enrichment) to Stellar Cyber's kill chain and alert index. Records are also visible in the SYSLOG index; |
|
Hosts Detection Summary Events Audit and other events |
Stellar Cyber's CrowdStrike Connector
|
For v.4.3.5 and later Use this connector for ingestion and response actions on a variety of data and map CrowdStrike detection summary events to Alerts. |
Following are the steps to ingest CrowdStrike alerts:
- Enable streaming APIs from CrowdStrike
- Download and install the CrowdStrike connector package
- Generate the CrowdStrike Falcon API key
- Install Filebeat and configure it to send logs to the sensor
- Edit the CrowdStrike configuration file
- Verify ingestion
Enabling Streaming APIs from CrowdStrike
To enable streaming APIs from CrowdStrike, you must contact CrowdStrike technical support and open a case.
We strongly recommend that you read the CrowdStrike SIEM Connector documentation .
Downloading and Installing the CrowdStrike Falcon SIEM Connector Package
You can install the SIEM connector on a VM and have it forward logs to a network sensor. To install the SIEM connector directly on a network sensor, contact Stellar Cyber technical support.
To download and install the CrowdStrike Falcon SIEM connector package:
Use our example as a guideline, as you might be using a different software version.
- Log in to CrowdStrike Falcon at https://falcon.crowdstrike.com/ .
-
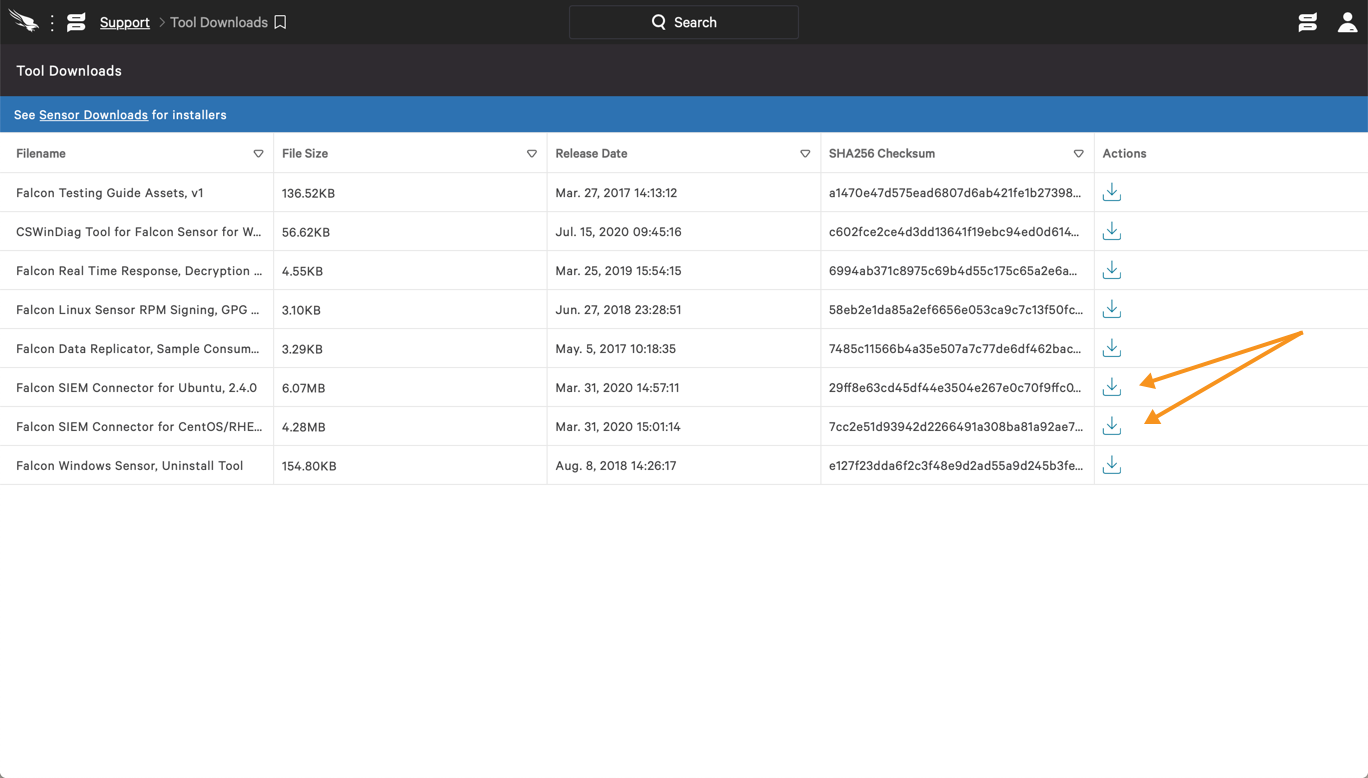
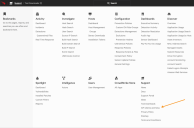
Click Tool Downloads.
The Tool Downloads page appears.
-
Click in the Actions column for the Ubuntu or CentOS Falcon SIEM Connector.

The file is downloaded locally.
- Copy the name of the installation package.
- Start a terminal session.
-
Enter the following command for Ubuntu:
sudo dpkg -i [InstallationPackageName]Enter the following command for CentOS:
sudo rpm -Uvh [InstallationPackageName]

The package immediately installs the SIEM connector.
Generating the CrowdStrike Falcon API Key
With streaming APIs enabled, you can generate the CrowdStrike Falcon API key:
- Log in to CrowdStrike Falcon at https://falcon.crowdstrike.com/ .
-
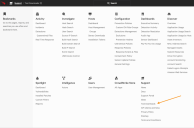
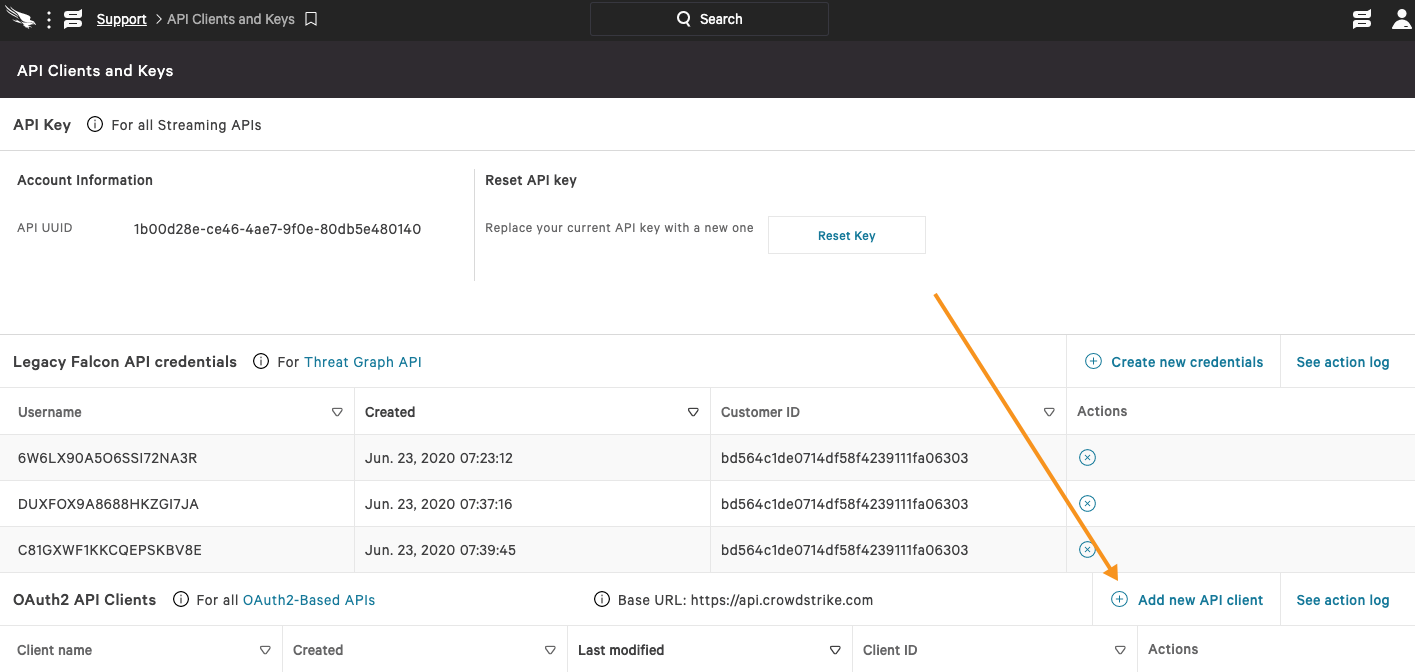
Click API Clients and Keys.
The API Clients and Keys page appears.
-
Click Add new API client.
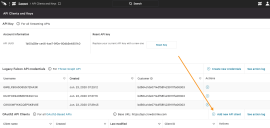
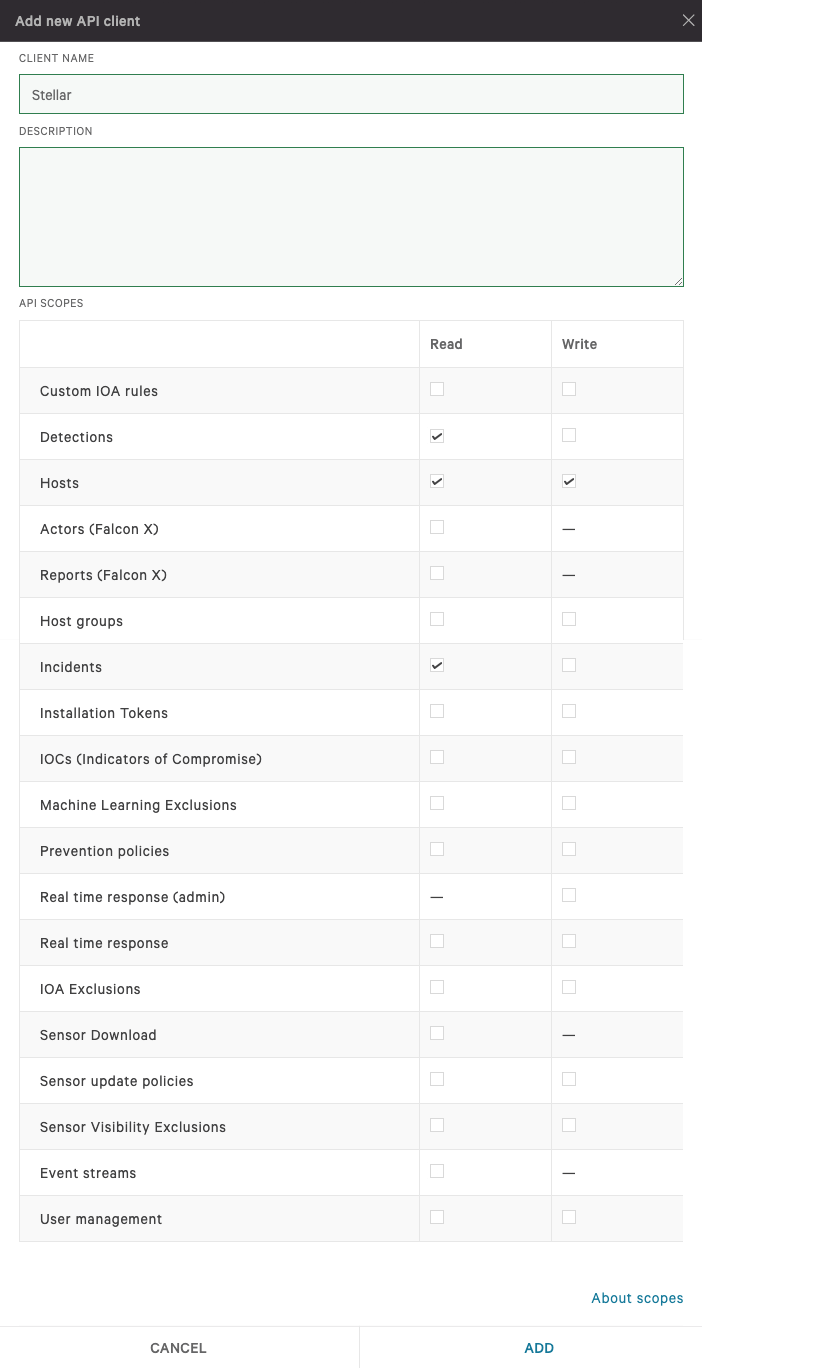
The Add new API client window appears.
- Enter the Client Name.
-
Enable Read for Event Streams.

-
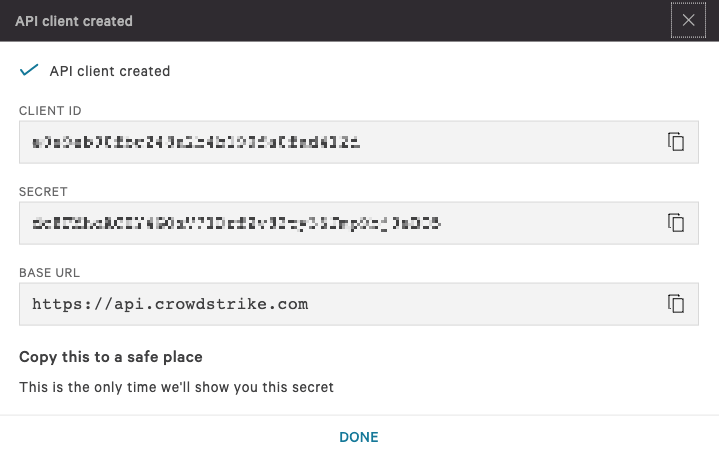
Click Add. The API client created window appears.

- Copy the Client ID and Secret. You will need these later.

Installing Filebeat and Configuring it to Send Logs to the Sensor
Install Filebeat if you haven't already.
To configure Filebeat on the server where it's installed:
-
Open the file
/etc/filebeat/filebeat.yml. -
Locate the
Elasticsearch Outputsection of the file. -
In a clean installation of Filebeat, this section appears as follows:
output.elasticsearch:
# Array of hosts to connect to.
hosts: ["localhost:9200"]
Comment out both the
output.elasticsearch:andhostslines so that it appears as follows:# output.elasticsearch:
# Array of hosts to connect to.
# hosts: ["localhost:9200"]
-
Locate the
Logstash Outputsection of the file. -
In a clean installation of Filebeat, this section appears as follows:
#output.logstash:
# The Logstash hosts
#hosts: ["localhost:5044"]
-
If it is not already uncommented, uncomment the
#output.logstash:line so that it appears as follows:output.logstash:
-
If it is not already uncommented, uncomment the
hostsline and add the sensor IP address as follows:#The Logstash hostshosts: ["<Sensor IP Address>:5044"] -
Save the file.
-
Run the following commands to enable the CrowdStrike module in Filebeat:
filebeat modules enable crowdstrikesystemctl restart filebeat.servicesystemctl enable filebeat.service
Editing the CrowdStrike Configuration File
With the information handy, you can edit the CrowdStrike Falcon configuration file:
- Open the
/opt/crowdstrike/etc/cs.falconhoseclient.cfgfile with a text editor. -
Make the following edits to the file:
client_id = [the client ID you copied earlier]client_secret = [the API secret key you copied earlier] -
You may also need to edit the api_url and request_token_url, depending on where your CrowdStrike instance is located. Refer to the CrowdStrike documentation for information on modifying the SIEM Collector's base URL to match the following locations:
-
US: api.crowdstrike.com
-
US-GOV-1: api.laggar.gcw.crowdstrike.com
-
EU-1: api.eu-1.crowdstrike.com
-
US-2: api.us-2.crowdstrike.com
-
- Save the file.
-
Restart the connector with the following command for Ubuntu 14.x:
sudo start cs.falconhoseclientdRestart the connector with the following command for Ubuntu 16.x:
sudo systemctl restart cs.falconhoseclientd.serviceRestart the connector with the following command for CentOS:
sudo service cs.falconhoseclientd start
CrowdStrike now forwards logs to the sensor you specified.
Verifying Ingestion
To verify ingestion:
- Click Investigate |Threat Hunting. The Interflow Search tab appears.
-
Change the Indices to Syslog.
-
Search for dev_type: crowdstrike in the Interflow table. The table updates to show ingested Interflow records.
Note: You can also include the name of the Log Forwarder receiving the data. For example:
dev_type:crowdstrike AND engid_name:"salesdemo-DS"
It may take some time for the first entries to appear in the table depending on the available resources and load on the DP, Log Forwarder, and the Falcon SIEM Connector host. You can use these instructions to generate your first detection with CrowdStrike Falcon .
