Using the Import/Export Indices Tab
You must have Root scope to use this feature.
The System | Data Processor | Data Management | Import/Export Indices tab lets you export or import data indices in human-readable format from the DP. This option is typically used in deployments without access to external storage. Stellar Cyber recommends that you use either the Data Sink or Snapshot approaches for most common import/export needs.
Export Indices
Use this to save data from one or all tenants to an external location. To export data indices:
- Click System | Data Processor | Data Management.
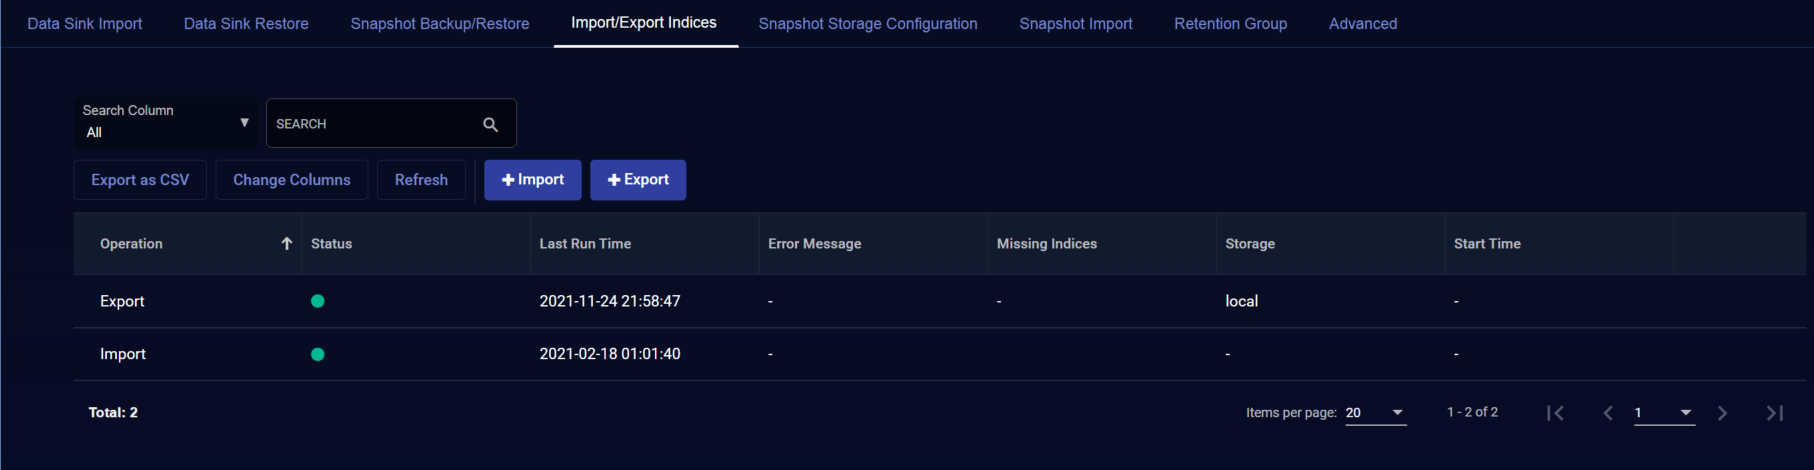
- Click the Import/Export Indices tab. The existing imports/exports are displayed.
- Click Export.The Export Indices screen appears.
- Select local or a storage location that was configured in the External Storage Configuration tab. If you select local, Stellar Cyber saves the data to the data processor.
- Choose a Frequency.
- Select a tenant (or tenants) for which to export.
- Select the indices to export. You can also select All Indices to export all data.
- Choose the begin and end dates for the data you want to export.
- Click Submit.
Import From a Local File
To import data indices from a local file:
- Click System | Data Processor | Data Management.
- Click the Import / Export Indices tab. The existing imports/exports are displayed.
- Click Import.The Import Indices screen appears.
- Choose local.
- Select the index file type to import.
- Click Submit. The import start immediately. You can see the progress in the Import Status field.
Import From a Storage Location
To import data indices from a storage location:
- Click System | Data Processor | Data Management.
- Click the Import/Export Indices tab. The existing imports/exports are displayed.
- Click Import.The Import Indices screen appears.
- Choose one of the storage locations set up in the External Storage Configuration tab.
- Select a tenant (or tenants) for which to import.
- Select the indices to import.
- Select the begin and end dates for the data to import.
- Click Submit. You can see the progress in the Import Status field.
