Installing an All-In-One Data Processor in GCP
You can deploy an all-in-one (AIO) Stellar Cyber data processor (DP) as a Virtual-50 in GCP using Google Compute Engine. In the AIO model, both the Data Lake (DL) and Data Analyzer (DA) are installed on the same virtual machine.
Although AIO deployments are supported, Stellar Cyber recommends that you deploy the DP with separate VMs for the DL and DA in GCP. This model provides a scalable solution, allowing you to deploy additional DL and DA worker nodes in a cluster configuration as demands for capacity increase.
To install you must:
Prerequisites
Installation in GCP requires:
- Appropriate GCP settings
- Open ports on your firewall
- Login credentials and One Time Password (OTP) from Stellar Cyber
The internal network of the DP uses the 172.17.0.0/16 and 10.244.x.0/24 subnets. If you use these subnets elsewhere in your network, change them to avoid conflicts. If you cannot change them, contact Stellar Cyber technical support.
GCP Settings
You must have a GCP account with sufficient budget authorization to deploy Stellar Cyber. The instance must have:
- GCP Security Groups
- 1 public IP address for the DP for management access
- 1 public IP address for each security sensor (SS), if the SS will be receiving packets or logs from a sensor or application outside of GCP
Configure your VM based on your planned data ingestion. For an AIO deployment, choose a Machine type with at least 16 vCPUs and 128 GB of memory. For example:
- Machine Type: e2-highmem-16
- CPUs: 16
- Memory: 128 GB
- OS SSD Disk Space: 500 GB
Provisioning an AIO DP with these specifications allows ingestion and performance as follows:
| Data Ingestion (GB) | Tenants | Reports | ATH Playbooks | DA Count | DL Count | Notes |
|---|---|---|---|---|---|---|
| 50 | 10 | 10 | 100 | N/A | 1 | AIO |
Firewall Ports
You must open ports on your firewall for communication.
One Time Password
Contact Stellar Cyber support (support@stellarcyber.ai) for login credentials and a one-time password (also known as a License Key).
You will need to provide:
- The GCP Console login email
Do this at least a day before installing, so we have time to deploy the images to your account.
After license activation, you can find the OTP for your installation in the Licensing page.
Configuring and Launching the Instance
To configure and launch the instance:
Use our example as a guideline, as you might be using a different software version.
-
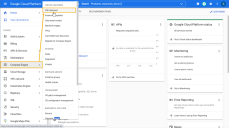
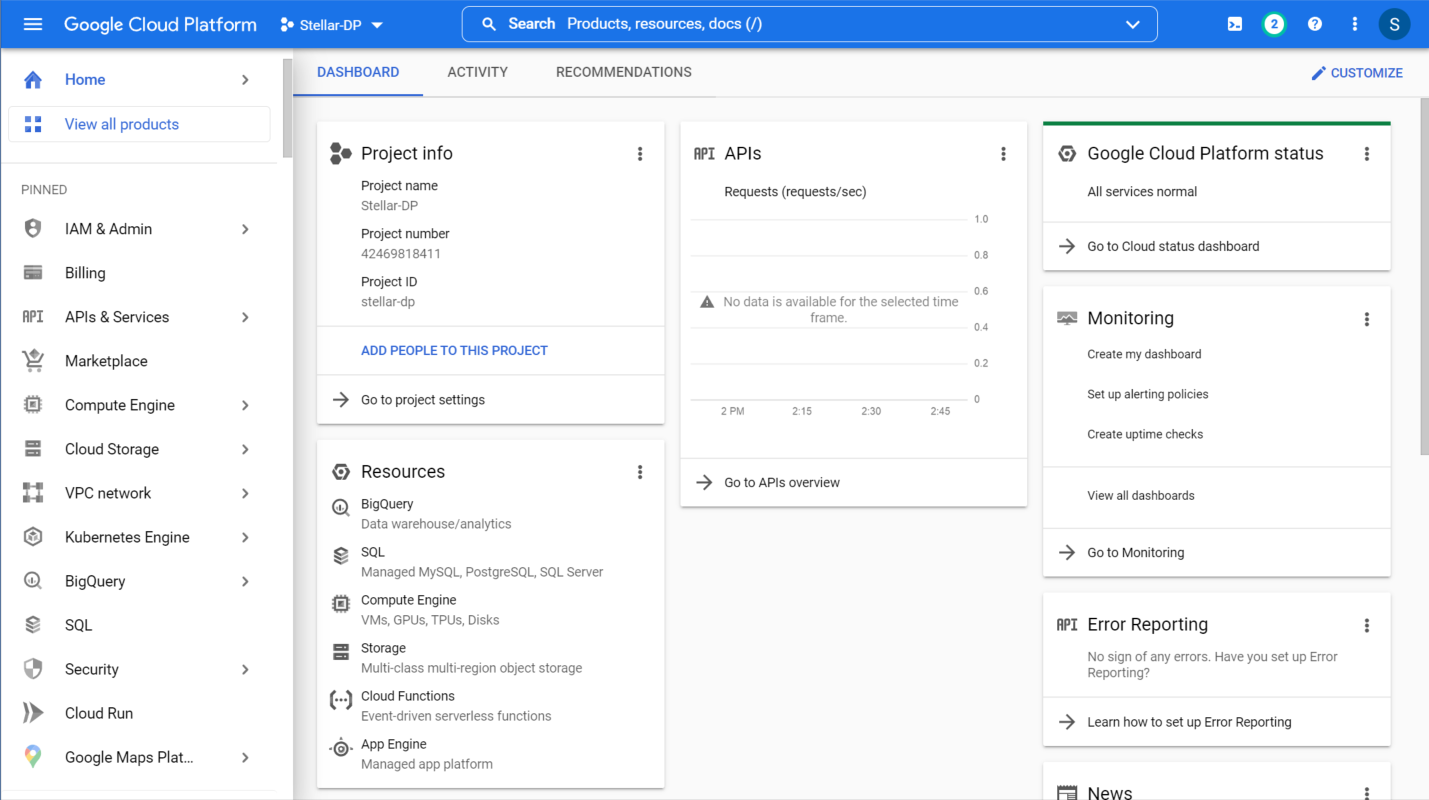
Log in to your Google Cloud Platform Dashboard.

-
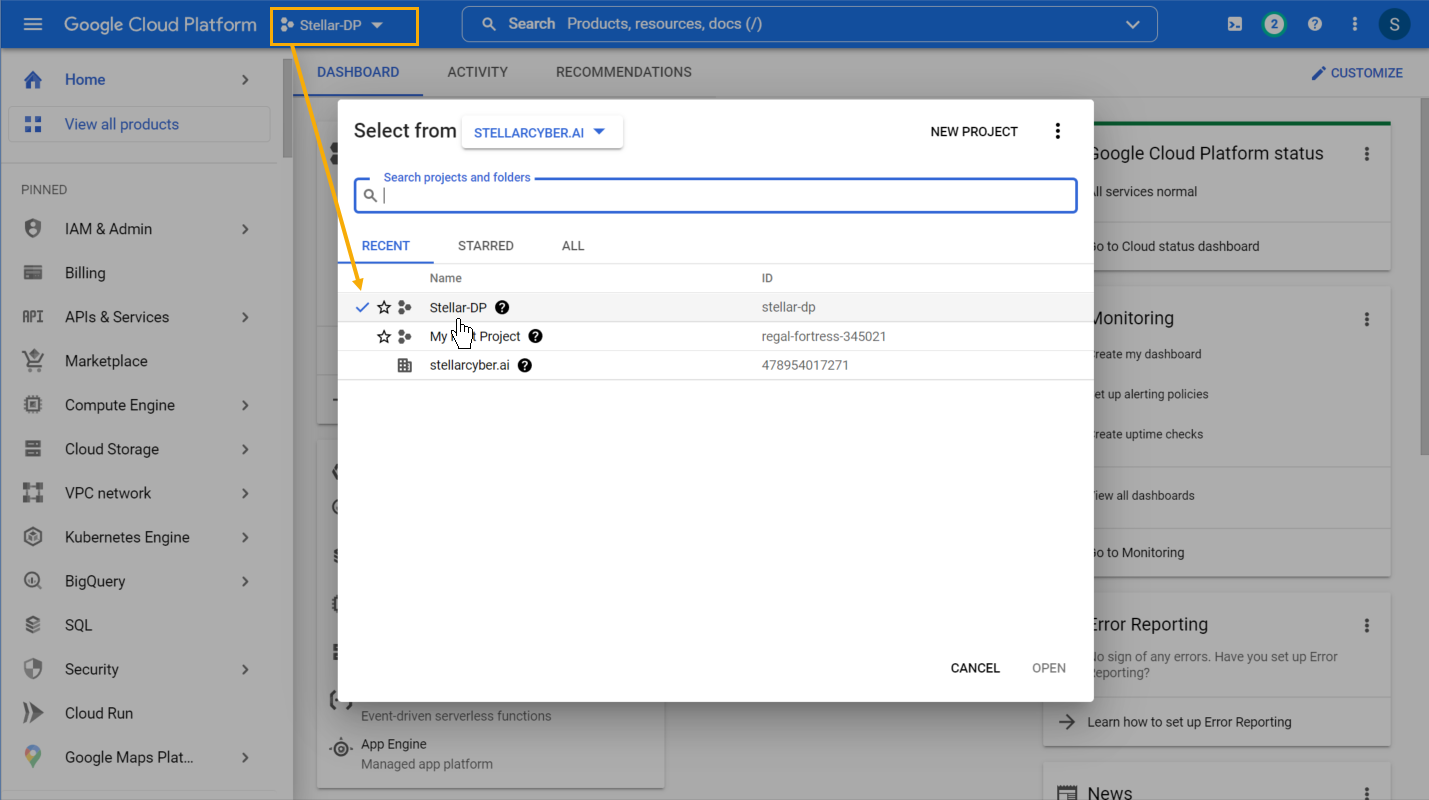
Use the dropdown in the toolbar to select the Project where you want to deploy the DP.

-
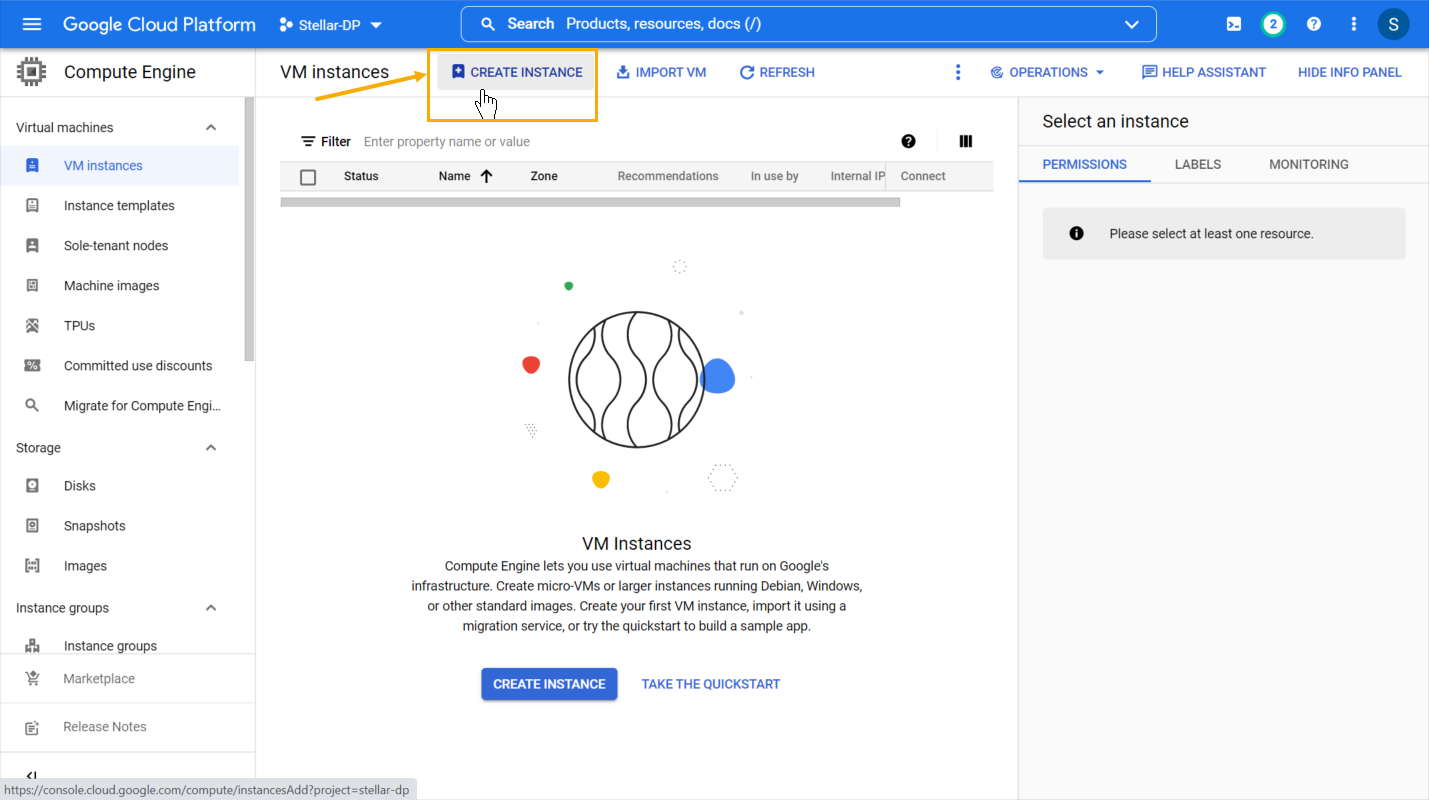
Select the Compute Engine | VM instances entry from the left navigation panel.
-
Click the Create Instance button.

-
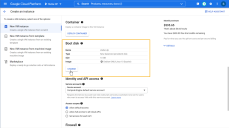
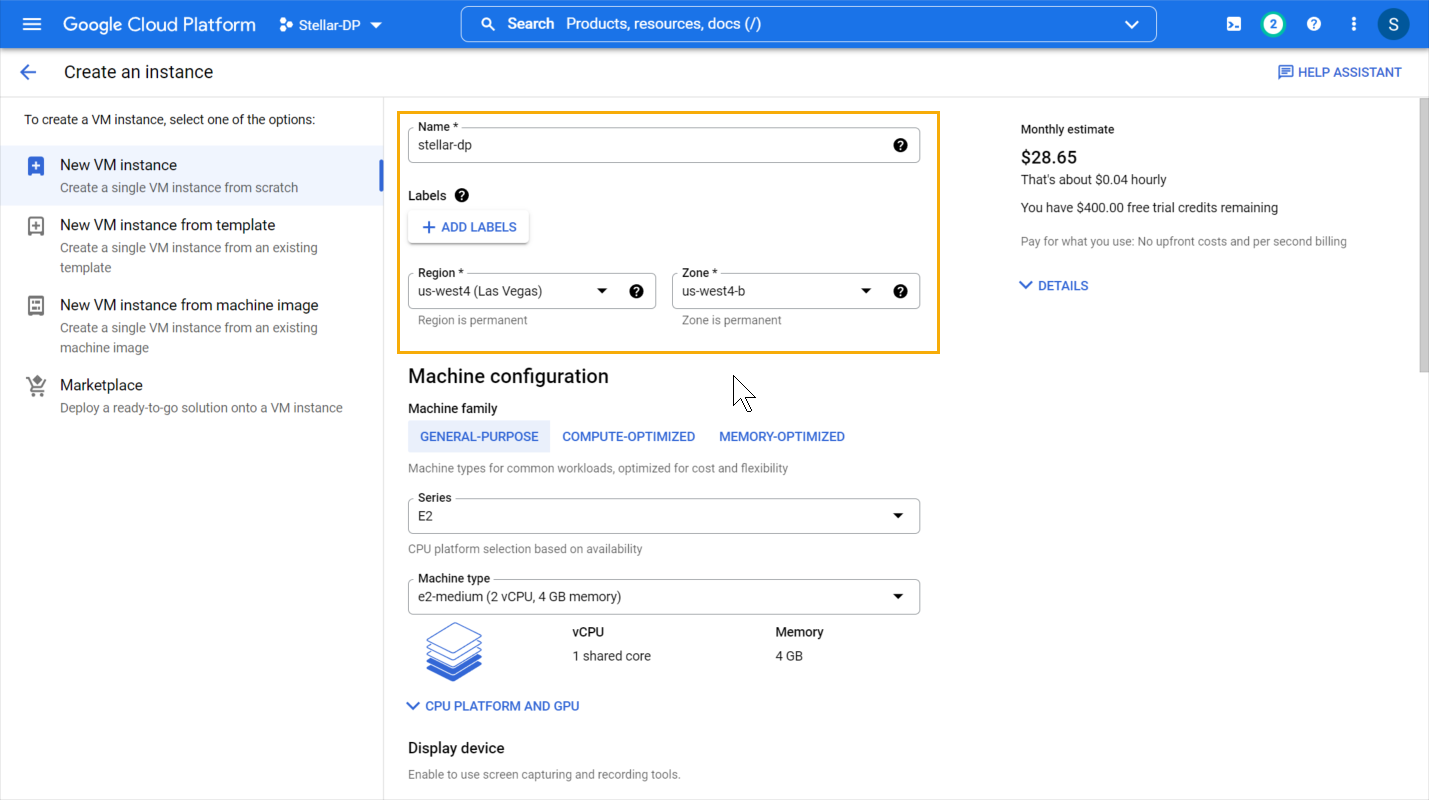
Supply a Name, Region, and Zone for the instance.

-
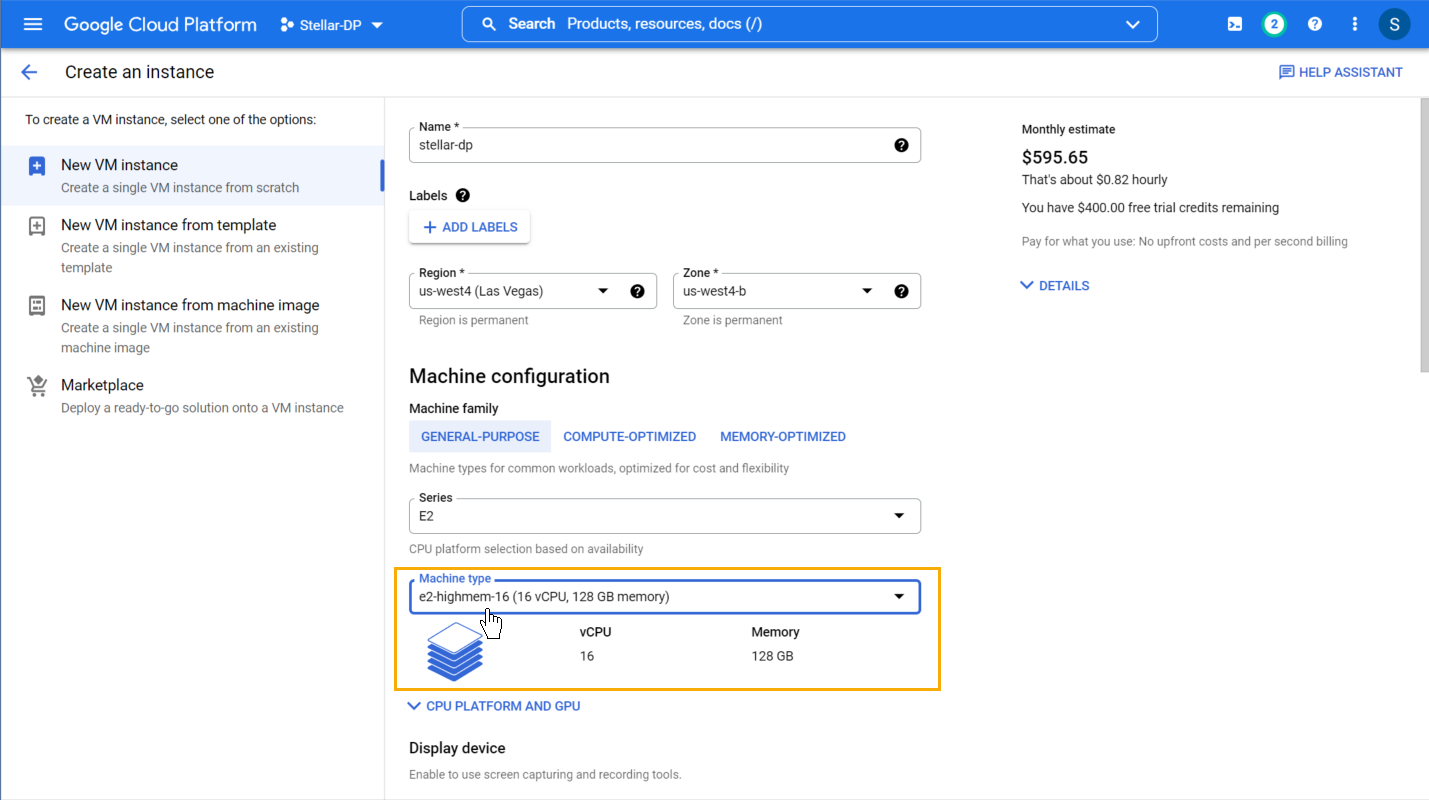
Choose a Machine type for the instance that provides at least 16 vCPUs and 128 GB of memory. Stellar Cyber recommends choosing a Machine type of e2-highmem-16 or better, as illustrated below:

-
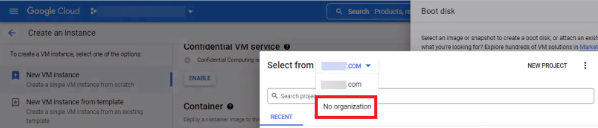
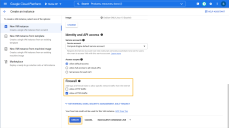
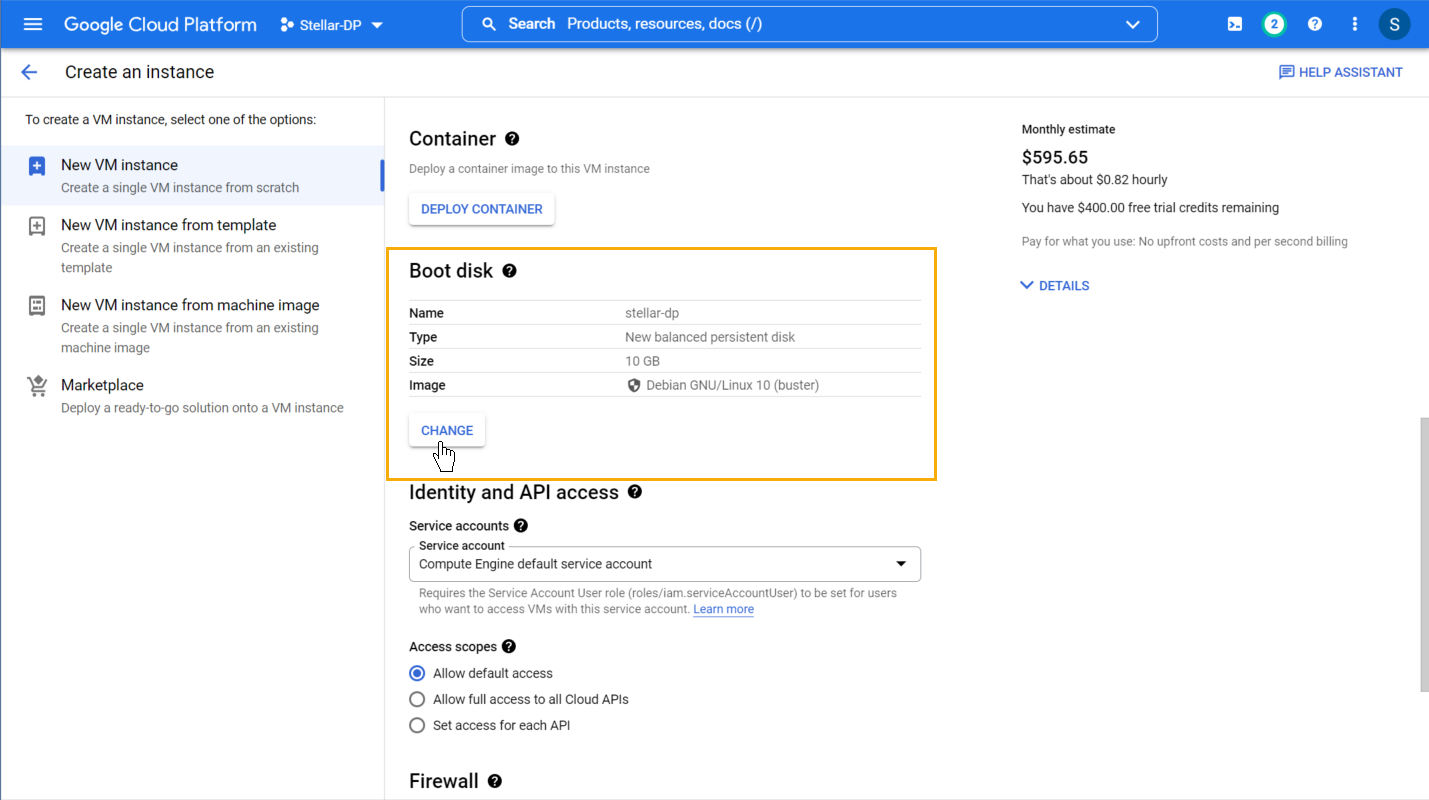
Scroll down to the Boot disk section and click the CHANGE button.
-
Set the Select From dropdown to No Organization.
-
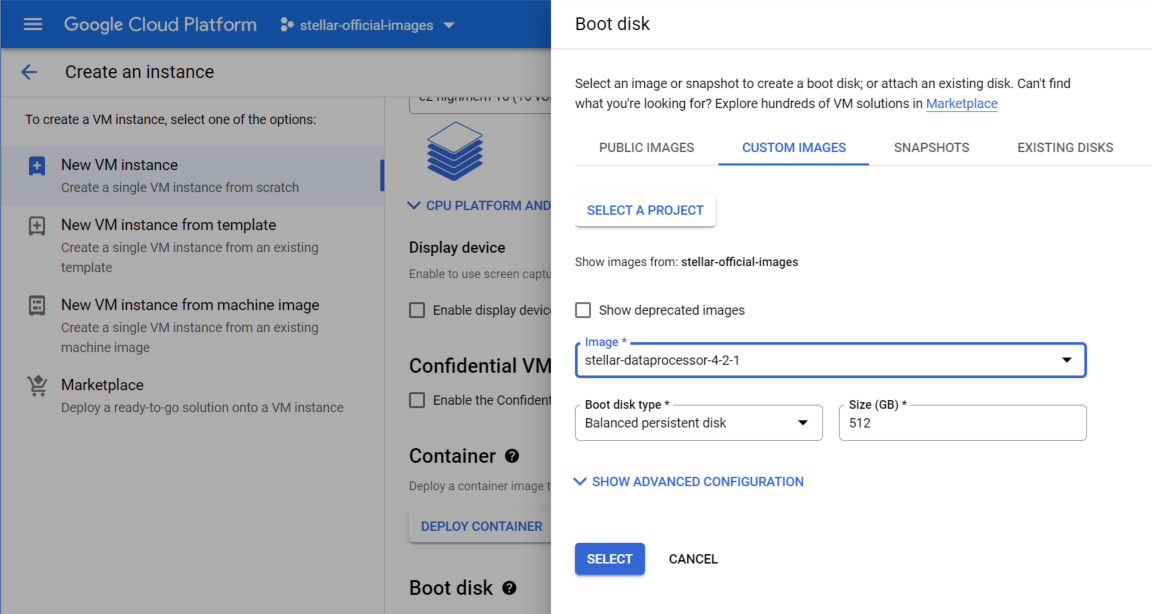
Click on the CUSTOM IMAGES tab.
-
Click the SELECT A PROJECT button and choose the stellar-official-images project.
The stellar-official-images entry won't appear until we've made images available to your account. If you don't see the stellar-official-images entry, make sure your region is the same one where you asked Customer Success to deploy the images. If you still don't see the entry, contact Customer Success.
-
Select the stellar-dataprocessor-x-x-x entry from the Images dropdown.

-
Set the Boot disk type to SSD persistent disk, choose a size of 2048 GB, and click Select.
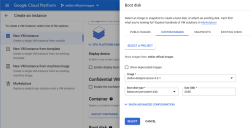
You are returned to the Create an instance wizard.
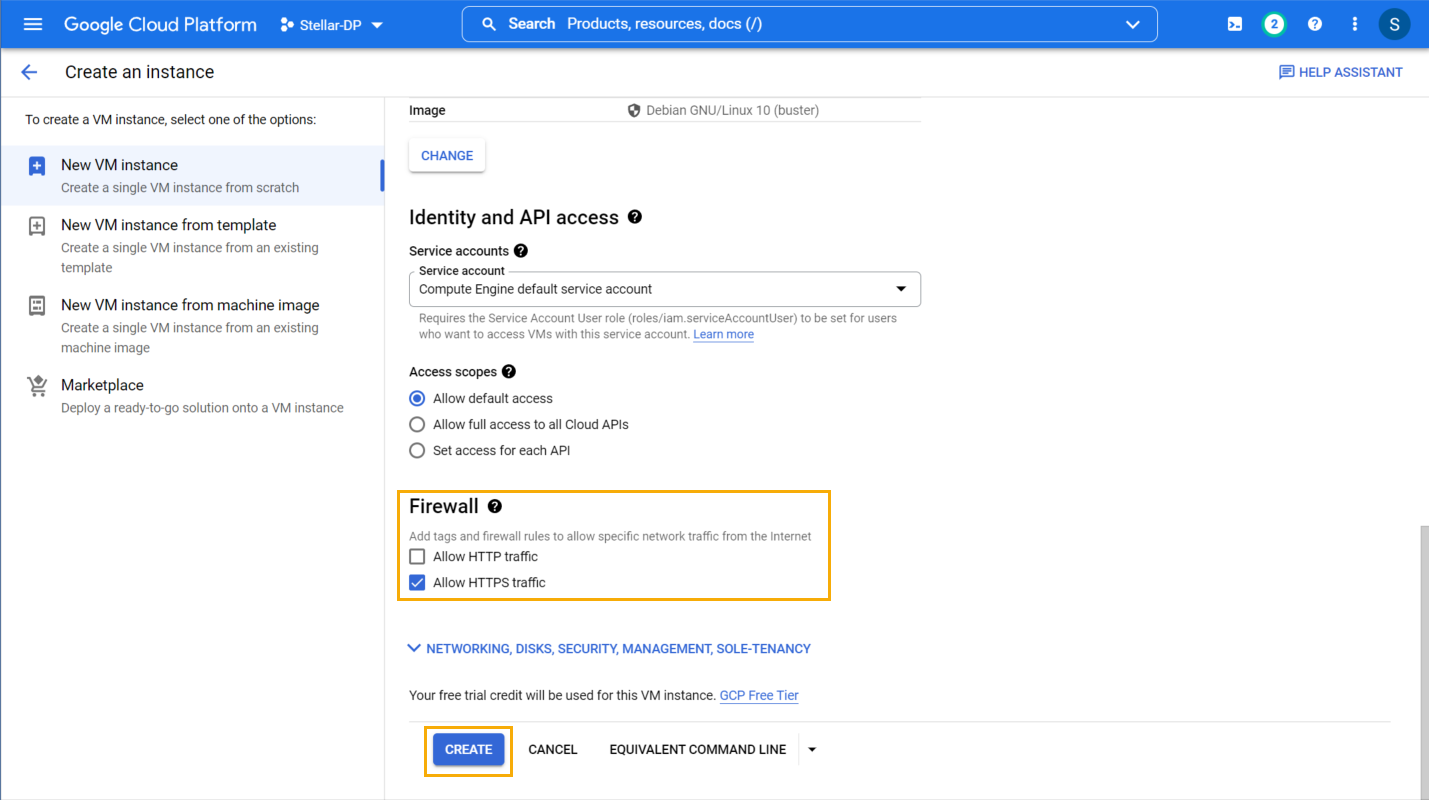
-
Scroll down to the Firewall section and check the Allow HTTPS traffic box.
-
Click the Create button to create the instance.
You can launch the image but you cannot copy it. This means that the VM must be deployed in the GCP region where the image was authorized.


The VM is now running in the GCP cloud.
Configuring the DP as an AIO
When the VM is up and running you can configure the DP as an AIO. But first you need the IP addresses that GCP assigned when you launched the instance.
Getting the IP Addresses
To get the IP addresses:
- Log in to your GCP Dashboard.
-
Select the Compute Engine | VM instances entry from the left navigation panel.
The active instances appear.
- Locate the instance you just launched in the list and copy the Public IP and Private IP. You will need these values when adding a sensor to the DP.
Configuring the DP as an AIO
To configure the DP as an AIO:
- Access the console of the VM.
- Log in. The default user/password is aella/changeme. You are immediately prompted to change the password.
- Change the password.
-
On the DP, enter these commands (the IP addresses are automatically configured by GCP):
set role AIO set cluster_name AIO set cluster_size 1 set cm [set to the Private IP address assigned to the DP VM by GCP] set otp [OTP you got from Stellar Cyber] reset - Confirm the reset. The image is downloaded (which can take a while, depending on your network) and installed.
-
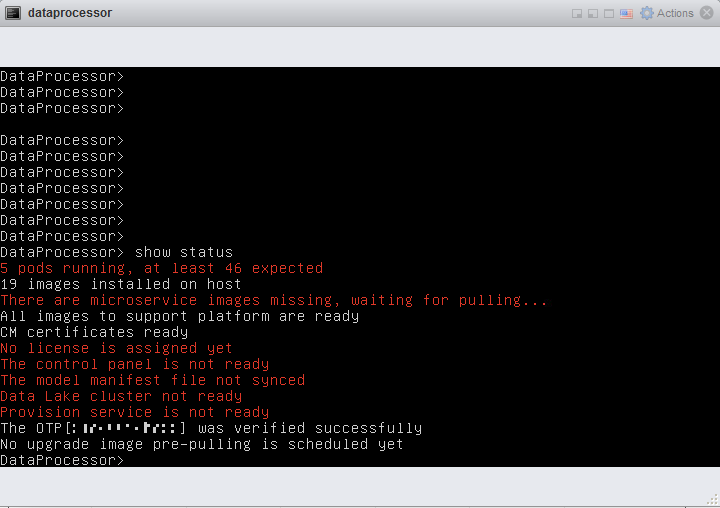
Verify that everything is installed, ready, and running with the
show statuscommand. A screen similar to the following appears as it is installing: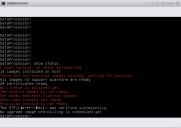
When it finishes the status is similar to:
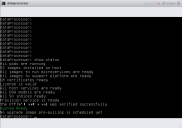

The installation is complete and the DP is now functional.
Next Steps – Install a Sensor and Connect it to the DP
As a next step, you may want to deploy a sensor in GCP and connect it to the DP you just launched. Refer to Installing a Modular, Network, or Security Sensor in GCP.
