Installing an All-In-One Data Processor in Azure
You can deploy an all-in-one (AIO) Stellar Cyber data processor (DP) as a Virtual-50 on Azure.
To install a cluster, contact Stellar Cyber technical support.
To install you must:
- Complete the prerequisites.
- Install and configure the software image.
- Configure a security sensor VM.
- Configure the DP.
- Tune the MTU of the DP.
Prerequisites
Stellar Cyber recommends the following minimum configuration for an AIO deployment in Azure:
- Instance: Standard_E16s_v3
- CPUs: 16
- Memory: 128 GB
- Disks: All SSD
To install on Azure you must:
The internal network of the DP uses the 172.17.0.0/16 and 10.244.x.0/24 subnets. If you use these subnets elsewhere in your network, change them to avoid conflicts. If you cannot change them, contact Stellar Cyber technical support.
Firewall Ports to Open
You must open ports on your firewall for communication.
If you configure the DP as a cluster, all nodes must be in the same VPC, and all ports between the nodes must be open.
One Time Password
Contact Stellar Cyber support (support@stellarcyber.ai) for login credentials and a one-time password (also known as a License Key).
You will need to provide:
- The Azure region for the DP, security sensors, and network sensors
Do this at least a day before installing, so we have enough time to deploy the images to your region.
After license activation, you can find the OTP for your installation in the Licensing page.
Installing and Configuring the Software Image
To install and configure the software image:
- Install the Stellar Cyber Software Packages.
- Create a resource group for the VM.
- Add a Microsoft.Network subscription.
- Create the VM.
Use our example as a guideline, as you might be using a different software version.
Installing the Stellar Cyber Software Packages
To install the Stellar Cyber Software Packages:
-
Log in to portal.azure.com .
-
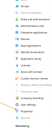
Click the hamburger menu at the upper left and select the entry for Microsoft Entra ID.

Your Microsoft Entra Overview page appears.
-
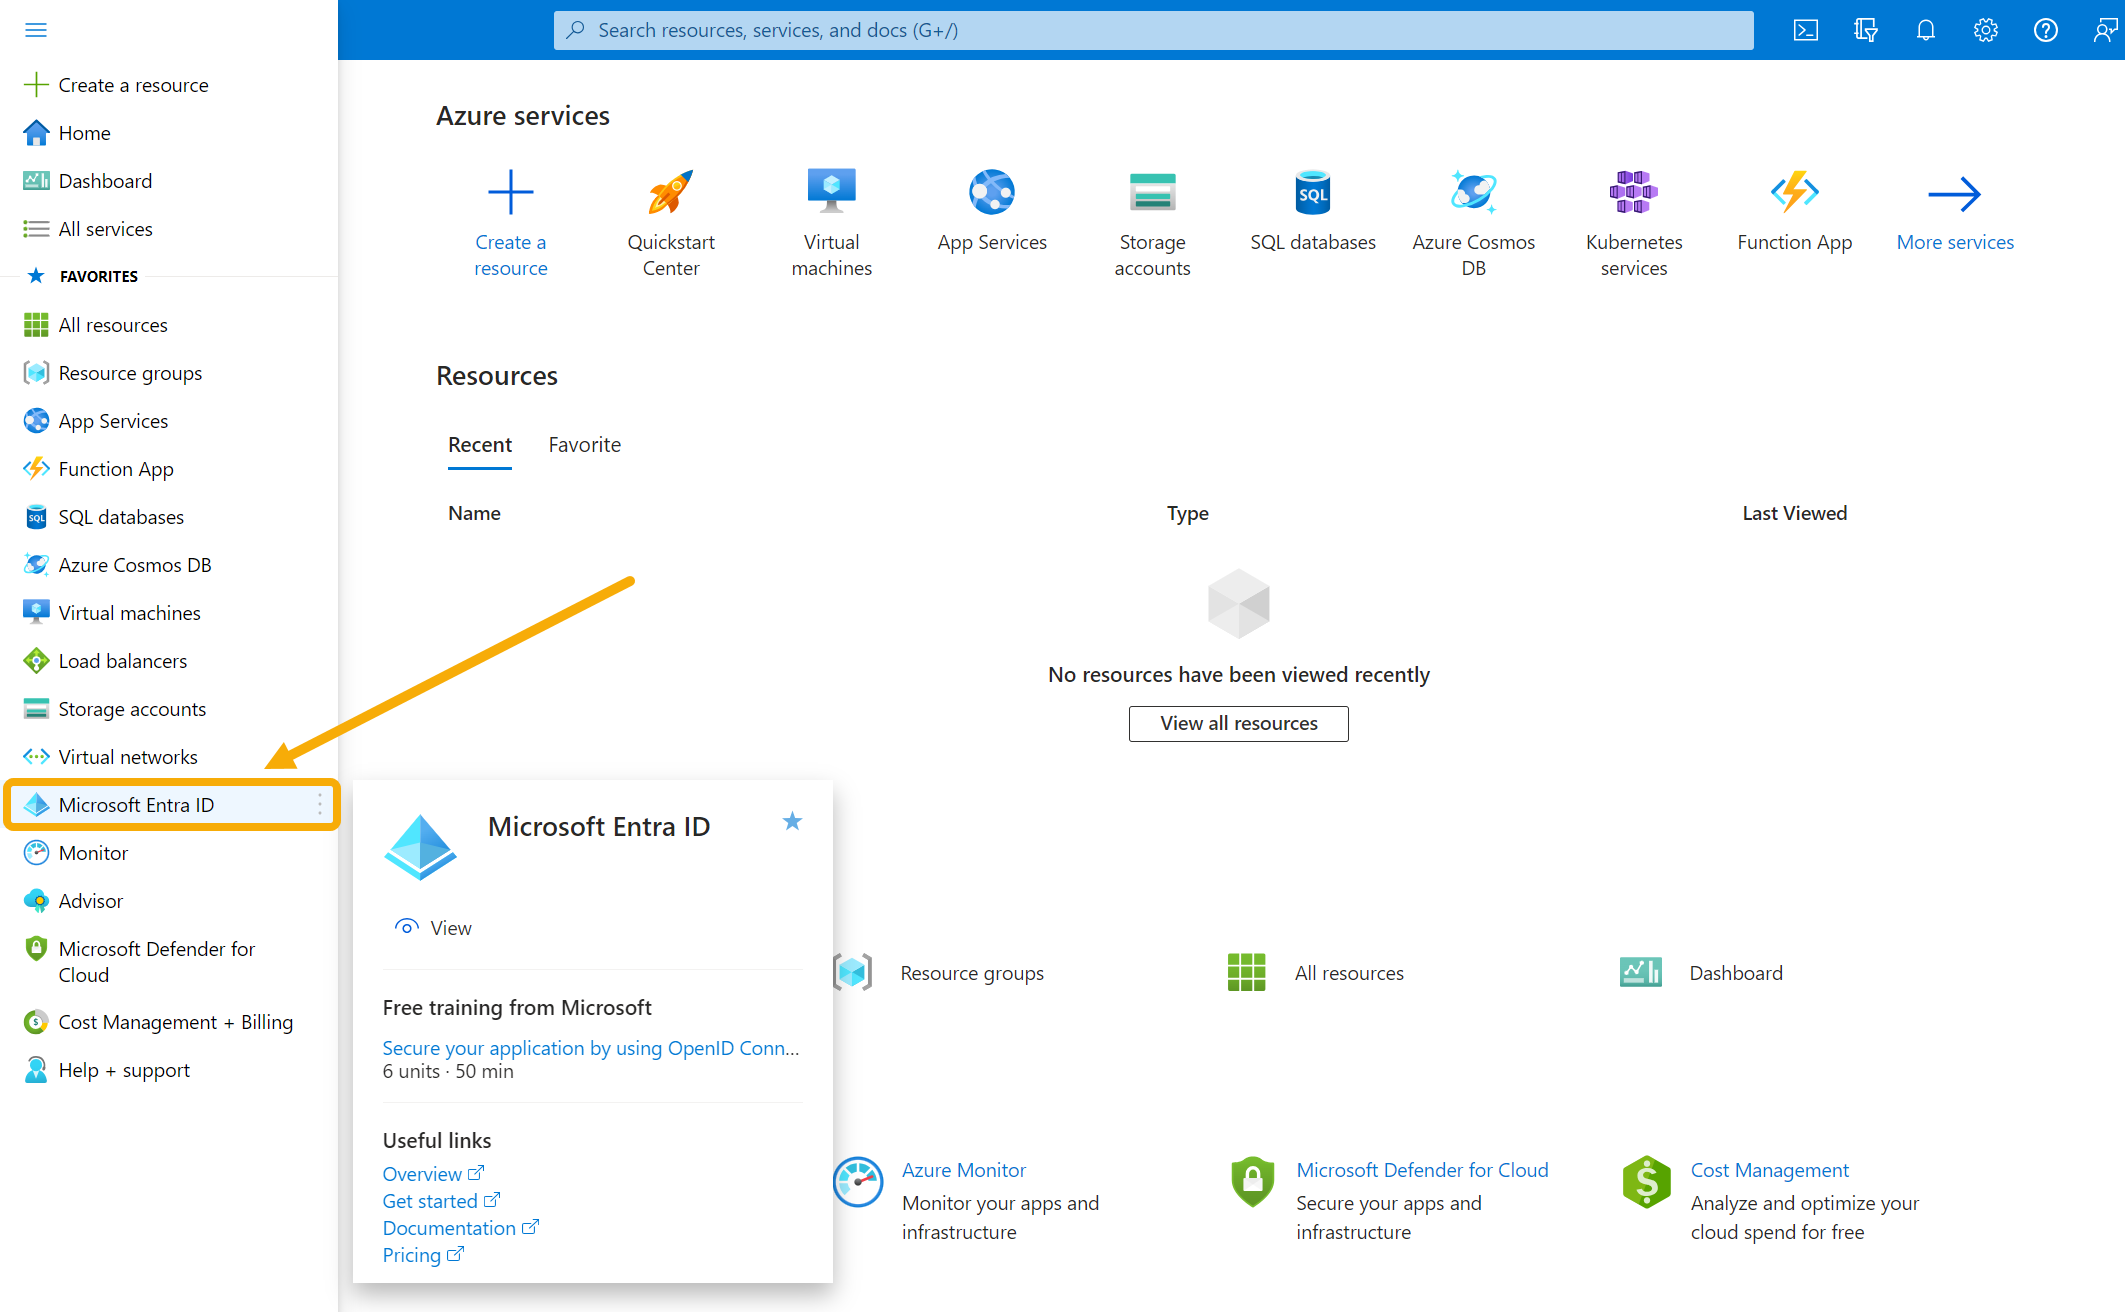
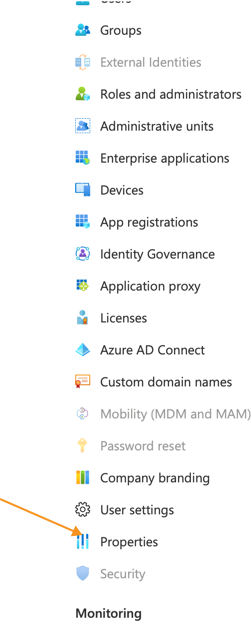
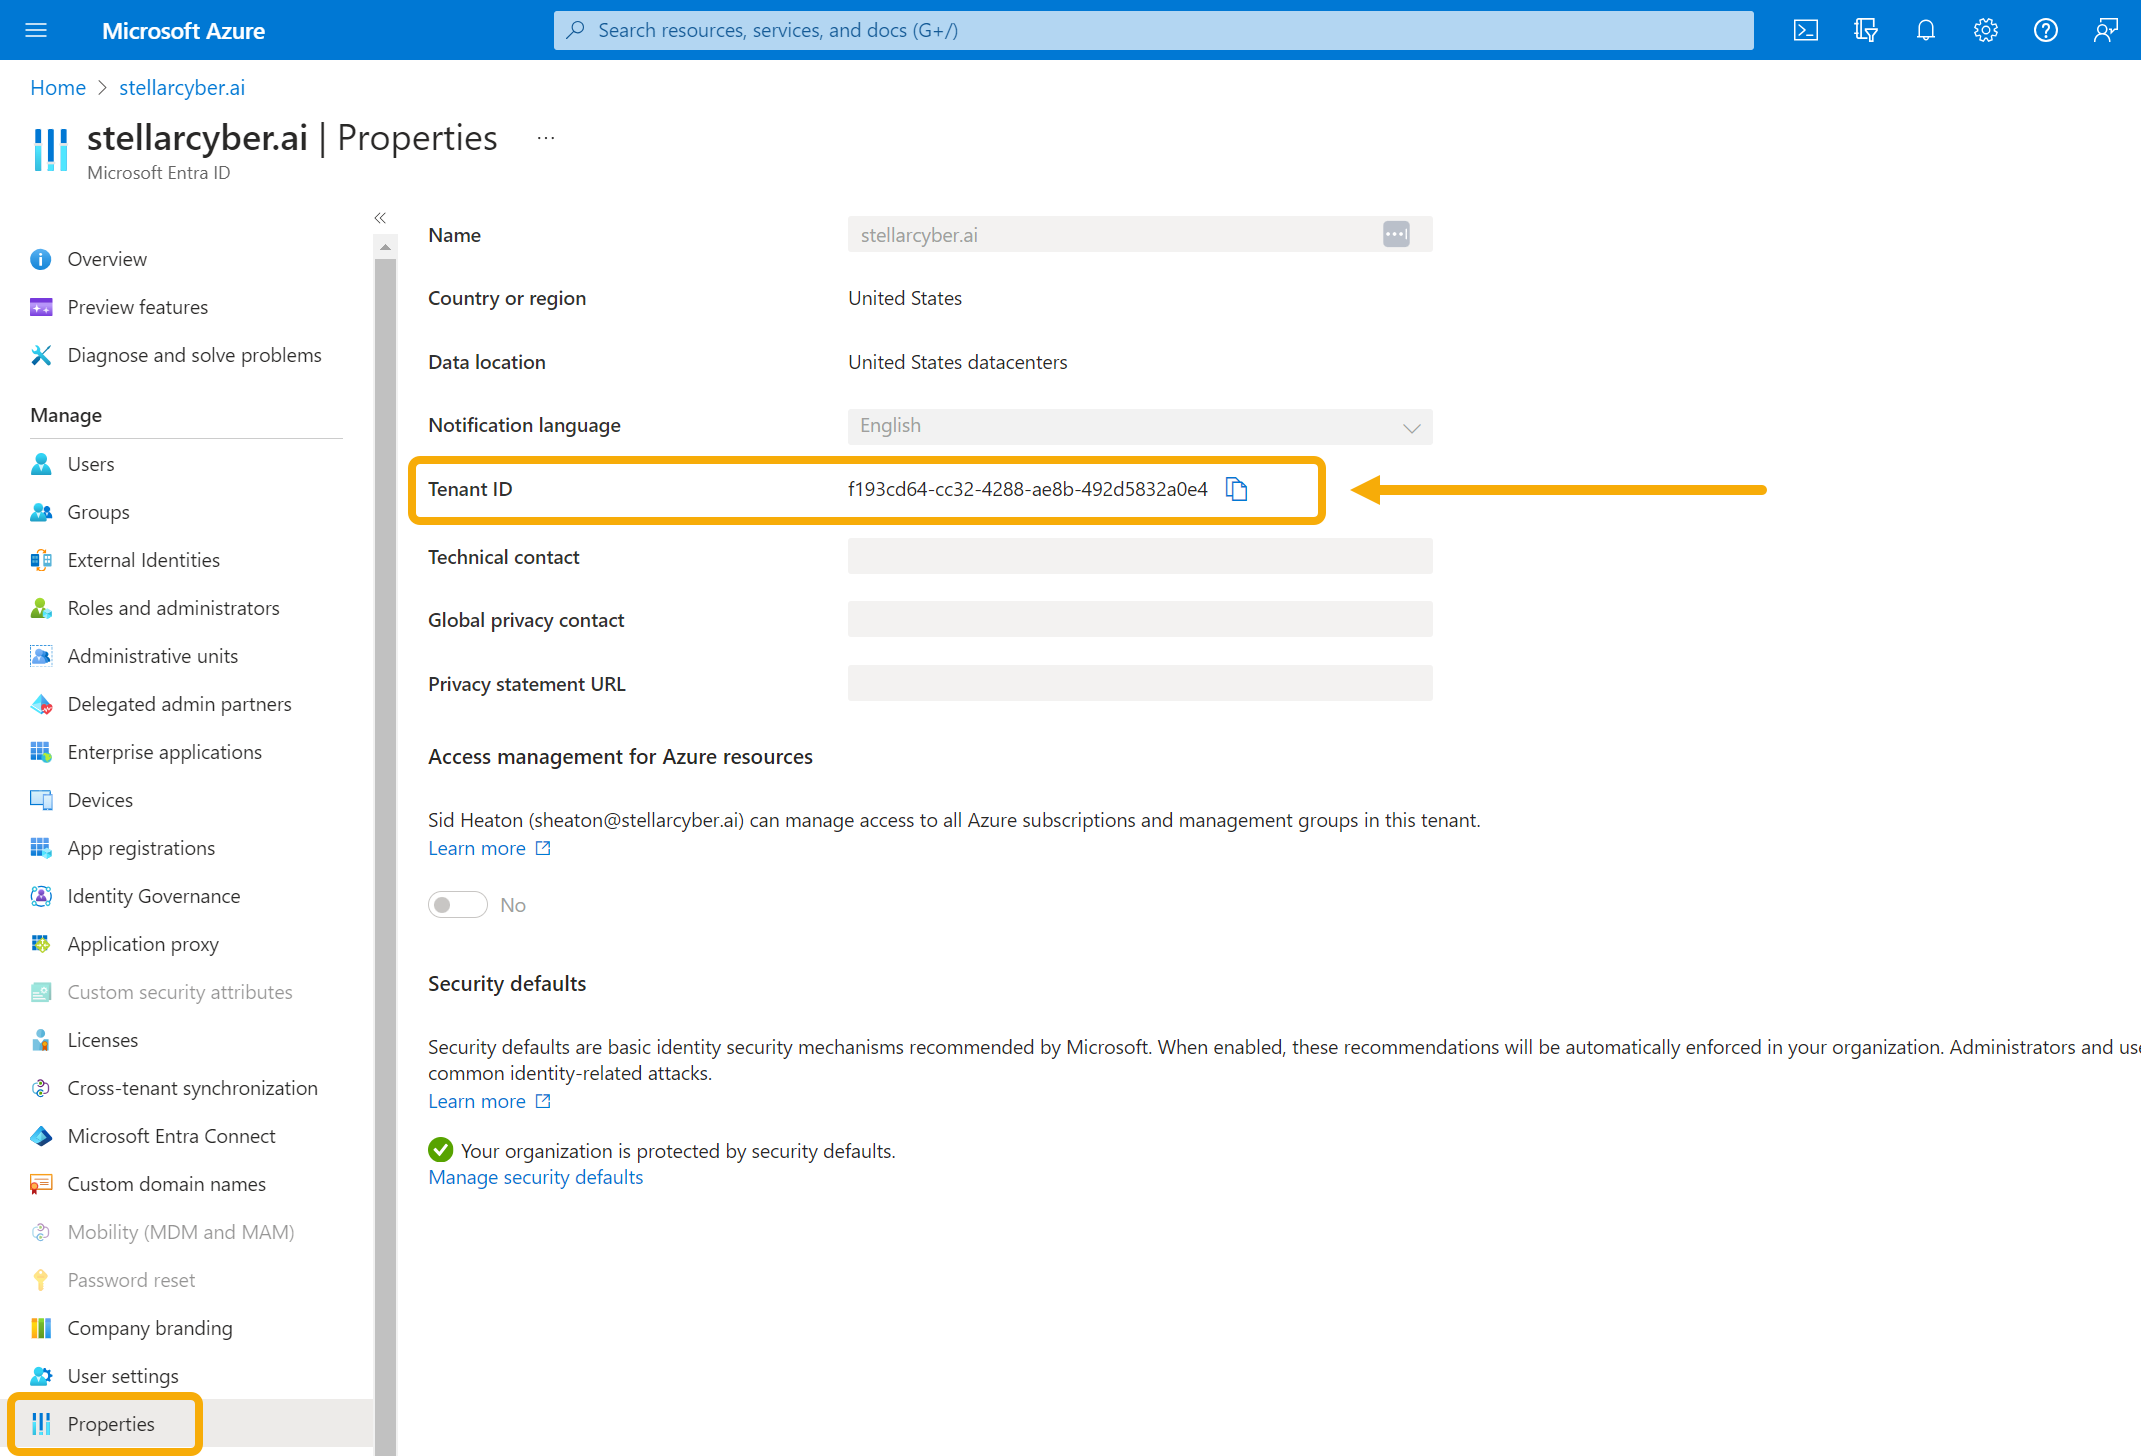
Scroll down and click Properties.
The Properties page appears.
-
Copy the value shown for Tenant ID. You need this for the next step and also when creating the VM, so keep it handy.

-
Copy this URL, replacing <TenantID> with yours:
Copyhttps://login.microsoftonline.com/<TenantID>/oauth2/authorize?client_id=58238038-43b4-4446-8260-0fa97ace1085&response_type=code&redirect_uri=https%3A%2F%2Fwww.microsoft.com%2F - Paste that URL in a new browser tab (or window). Log in if necessary. A Permissions requested message appears.
- Click the Consent on behalf of your organization check-box.
- Click Accept. The Stellar Cyber Software Packages are released to your Azure account.
- To verify, go back to the Azure portal home page.
- In the search bar, type enterprise. Azure suggests several choices as you type.
- Choose Enterprise applications. A list of enterprise applications appears.
- Find Stellar Cyber Software Packages.
If you don't see Stellar Cyber Software Packages, contact Stellar Cyber technical support.
Creating a Resource Group for the VM
To create a new resource group for the VM:
- Go back to the Azure portal home page.
- Click Resource groups. The Resource groups page appears.
- Click Create resource group to create a new group.
- Name the resource group Stellar.
- Choose the region.
- Click Next : Tags.
- Add optional tags.
- Click Next : Review + create.
- Review your selections.
- Click Create. The Resource groups page appears, with your new Stellar group displayed.
- Select the Stellar resource group. The details appear.
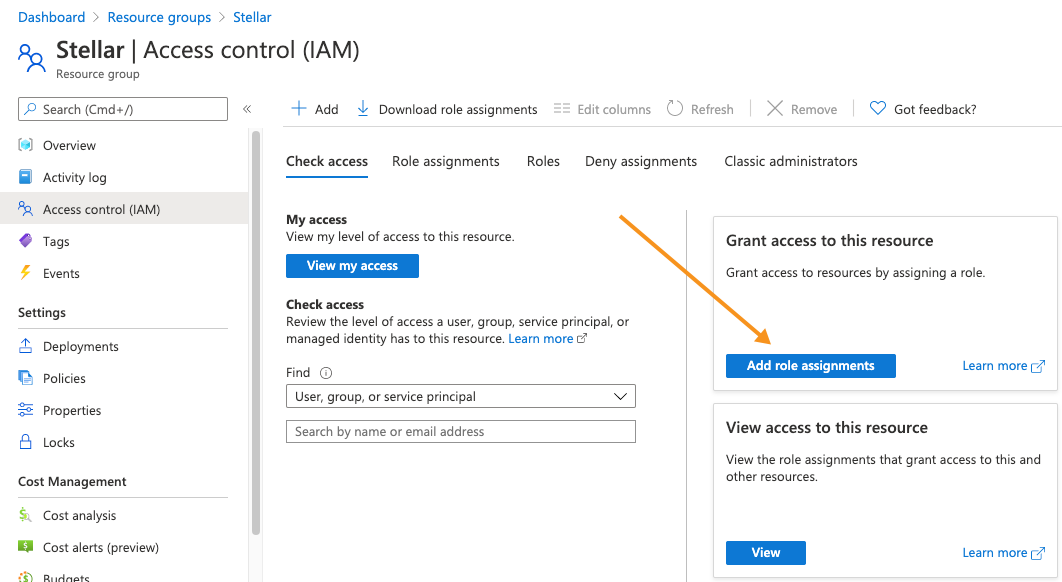
- Click Access control (IAM). The Access control (IAM) page appears.
-
Click Add role assignments to display the Add role assignment controls.

-
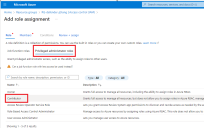
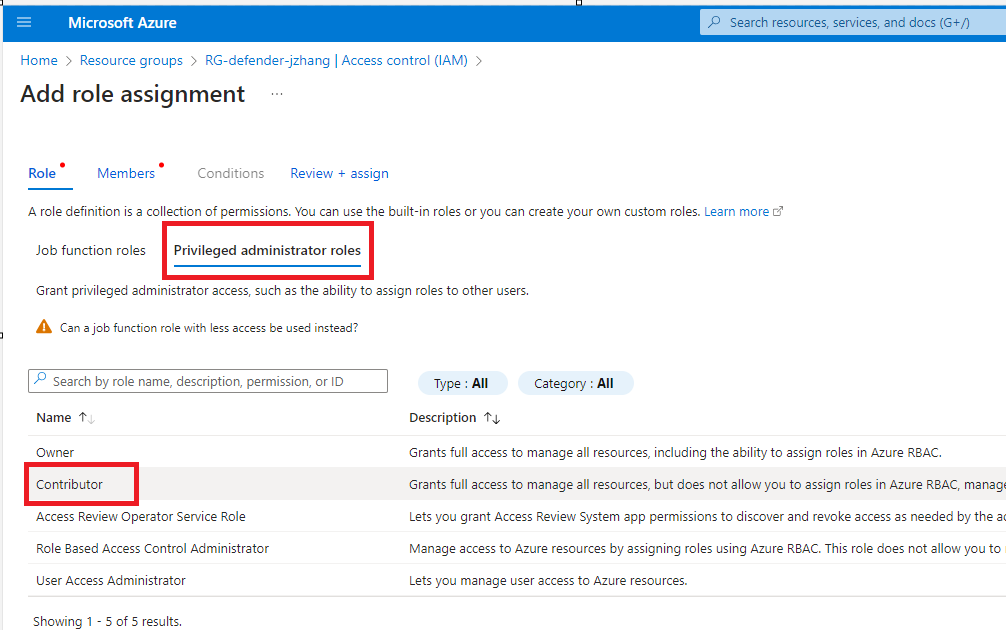
Click on Privileged administrator roles and choose the Contributor option, as illustrated below:
-
Leave the default selection of User, group, or service principal in the Assign access to drop-down.
-
In the Members section, click + Select members to display the Select members panel.
-
Start typing Stellar in the Select field of the Select members panel.
-
When the Stellar Cyber Software Packages entry appears, click its entry and then the Select button.
-
Click Review + Assign in the Add role assignment panel.
Adding a Microsoft.Network Subscription
To add a Microsoft.Network subscription:
- Go back to the Azure portal home page.
-
Click Subscriptions.

The Subscriptions page appears.
- Choose your subscription.
- Click Resource Providers.
- In the search bar, start typing microsoft.network. Azure suggests auto-completions.
- Choose Microsoft.Network.
- Click Register. The registration process begins, which can take several minutes.

The VM is now running in the Azure cloud.
Creating the VM
To create the VM you must use the PowerShell:
-
Click the Cloud Shell button to bring up a PowerShell window.

-
Get the access token from the Stellar Cyber Azure portal with these commands:
Copyaz account clear
az login --service-principal -u '58238038-43b4-4446-8260-0fa97ace1085' -p '3238Q~KMtVAIyuC6gDVMhboKEW7w6W~bXYQhFcZx' --tenant '2f580e30-1cc1-4c08-9e80-704999508e1a'
az account get-access-token -
Get the access token from your tenant with these commands, replacing <TenantID> with yours:
Copyaz login --service-principal -u '58238038-43b4-4446-8260-0fa97ace1085' -p '3238Q~KMtVAIyuC6gDVMhboKEW7w6W~bXYQhFcZx' --tenant '<TenantID>'
az account get-access-token -
Create a security sensor VM with this command:
Copyaz vm create --size Standard_F16s_v2 --resource-group Stellar --name StellarSDS --image "/subscriptions/0e28f851-f477-4f2d-94bc-35c00d3d5fd8/resourceGroups/Stellar/providers/Microsoft.Compute/galleries/StellarCyberSoftwares/images/Stellar-SecuritySensor/versions/4.3.7" --admin-username azureuser --admin-password AzureUser$$1 --os-disk-size-gb 128This can take several minutes.
Installation commands point to the most recent release. To use a different version, simply substitute the version you want for the version specified in the command.
-
Create a DP VM with this command. Replace <resource-group> with an existing resource group in your deployment and <VM name> with a name for the virtual machine. Replace <version> with the version of software you want to install (for example, 4.3.7):
Copyaz vm create --size Standard_E16s_v3 --resource-group <resource-group> --name <VM name> --image "/subscriptions/0e28f851-f477-4f2d-94bc-35c00d3d5fd8/resourceGroups/Stellar/providers/Microsoft.Compute/galleries/StellarCyberSoftwares/images/Stellar-DataProcessor/versions/<version>" --admin-username azureuser --admin-password AzureUser$$1 --os-disk-size-gb 1024You can also explicitly specify the virtual network and subnet for the DP VM as part of this command using the syntax below. Make sure that the
--vnet-nameand--subnetyou specify are in the same resource group called out for the DP at the start of the command:Copyaz vm create --size Standard_E16s_v3 --resource-group <resource-group> --name <VM name> --vnet-name <vnet-name> --subnet <subnet-name> --image "/subscriptions/0e28f851-f477-4f2d-94bc-35c00d3d5fd8/resourceGroups/Stellar/providers/Microsoft.Compute/galleries/StellarCyberSoftwares/images/Stellar-DataProcessor/versions/<version>" --admin-username azureuser --admin-password AzureUser$$1 --os-disk-size-gb 1024If you get an
(InvalidTemplateDeployment)error, the new VM may exceed your compute quota in the specified region. Click the Activity Log in the dashboard. If it reports"QuotaExceeded"in the"statusMessage", go to Azure and submit a new support request to increase your core quota. -
Create inbound security groups for the DP with the commands below, replacing
<RG NAME>with the name of your resource group and<NSG NAME>with the name of your network security group.Copyaz network nsg rule create -g <RG NAME> --nsg-name <NSG NAME> -n StellarPort1 --direction Inbound --protocol Tcp --destination-port-ranges 443 --priority 500
az network nsg rule create -g <RG NAME> --nsg-name <NSG NAME> -n StellarPort2 --direction Inbound --protocol Tcp --destination-port-ranges 6640-6648 --priority 501
az network nsg rule create -g <RG NAME> --nsg-name <NSG NAME> -n StellarPort3 --direction Inbound --protocol Tcp --destination-port-ranges 8888-8889 --priority 502
az network nsg rule create -g <RG NAME> --nsg-name <NSG NAME> -n StellarPort4 --direction Inbound --protocol Tcp --destination-port-ranges 8443 --priority 503 -
Create an inbound security group for the security sensor with the command below, replacing
<RG NAME>with the name of your resource group and<NSG NAME>with the name of your network security group. This command uses the default VxLAN port of 8472:Copyaz network nsg rule create -g <RG NAME> --nsg-name <NSG NAME> -n StellarPort1 --direction Inbound --protocol Udp --destination-port-ranges 8472 --priority 500You can skip this step if you're not using VxLAN forwarding.
- You can restrict the security groups to a single IP address in the Azure portal.

Configuring the Security Sensor VM
To configure the security sensor VM you created:
- Access the console of the VM.
- Log in. The default user/password is aella/changeme. You are immediately prompted to change the password.
- Change the password.
Your sensor installation is complete.
Configuring the DP as an AIO
When the VM is up and running you can configure the DP as an AIO:
- Access the console of the VM.
- Log in. The default user/password is aella/changeme. You are immediately prompted to change the password.
- Change the password.
-
On the DP, enter these commands:
Note that in an AIO deployment, you specify the same IP address for the
set interface management ipandset cmcommands shown below.Copyset interface management ip [IP address/netmask for your DP; for example, 192.168.14.100/255.255.255.0]
set interface management gateway [IP address of your gateway]
set interface management dns [IP address of your DNS, or 8.8.8.8]
set role AIO
set cluster_name AIO
set cluster_size 1
set cm [IP address of DP Data Lake]
set otp [OTP/License Key you received from Stellar Cyber]
reset - Confirm the reset. The image is downloaded (which can take a while, depending on your network) and installed.
-
Verify that everything is installed, ready, and running with the
show statuscommand. A screen similar to the following appears as it is installing: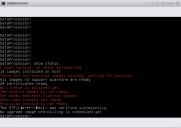
When it finishes the status is similar to:
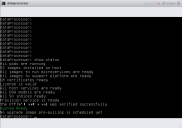
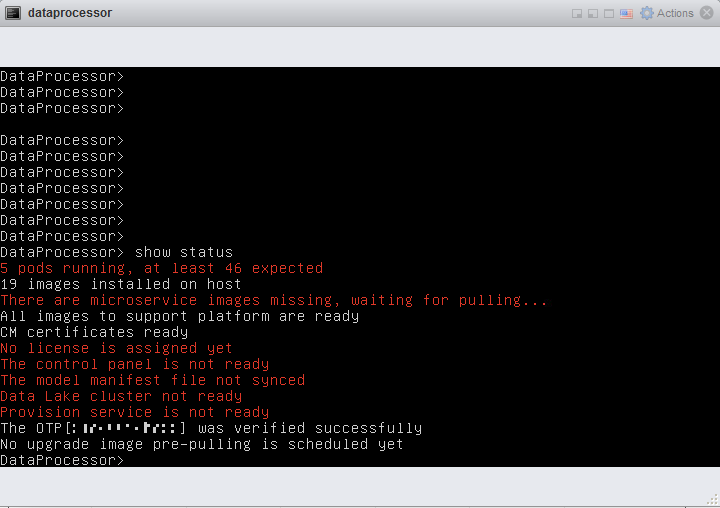

The installation is complete and the DP is now functional.
Tune the MTU of the DP
Azure does not support jumbo frames. If you installed an AIO, this is not an issue. Otherwise, contact Stellar Cyber technical support to have us tune the MTU of the DP.
