Configuring Bitdefender Connectors 
A Stellar Cyber Bitdefender connector allows you to Contain hosts (Isolate Endpoints) using an API call to the Bitdefender server managing those hosts.
Connector Overview: Bitdefender
Capabilities
-
Collect: No
-
Respond: Yes
-
Native Alerts Mapped: Yes
-
Runs on: DP
-
Interval: N/A (applies only to Collect)
Collected Data
Bitdefender's API does not support pull of data, so that option is not offered in the Stellar Cyber Bitdefender connector. For collection, you set up Bitdefender to push data to a Stellar Cyber sensor configured to ingest httpjson over TLS. (Bitdefender's PUSH event JSON RPC messages are listed in their online documentation). The received logs are is ingested to the Syslog index. From there, Stellar Cyber runs alert integrations and maps certain records (see below) to the Alert Index. A detailed list of how to locate the ingested event types is provided in the section below on Locating Records.
Domain
|
<Access URL> where <Access URL> is a variable from the configuration of this connector |
Response Actions
|
Action |
Required Fields |
API |
|---|---|---|
|
|
https://< Access URL>/api/v1.0/jsonprc/incidents {params} where
Example: https://cloud.gravityzone.bitdefender.com/api/v1.0/jsonrpc/incidents with params: { "endpointId" : "62ba2eeafb978f545505e687" },"jsonrpc": "2.0","method": "createIsolateEndpointTask","id": "301f7b05-ec02-481b-9ed6-c07b97de2b7b"}' |
Third Party Native Alert Integration Details
Of the different record types you can configure to push to Stellar Cyber's httpjson parser, the 11 below are normalized and enriched as they are added to the Syslog index. The records are evaluated against existing records in the Alert index. Those that do not already exist are directly and mapped to the XDR Kill Chain and the Alert Index. For details, see Integration of Third Party Native Alerts.
The other records are run through the ML/SA pipeline, which may generate alerts based on those algorithms. They are assigned a description of The Bitdefender endpoint agent reported an anomaly along with the indicated fields below.
|
Bitdefender Event Stellar Cyber Label |
Stellar Cyber |
Bitdefender Fields |
Reported Fields |
|---|---|---|---|
| Advanced Threat Control (ATC) | 1 | module, computer_fqdn, computer_ip, exploit_type | event.type, host.name, host.ip, threat.name |
| Antiexploit Event | 1 | module, computer_fqdn, computer_ip, detection_threatName | event.type, host.name, host.ip, threat.name |
| Antimalware | 1 | module, computer_fqdn, computer_ip, malware_name | event.type, host.name, host.ip, threat.name |
| Hyper Detect event | 1 | module, computer_fqdn, host.ip, malware_name | event.type, host.name, host.ip, threat.name |
| Sandbox Analyzer Detection | 1 | module, computerName, computerIp, threatType | event.type, host.name, host.ip, threat.name |
| User Control / Content Control | 2 | module, computer_fqdn, computer_ip, url | event.type, host.name, host.ip, url |
| Data Protection | 3 | module, computer_fqdn, computer_ip, url | event.type, host.name, host.ip, url |
| Storage Antimalware | 3 | module, computer_name, malware_name | event.type, host.name, host.ip, threat.name |
| Ransomware activity detection | 4 | module, computer_fqdn, computer_ip, attack_source | event.type, host.name, host.ip, srcip |
| Antiphishing | 5 | module, computer_name, computer_fqdn, aph_type | event.type, host.name, host.ip,url |
| Firewall | 6 | module, computer_name, computer_ip, source_ip | event.type, host.name, host.ip, srcip |
*TTP mapping legend
|
|||
Required Credentials
To Respond, an Access URL and API key are required from an administrative account in the Bitdefender GravityZone CLOUD Control Center. The API key must be enabled for the following settings: Network API, Reports API, Incidents API, Quarantine API, and Event Push Service API. The account must have licensing that supports Bitdefender's Isolate action.
Locating Records
Use the following fields as a guide to query for records.
msg_origin.source: bitdefender
Let us know if you find the above overview useful.
Adding a Bitdefender Connector
To add a Bitdefender connector:
- Configure Bitdefender API access
- Add the connector in Stellar Cyber
- Test the connector
- Verify ingestion
Configuring Bitdefender API Access
You must configure obtain the following information from your Bitdefender GravityZone console before you add the connector in Stellar Cyber:
-
Access URL
-
API Key
-
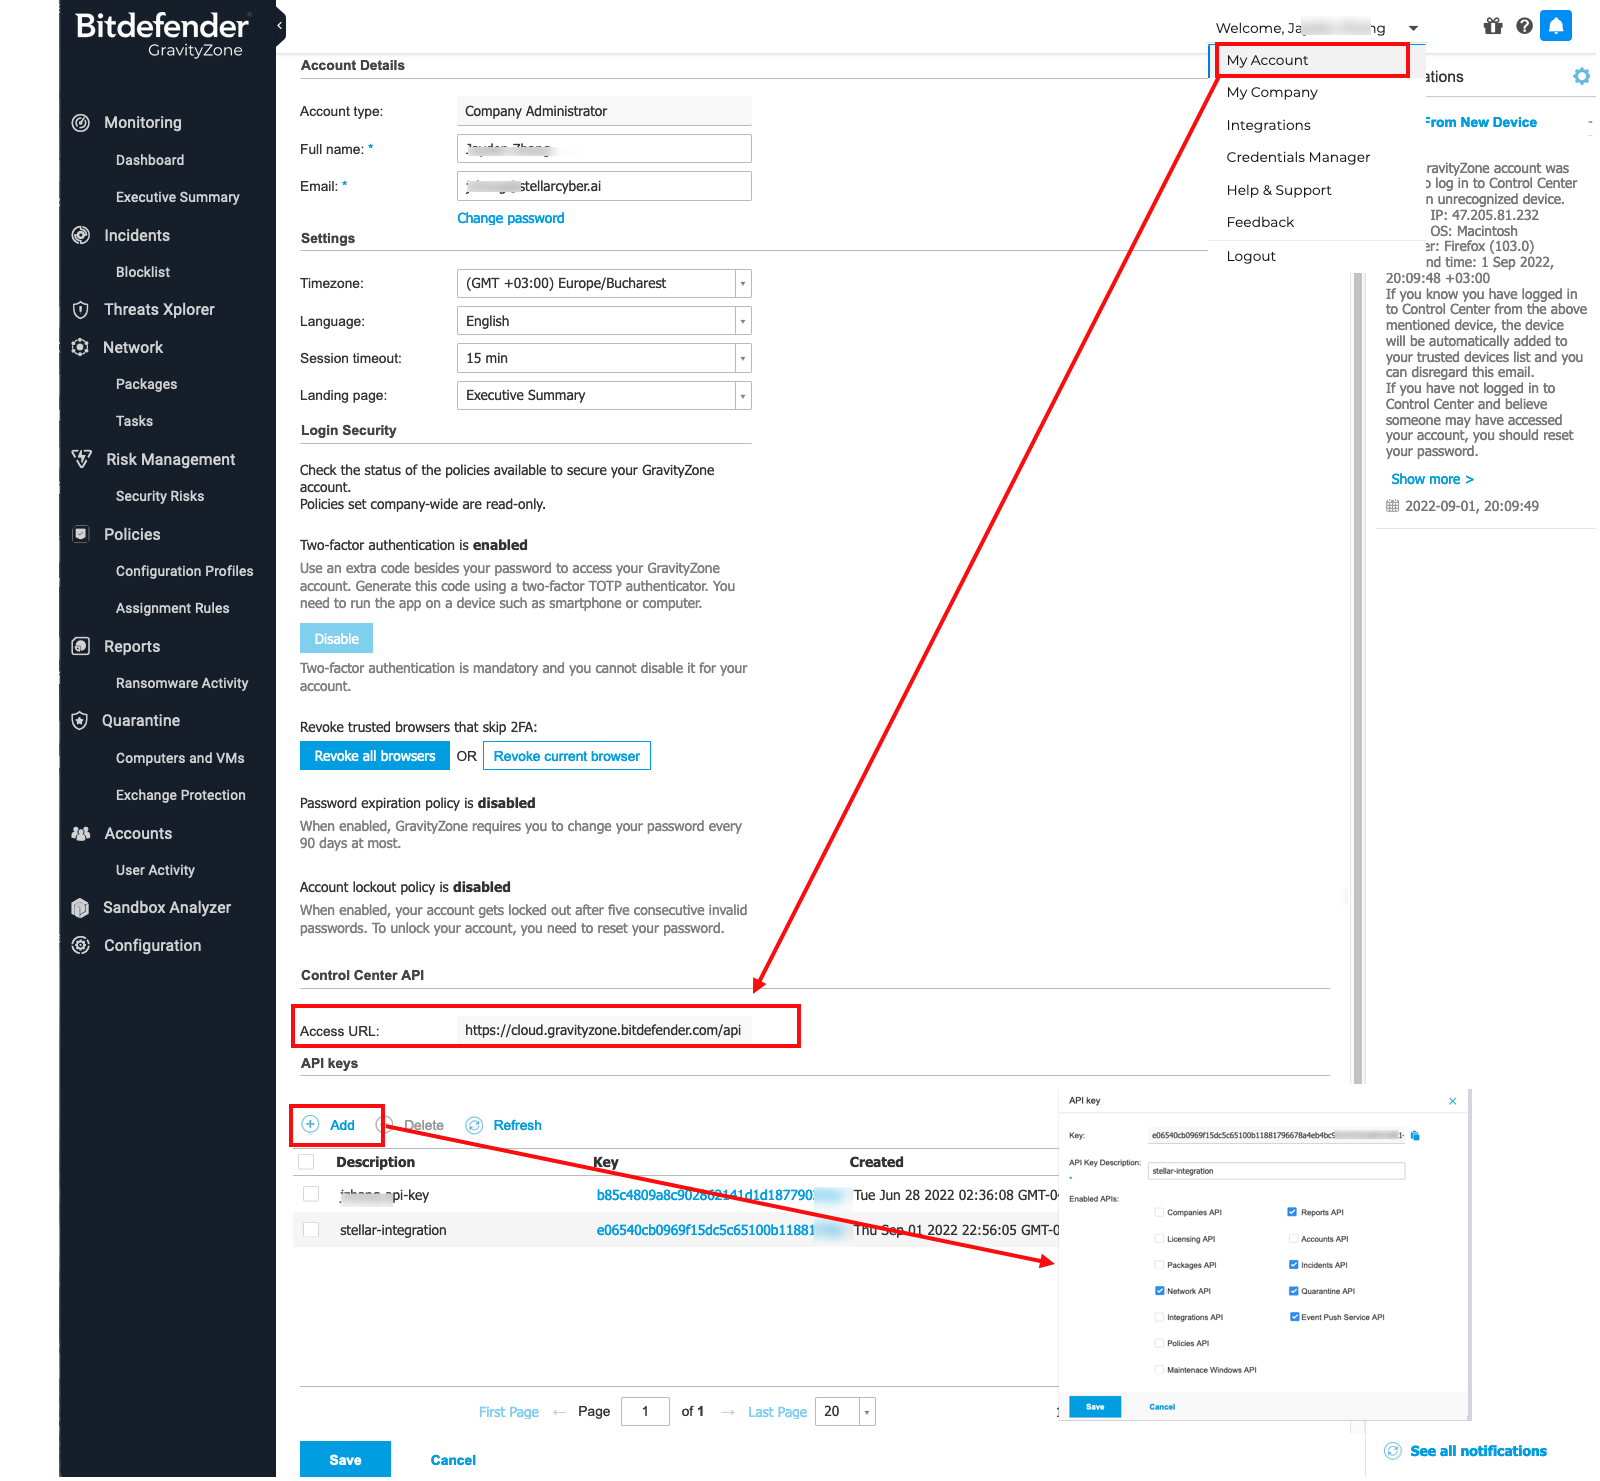
Log in to the Bitdefender GravityZone CLOUD Console as an administrative user.
-
Access your account settings.
-
Locate and save the Access URL information for use in the next section (for example: https://cloud.gravityzone.bitdefender.com).
Do not include /api at the end of the URL.
-
Select the option to Add an API Key.
-
Create the key with at least these options:
Network API
Reports API
Incidents API
Quarantine API
Event Push Service API
-
Save the API key.
-
Locate the new key in the API keys table and save the value for use in the next section.
Adding the Connector in Stellar Cyber
To add a Bitdefender client connector in Stellar Cyber:
-
Log in to Stellar Cyber.
-
Click System | Integration | Connectors. The Connector Overview appears.
-
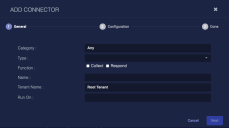
Click Create. The General tab of the Add Connector screen appears. The information on this tab cannot be changed after you add the connector.
-
Choose Endpoint Security from the Category drop-down.
-
Choose Bitdefender from the Type drop-down.
-
For this connector, the supported Function is Respond, which is enabled already.
-
Enter a Name.
This field does not accept multibyte characters.
-
Choose a Tenant Name. This is the Stellar Cyber tenant allowed to use this connector.
-
Choose the device on which to run the connector.
-
Certain connectors can be run on either a Sensor or a Data Processor. The available devices are displayed in the Run On menu. If you want to associate your collector with a sensor, you must have configured that sensor prior to configuring the connector or you will not be able to select it during initial configuration.
-
If the device you're connecting to is on premises, we recommend you run on the local sensor. If you're connecting to a cloud service, we recommend you run on the DP.
-
-
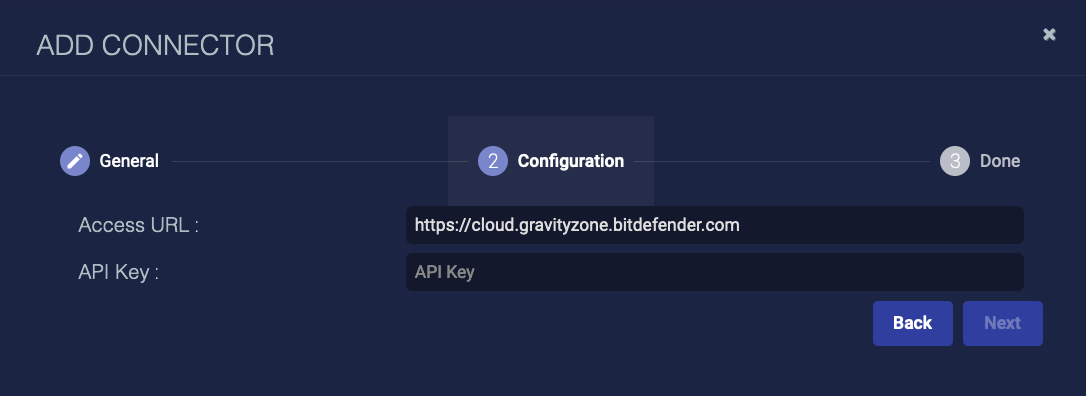
Click Next. The Configuration tab appears. Complete this screen with the data you collected from your Bitdefender steps in the previous section.
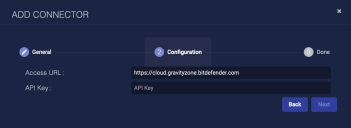
-
Enter the Access URL you obtained above (for example: https://cloud.gravityzone.bitdefender.com).
Do not include /api at the end of the URL.
-
Enter the API Key you configured above.
-
Click Next. The final confirmation tab appears.
-
Click Submit.


The new connector is immediately active.
Testing the Connector
When you add (or edit) a connector, we recommend that you run a test to validate the connectivity parameters you entered. (The test validates only the authentication / connectivity; it does not validate data flow).
-
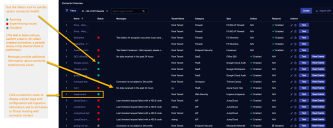
Click System | Integrations | Connectors. The Connector Overview appears.
-
Locate the connector that you added, or modified, or that you want to test.
-
Click Test at the right side of that row. The test runs immediately.
Note that you may run only one test at a time.
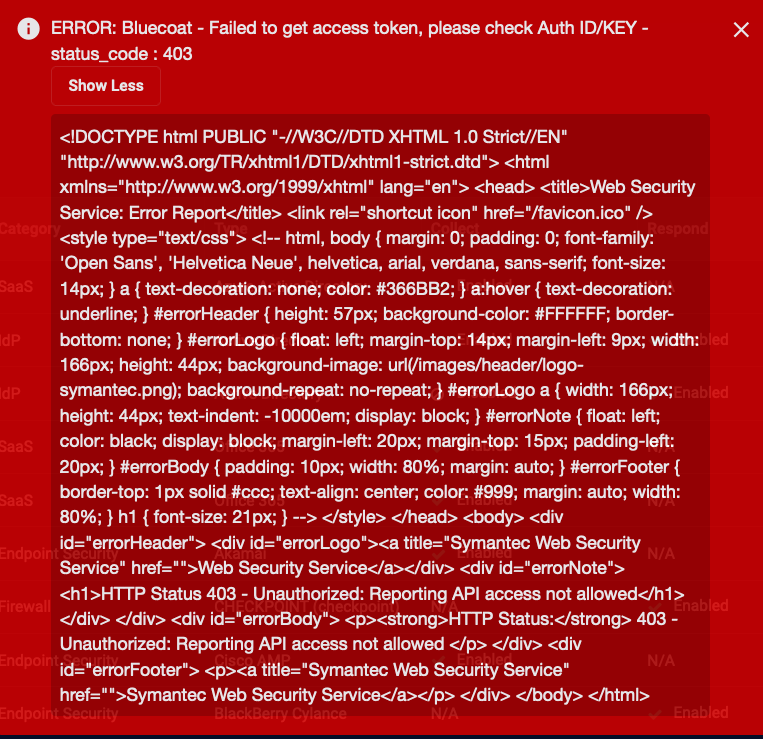
Stellar Cyber conducts a basic connectivity test for the connector and reports a success or failure result. A successful test indicates that you entered all of the connector information correctly.
To aid troubleshooting your connector, the dialog remains open until you explicitly close it by using the X button. If the test fails, you can select the button from the same row to review and correct issues.
The connector status is updated every five (5) minutes. A successful test clears the connector status, but if issues persist, the status reverts to failed after a minute.
Repeat the test as needed.


Verifying Ingestion
Use these steps to verify the records related to Bitdefender are in Stellar Cyber:
-
Click Investigate | Threat Hunting. The Interflow Search tab appears.
-
Change the Indices to Syslog. The table immediately updates to show ingested Interflow records.
-
Use the card at the top of this topic to find keywords for your connector and search for related keywords.
For Respond actions, refer to Understanding Event Details to understand how work with the Contain Host feature.
