Configuring Okta SSO
You can configure Stellar Cyber to use Okta SSO for Authentication or Authentication and Authorization:
Adding Stellar Cyber as a New Application in Okta
To add Stellar Cyber as a new application in Okta:
-
Log in to Okta.
-
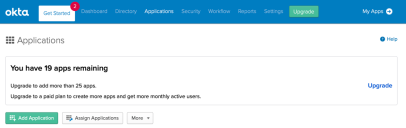
Click Applications. The Applications page appears.
-
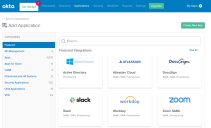
Click Add Application. The Add Application page appears.
-
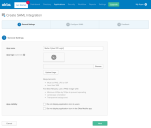
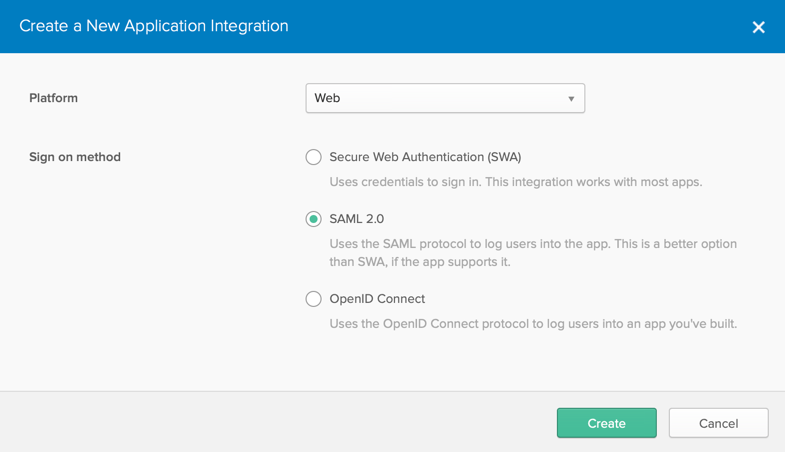
Click Create New App. The Create a New Application Integration screen appears.

-
Choose Web for the Platform.
-
Choose SAML 2.0 for the Sign on method.
-
Click Create. The Create SAML Integration page appears, with the General Settings displayed.
-
Enter the App name.
-
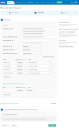
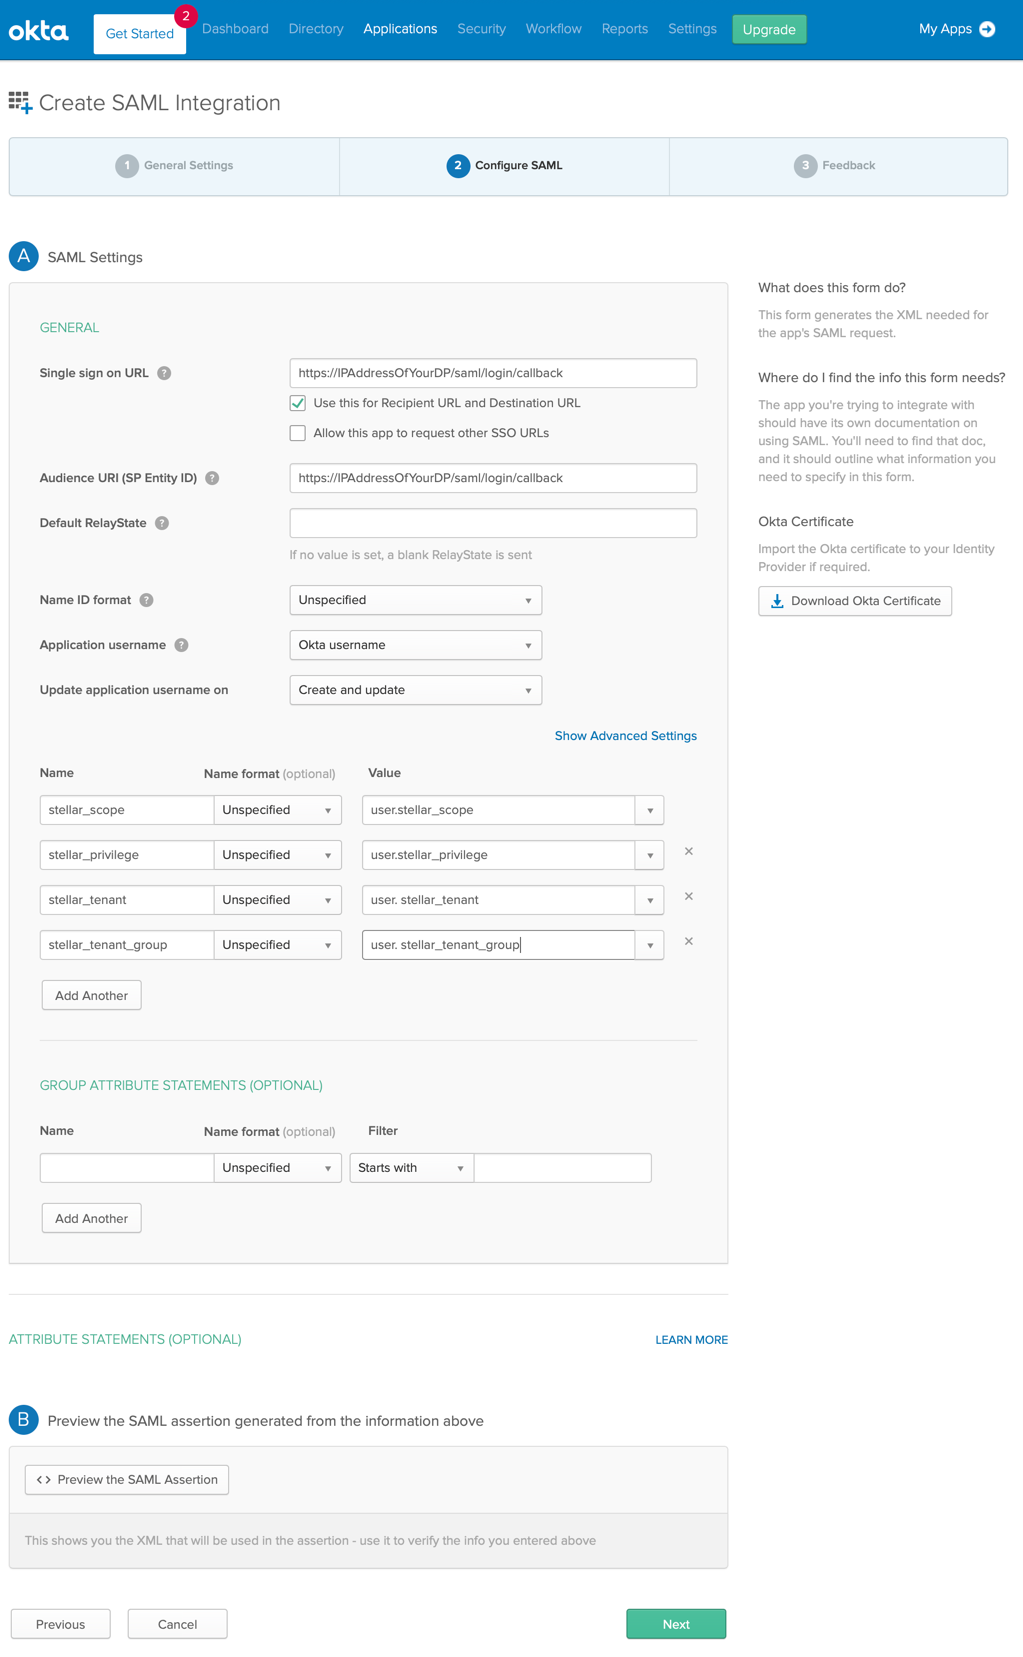
Click Next. The SAML Settings appear.
-
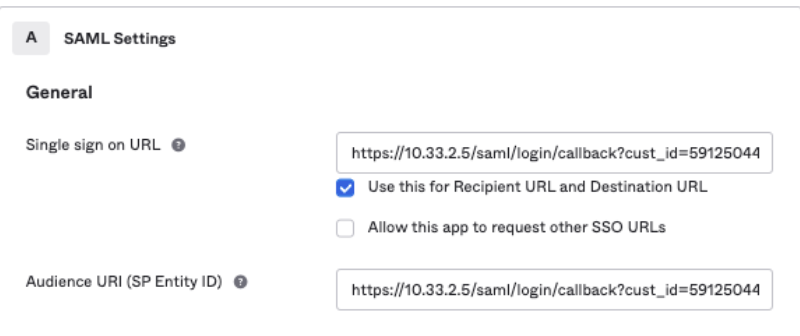
Enter the same value for the Single sign on URL and the Audience URI.
-
For Global SSO configuration:
-
https://<IP Address of DP>/saml/login/callback
-
-
For Tenant-specific SSO configuration:
-
https://<IP Address of DP>/saml/login/callback/cust_id/<tenant id>(preferred) -
https://<IP Address of DP>/saml/login/callback?cust_id=<tenant id>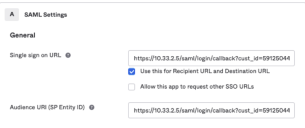
-
-
-
If you are configuring SSO for the whole server, you can enter the following Name/Value pairs. You will use these as attributes later. This configuration does not apply to tenant-specific SSO configuration.
Custom Attribute Name
Source Attribute*
Values (set later) Global SSO Tenant-specific SSO
stellar_scopeappuser.stellar_scope rootpartnertenantRequired for Authorization Not applicable
stellar_privilegeappuser.stellar_privilege super_adminplatform_adminsecurity_adminuserRequired for Authorization
stellar_tenantappuser.stellar_tenant ID number for configured tenant (Optional) Specify an individual tenant ID, not name. The ID is available on the Tenants List page.
stellar_tenant_groupappuser.stellar_tenant_group ID number for any configured tenant group (Optional) Specify a tenant group ID, not name. This is typically available for use by MSSP users with the Partner role. The Tenant Group ID is displayed on the Tenant Groups page.
-
Values in these fields are case sensitive and syntax matters. Use the exact indicated syntax and verify that you have made no typos.
-
If you have created a custom privilege with spaces or dashes, use an underscore instead. Example: A custom privilege of STML-Super Admin must be entered as
STML_Super_Admin.
-
-
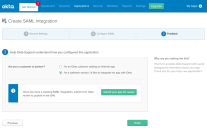
Click Next. The Feedback screen appears.
-
Enter your feedback.
-
Click Finish. The new app is immediately created.
-
Click View Setup Instructions. The configuration information appears in a new window.
-
Copy the Identity Provider Single Sign-On URL and Identity Provider Issuer. These are the Entry Point and Issuer URL you will use to configure Stellar Cyber.
-
Download the X.509 certificate.
-
Close the configuration information window.


You must now assign the users who will authenticate.
Assigning Okta Users to Authenticate
To assign the users who will authenticate with Okta and make a list of these users to add to Stellar Cyber:
-
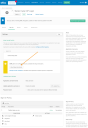
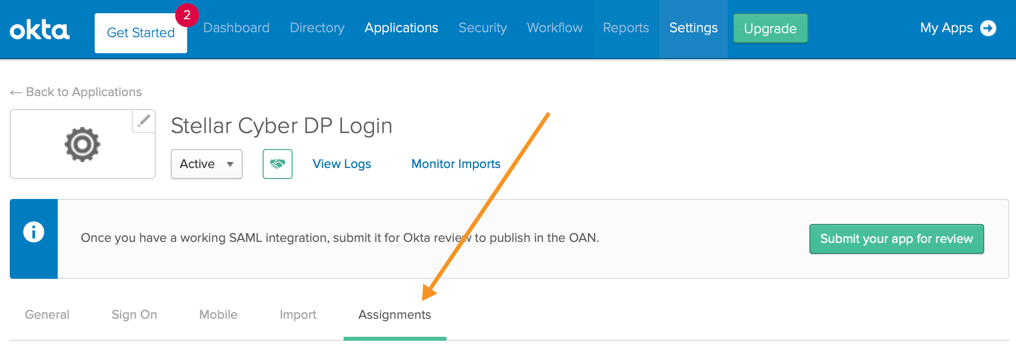
On the app information page, click Assignments.

The people and groups assignments appear.
- Click Assign, and Assign to People. The assignment screen appears, listing the people using Okta.
-
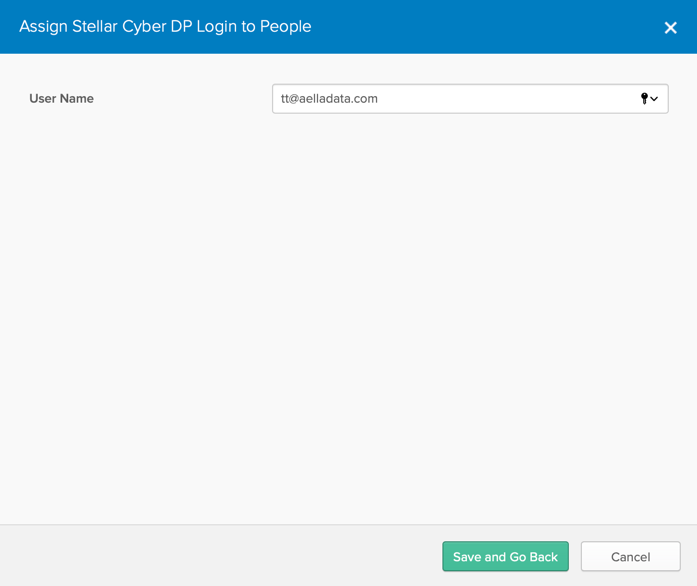
Click Assign for a person who will authenticate. The person's details appear.
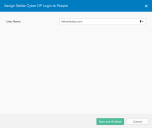
- Click Save and Go Back. The list of people re-appears.
- Repeat the assignment for all people who will authenticate.
- Click Done.
You must now add attributes for these users. Save the list of users for the next step and to add to Stellar Cyber, if you are configuring Authentication only (users are automatically added when you are configure SSO to perform both Authentication and Authorization).
Adding Attributes for the Assigned Users
These attributes allow you to manage authorization for your Stellar Cyber users (not applicable for per-tenant SSO).
To add attributes for the users:
-
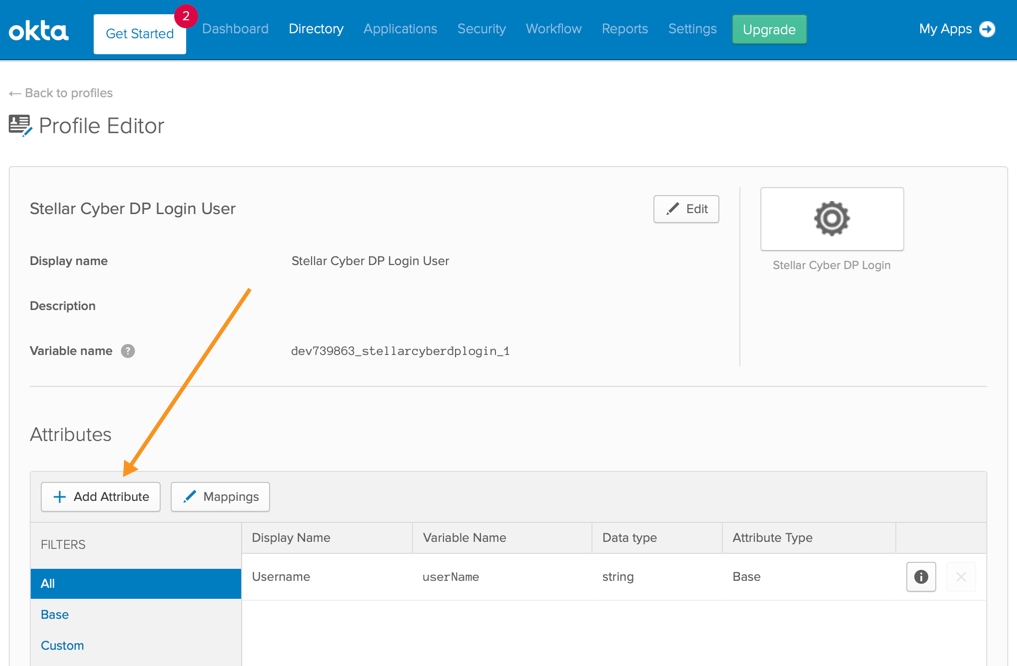
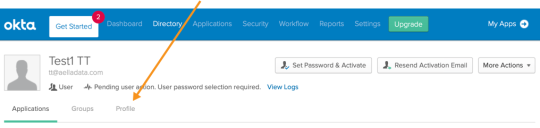
Click Directory | Profile Editor. The Profile Editor page appears.
-
Click Profile for the app user.
-
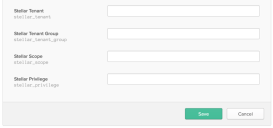
Click Add Attribute.

The Add Attribute screen appears.
-
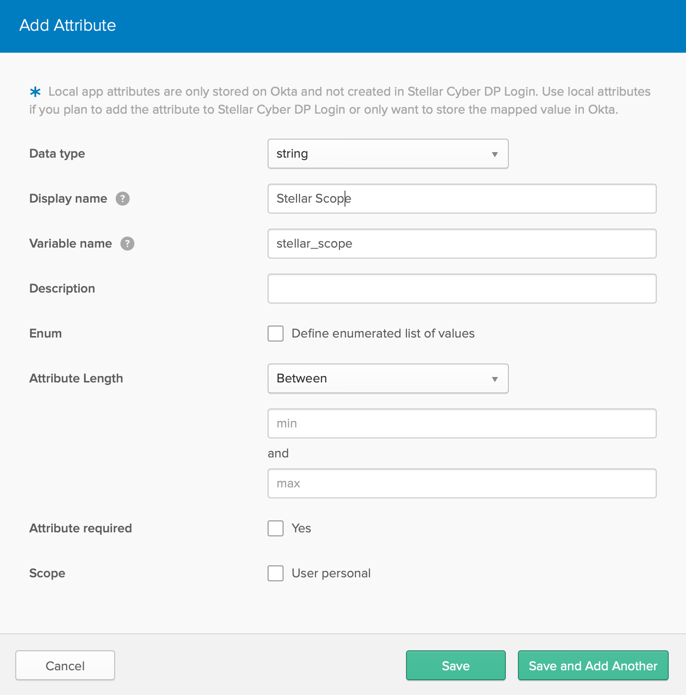
Enter one of the Variable names you created previously. The 4 variable names are (syntax and case matter):
-
stellar_scope
-
stellar_privilege
-
stellar_tenant
-
stellar_tenant_group
-
-
Enter a Display name.
-
Click Save and Add Another until you've added all 4.
-
Click Save.
You must now assign scopes to the users.
Assigning Values to Variables
To assign scope, privilege, and tenant for each person (not applicable for per-tenant SSO):
-
Click Directory | People. The People page appears.
-
Click the name of a person. The information page appears.
-
Click Profile.
The profile attributes appear.
-
Click Edit. The new attributes are at the bottom of the page.
-
Enter the exact tenant ID as defined in Stellar Cyber.
-
Enter the exact tenant group ID as defined in Stellar Cyber.
-
Enter the scope, which can be root, tenant, or partner
-
Enter the privilege, which can be super_admin, platform_admin, security_admin, or user. You can also enter a custom privilege you defined in Stellar Cyber, under Admin | Role-Based Access Control.
-
Click Save.
-
Repeat for each user.


If you are using two-factor authentication, you must enable a multi-factor authentication option. Otherwise, you can proceed to configuring SSO in Stellar Cyber.
Activating Multifactor Authentication (MFA)
You can optionally enable MFA for your users. The steps here allow you to specify which client you prefer for authentication.
Configuration of multi-factor authentication in OKTA is independent of whether you enable 2FA in Stellar Cyber. It is possible for you require your users to authenticate with MFA in OKTA and again with 2FA in Stellar Cyber
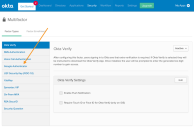
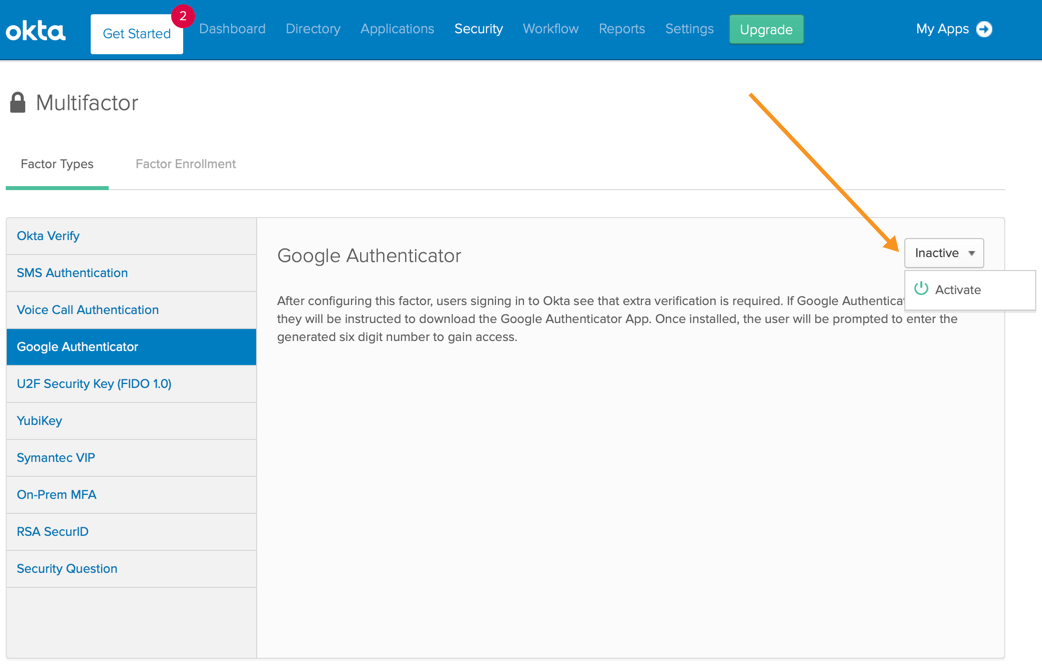
- Click Security | Multifactor. The Multifactor page appears.
-
For this example, we are using the Google Authenticator app. Click Google Authenticator.
-
Change Inactive to Activate.

The status changes to Active.

You can now configure SSO authentication in Stellar Cyber.
Configuring SSO Authentication in Stellar Cyber
With all your details collected, you are now ready to configure SSO Authentication in Stellar Cyber. The steps below are generally applicable for use for global configuration or per-tenant configuration.
Prepare for Users
-
For Authentication Only SSO: All users must first be added manually in the data processor (DP). Subsequent to that manual entry, the user can log in with SSO.
-
For Authentication & Authorization SSO: All users are configured through the IdP.
-
You enable SSO for all users except the root admin user. The root admin user must always use local authentication (
https://Stellar Cyber DP address/login). -
For Local access (bypass) when SSO is enabled: If Stellar Cyber loses connectivity with your IdP, users configured for SSO cannot log in. As a preventive bypass method, manually create a new user in the DP with
rootscope and with a valid email address that has "+admin" appended to a valid user name, as follows:<user>+admin@yourorganization.com(joe+admin@yourorganization.com). The user you create must be able to receive a password reset email at<user>@yourorganization.com. This process an email alias for that valid user that Stellar Cyber uses to permit bypass of an SSO for local login. After you create this separate manual user account, that user can log in two ways:-
an SSO user with
<user>@yourorganization.com -
or as a local user at
https://Stellar Cyber DP address/login)using<user>+admin@yourorganization.com
If SSO is configured, it is recommended to keep an active administrative account in Stellar Cyber's user management.
-
Enable SSO
-
Log in to Stellar Cyber.
-
Click System | Administration | Settings.
-
Scroll down to the Authentication Settings.
-
Choose SSO (SAML) in the Authentication Method drop-down.
-
Choose Metadata URL or Manual Config:
-
If you selected Manual Config:
-
Enter the Issuer URL. This is your Stellar Cyber IP address or FQDN. You must include http:// or https:// in the Issuer URL field.
-
Enter the Entry Point. This is the URL you noted during your IDP setup steps. For example:
In
In OKTA, it's the Identity Provider Single Sign-On URL
-
Upload the IDP Certificate you obtained during your IDP setup steps.
-
-
If you selected Metadata URL enter the Metadata URL from your IDP provider.
-
-
Select Allow Clock Skew to allow for system time differences between Stellar Cyber and your IdP. Authentication messages have an expiration. If the system times on Stellar Cyber and your IdP are not synchronized, the messages might expire before they even get to Stellar Cyber. The result is that users cannot log in, because they cannot authenticate.
-
Choose your IdP setting: Authentication Only or Authentication and Authorization. (Global configurations only, not applicable to Tenant-specific configuration). Note the following:
-
A Global selection of Authentication and Authorization applies to all users, so the option to change authentication method for a specific tenant is not applicable when the Global method is set to Authentication and Authorization. You can not log in to Tenant SSO when Global SSO is set to Authentication and Authorization. If you want to use SSO but also allow local users and tenant override, you must set the Global authentication method either to Local or to use the IdP with Authentication Only.
-
Although you can customize SSO configuration on a per-tenant basis, the Authorization capability is only supported at the global level. Overrides you make at the tenant level are for Authentication only, so the toggle for Authentication and Authorization is not offered in the Tenant editor.
-
The Root Tenant must be configured to use either Default (same method as the Global authentication), or Local. It is not supported for configuration with an independent SSO.
-
Choose Authentication Only for Stellar Cyber to authenticate users from your IdP, but manage scope and privilege locally. If you choose this, you must create the user in Stellar Cyber before adding them to your IdP.
-
Choose Authentication and Authorization for Stellar Cyber to authenticate users from your IdP, along with their scope and level of privilege. You must configure authorization on your IdP before enabling this, otherwise users cannot log in. If you choose this, you do not need to create the user in Stellar Cyber. Stellar Cyber creates the user and assigns scope and privilege based on the information passed from the IdP.
When Global Settings is configured for BOTH Authentication & Authorization, the option to Create new users manually is hidden because new users MUST come from the IdP source.
-
-
Choose a Two-Factor Authentication to the option that matches your IdP configuration:
-
Off: If you choose this option, Stellar Cyber user accounts are not offered a 2FA option.
-
Mandatory: If you choose this option, all users for every tenant are required to use 2FA when logging in to Stellar Cyber.
-
Optional: If you choose this option:
-
The 2FA option can be customized for individual tenants under System | Administration | Tenants
-
Individual users can choose to enable 2FA under their User Profile, accessed from the top menu of the Stellar Cyber UI.
-
You can enforce 2FA for specific users under System | Administration | Users when adding or editing a user
-
The overall Global Settings for 2FA affect tenant-specific authentication. For example, if 2FA is Mandatory, all users must use 2FA.
-
Enabling 2FA here is independent of what you have configured on your SSO service. Enabling it here causes a separate 2FA prompt to be displayed upon logging in to Stellar Cyber.
-
The 2FA page from Stellar Cyber refers to use of Google Authenticator, but other authenticator applications also work.
-
-
-
Review your settings, then click Submit.
