About Receivers
Receivers are configuration objects in Stellar Cyber that define destinations where data collected by Modular Sensors, Server Sensors, and connectors is sent for ingestion into the Data Processor (DP). Each Sensor Profile must refer to one or more receivers.
You must have Root scope to use this feature.
Receiver Overview
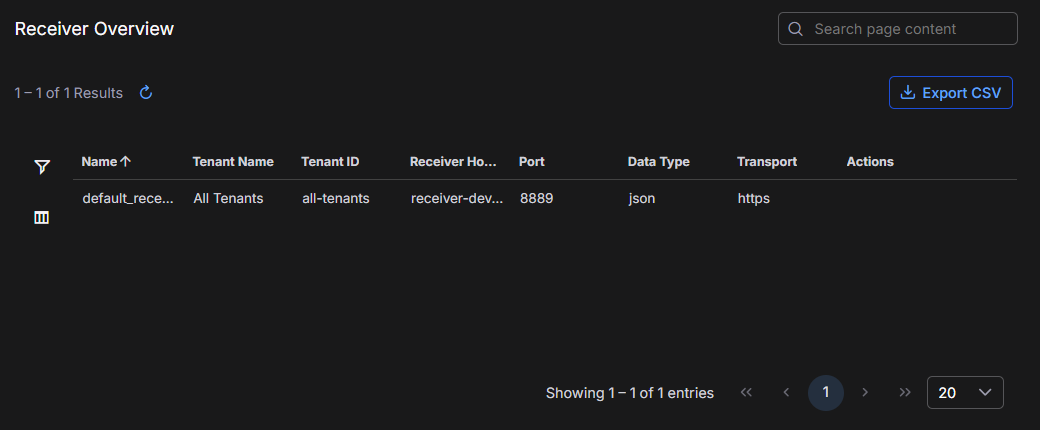
Select System | DATA SOURCE MANAGEMENT | Receivers to see a list of the configured receivers.
Receiver creation and management are performed by Stellar Cyber operations for SaaS environments. Work with your account management team to make sure the receivers you need are available on the Stellar Cyber Platform.