Deploying Server Sensors
Stellar Cyber uses a wide variety of sensors to collect data to ingest into its security data base. One type of sensor is a Server Sensor. Server Sensors are installed in a host as a system daemon process. The System | Deployment | Agents screen helps you deploy both Linux and Windows Server Sensors — there are separate tabs for each.
For more information regarding sensors that are currently installed, see the Sensor Overview page.
Linux Deployment
The Linux deployment option appears by default when the System | Deployment | Agents screen first appears, as in the image below:
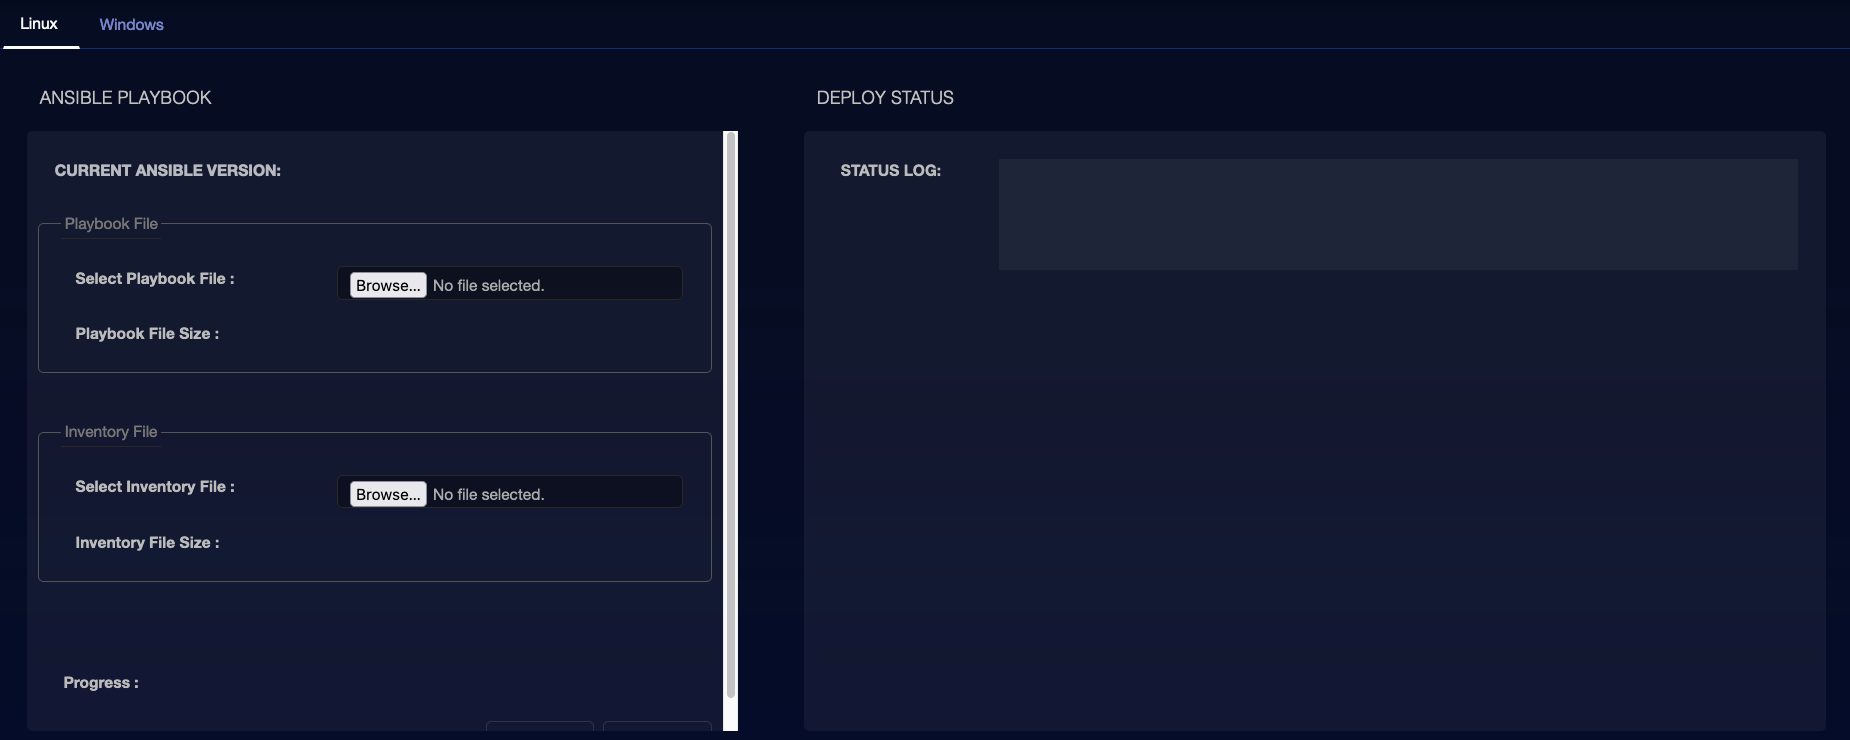
The Linux deployment leverages the widely-used Ansible system. The user must provide a playbook file (which contains the instructions on how to install the agent software) and an inventory file (which contains a list of target systems). See the following section for sample files.
The controls on this screen include:
-
Select Playbook File—This is a browser file-select tool to select the file on the local system that contains the Ansible playbook.
-
Select Inventory File—This is a browser file-select tool used to select the file on the local system that contains the Ansible inventory file.
-
Upload—Click this button to upload the files selected above.
-
Deploy—Click this button to initiate execution of the Ansible playbook.
The right hand side of the screen shows the current status log. It updates once a deployment is in progress.
Sample Ansible Files
The following files are provided to illustrate how the Ansible files might appear. Some modification of these files to accommodate the local installation will be required.
These files may be used via the user interface as describe above or run from an Ansible administrator system.
Playbook file
The playbook file is a YAML-format file similar to the following:
The required modifications to this file include:
- In the
vars:section change thecm_ipvalue to the IP address that is assigned to the data processor. This is the address that the installed sensor will use to send data.
The file can then be used as described above.
To download the sample Ansible install file, use the following command:
curl -k -u AellaMeta:WroTQfm/W6x10 -o aella-agent-install.yml https://acps.stellarcyber.ai/release/4.3.7/datasensor/aella-agent-install.yml
Inventory File
A sample Ansible inventory is shown as follows:
[hosts_centos]
192.168.1.113

[hosts_centos:vars]
ansible_connection=ssh
ansible_port=22
ansible_user=aella
ansible_ssh_pass=aella
ansible_become_pass=aella
ansible_ssh_common_args='-o UserKnownHostsFile=/dev/null -o StrictHostKeyChecking=no'

[target:children]
hosts_centos
The modifications to this file include:
- Update the
[hosts-centos]section to include the IP addresses of all target systems. - Change the
ansible_ssh_passvalue. - Change the
ansible_become_passvalue.
The file may then be used as describe above.
To download the sample Ansible inventory file, use the following command:
curl -k -u AellaMeta:WroTQfm/W6x10 -o aella-agent-inventory https://acps.stellarcyber.ai/release/4.3.7/datasensor/aella-agent-inventory
For more information on installing Linux Agent sensors, see the Linux Agent install page.
Windows Deployment
Click the Windows tab to deploy Windows Server sensors in a screen similar to the following:
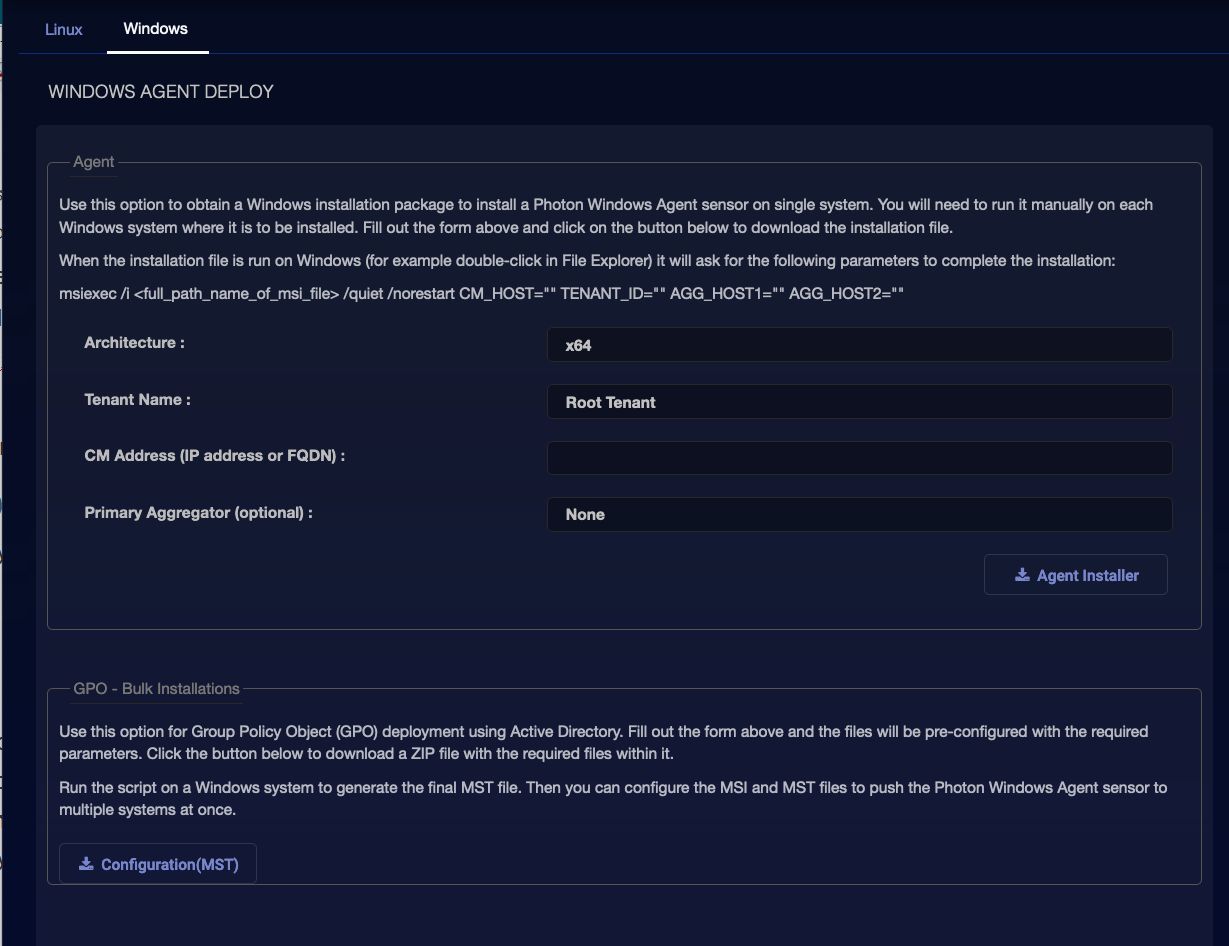
There are two independent functions on this page.
- Agent—This section configures an MSI image and downloads it to the local browser environment as an MSI file.
- GPO - Bulk Installations—This section downloads an MST image to the local browser environment which can be used in a Windows Active Directory installation.
Agent
Supply the following information to download a customized Agent installer:
- Architecture—This field selects between 32-bit or 64-bit architectures. This must be set to match the architecture type of the system where the agent will be installed. This controls which image is downloaded.
- Tenant Name—The Tenant to which the sensor will be assigned.
- CM Address—This field accepts either an IP address or a DNS address of the Data Processor. The installed sensor will connect to this address.
When the form values are set, you can click the Agent Installer button. The MSI installation file will be downloaded into the browser environment's download directory.
The form values Tenant Name and CM Address update the instructions that appear on the screen in the section. Specifically the Tenant ID number is provided, which is needed when the agent is installed.
The downloaded file can then be transferred to a target system and either executed by double-clicking it in the File Explorer or from a command line such as the one that follows.
msiexec /i <full_path_name_of_msi_file> /quiet CM_HOST=myportal.mydomain.com TENANT_ID=62802740 TENANT_NAME=CompanyABCD
See the Windows Agent installation page for more information on working with these files.
GPO - Bulk Installations
This section provides no options. You can click the Configuration(MST) button to download the MST file into the browser environment's local download folder.
Refer to the Microsoft Active Directory Administrator's manual for further information on working with MST files.
