Configuring Feeds in the Threat Intelligence Platform

You must have Root scope to use this feature.
Use the Feeds tab on the System | Threat Intelligence Platform page (under Integrations) to configure and manage threat intelligence feeds.
To manage IoCs, see Managing IoCs in the Threat Intelligence Platform.
Using the Feeds Tab
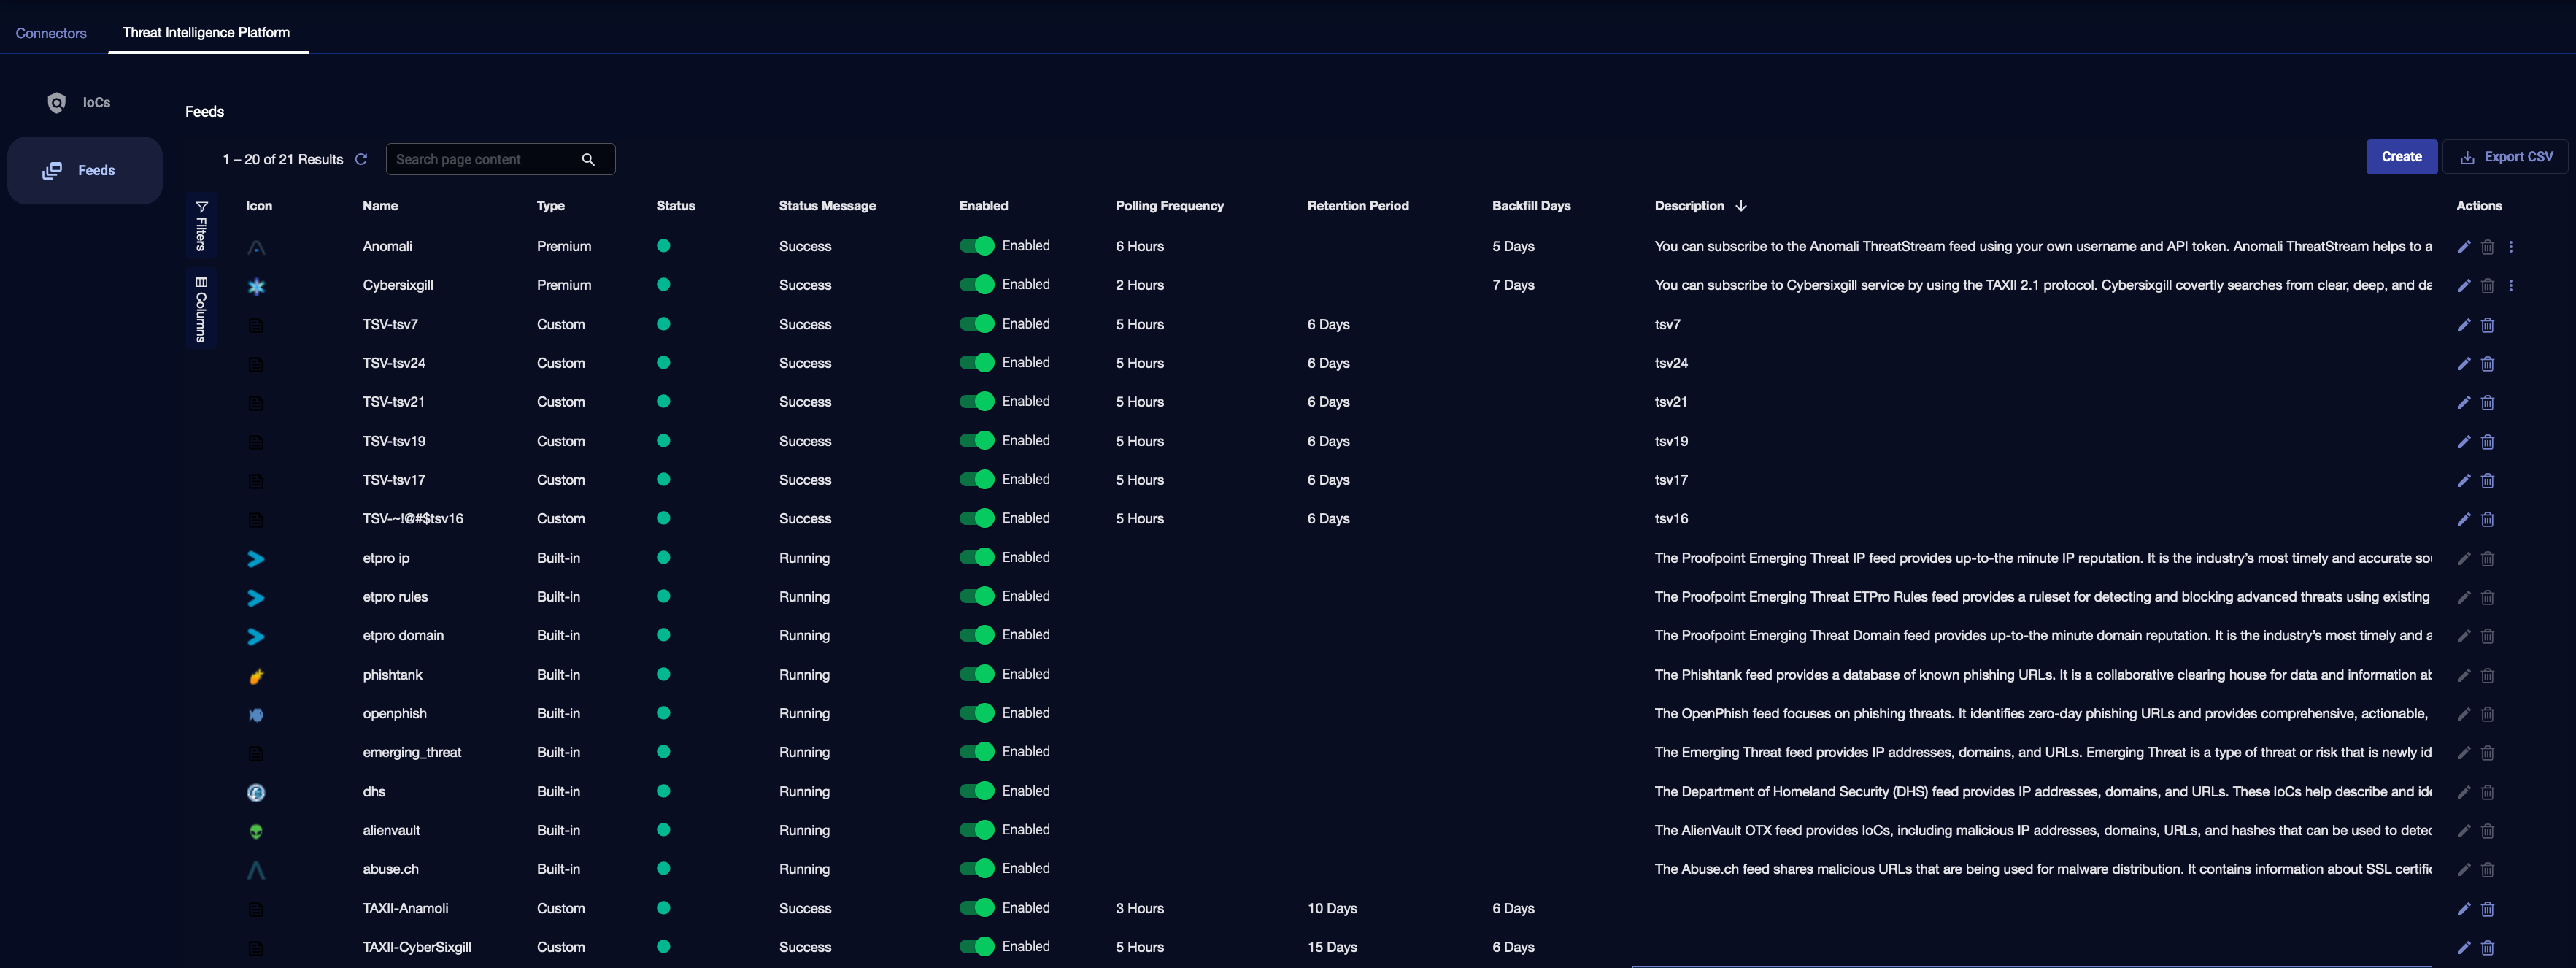
The Feeds tab displays the threat intelligence feeds.
The Feeds table has the following columns:
-
Icon—icon of the feed
-
Name—name of the feed, such as PhishTank or etpro domain
-
Type—type of feed:
-
Built-in feeds are provided by Stellar Cyber
-
Custom feeds (TAXII and TSV) are added using the Create button and then providing a collection URL and authentication credentials (see Adding Custom Feeds)
-
Premium feeds (Cybersixgill and Anomali ThreatStream) are provided by Stellar Cyber using credentials that you purchase (see Enabling Premium Feeds)
-
-
Status—status of feed:
-
Success (green)—the feed successfully ran, when it periodically last ran
-
Error (red)—the feed failed when it last ran or the feed is in Stopped status
-
Disabled (white)—the feed is Disabled
-
-
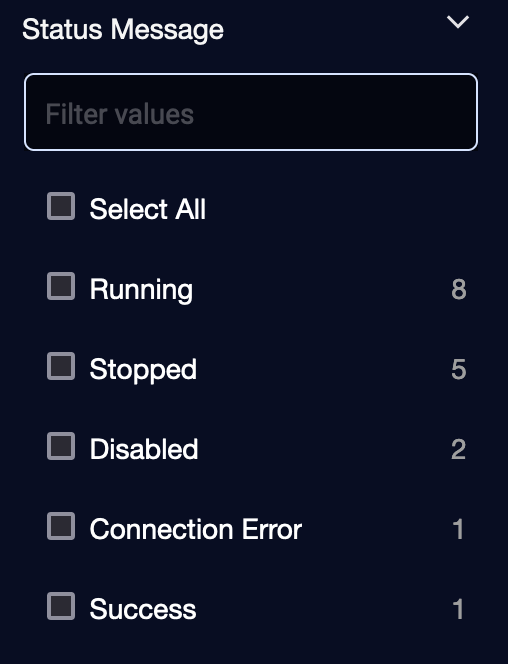
Status Message—status messages, such as:
-
Disabled—the feed is disabled
-
Success—the feed successfully produced IoCs in the latest running cycle (for Custom and Premium feeds only)
-
Initializing—the feed is initializing; this status is only displayed on the first run of the feed
-
Stopped—the feed has stopped working
-
Running—the feed is running (for Built-in feeds only)
-
Connection Error—the feed failed to establish a connection to the data source (for Custom and Premium feeds only)
-
-
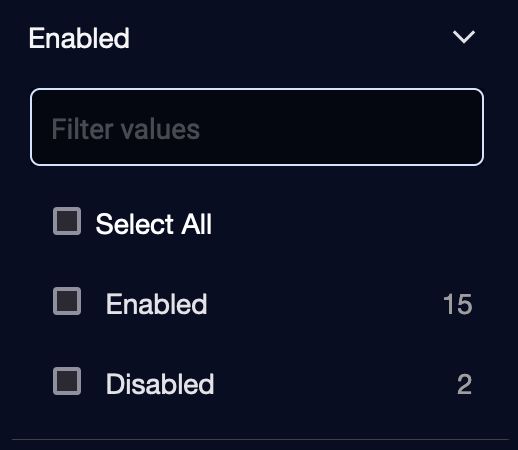
Enabled—toggle of the feed, either Enabled or Disabled
-
All Built-in, Custom, and Premium feeds can be Enabled and Disabled; when Enabled, IoCs are fetched and then stored locally; when Disabled, IoC ingestion stops
-
-
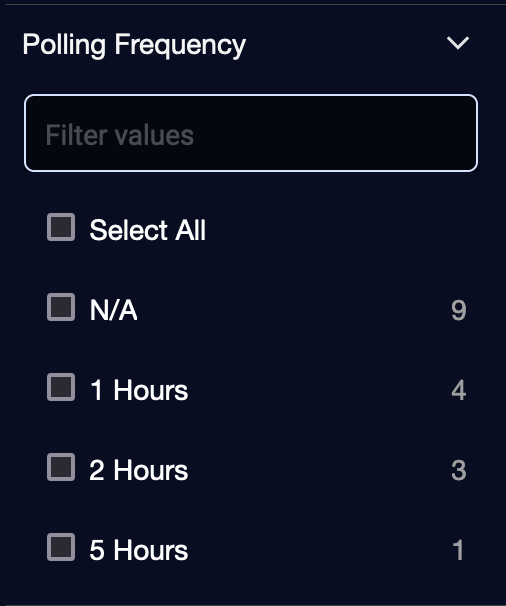
Polling Frequency—frequency with which the data is updated from the feed, in hours
-
The Polling Frequency can be set for Custom and Premium feeds; for Built-in feeds, the Polling Frequency is 24 hours
-
-
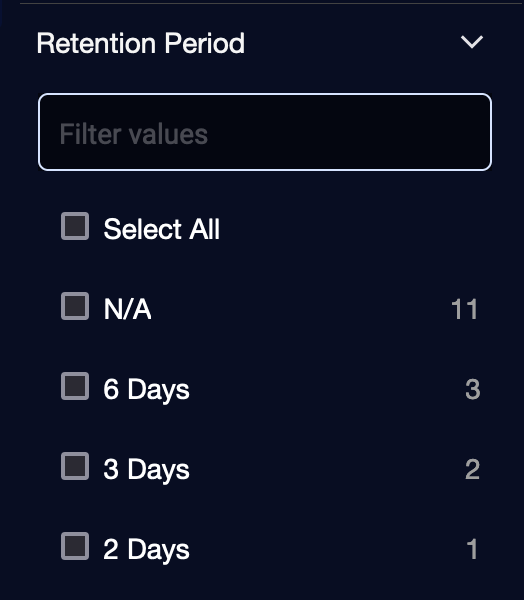
Retention Period—retention period of the feed, in days, after which feed data is deleted
-
Backfill Days—number of backfill days. Backfilled data is information in the threat database from the past few days, with an upper limit of 30 days.
-
Whenever a feed is re-enabled, TIP fetches all IOCs that it has not fetched since the last time it was disabled, limited to a backfill buffer size
-
-
Description—description of feed
-
Descriptions of Custom feeds can be edited; Descriptions of Built-in and Premium feeds are provided by Stellar Cyber and cannot be edited
-
-
Last Ingestion—timestamp of the last ingestion update from the feed
-
Actions—actions available on a feed, such as Delete this row, Edit this row, or Reset Premium Feed:
-
Custom and Premium feeds can be edited; Built-in feeds cannot be edited
-
Custom feeds can be deleted; Built-in and Premium feeds cannot be deleted
-
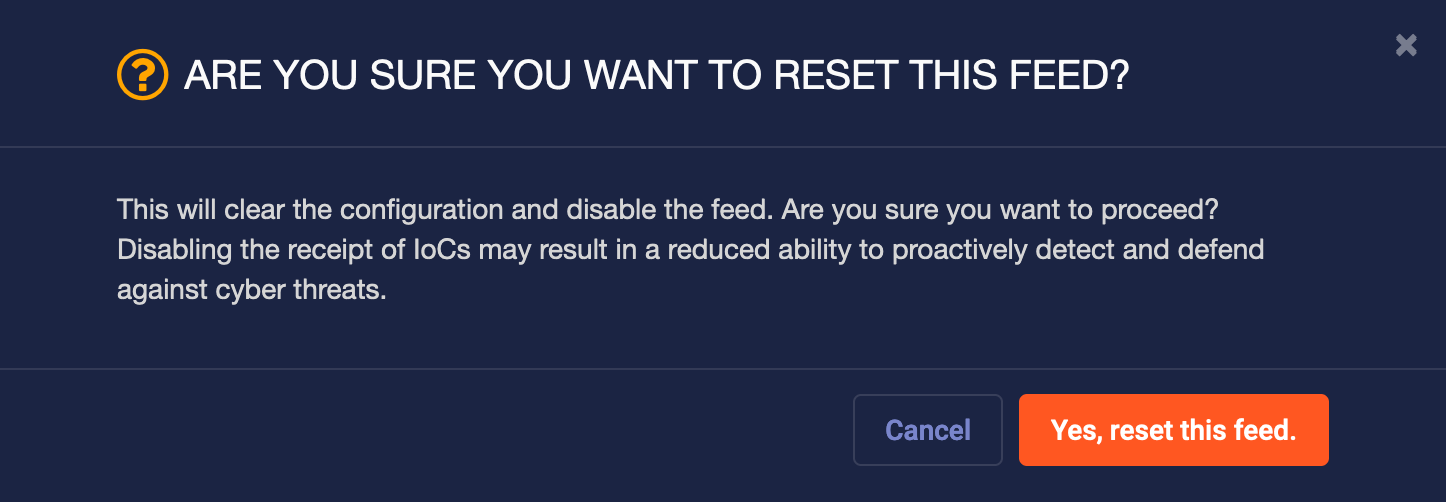
Only Premium feeds can be reset
-
Using Search
Use the Search box to search for information about a feed.
Using Filters
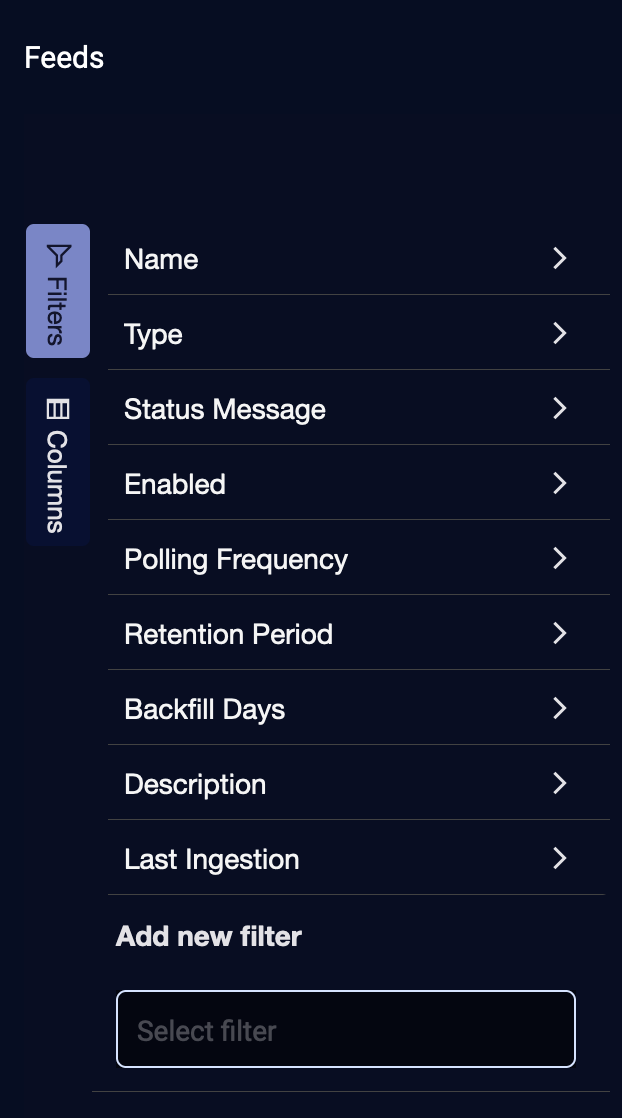
Click Filters to use defined filters.
To use defined filters:
-
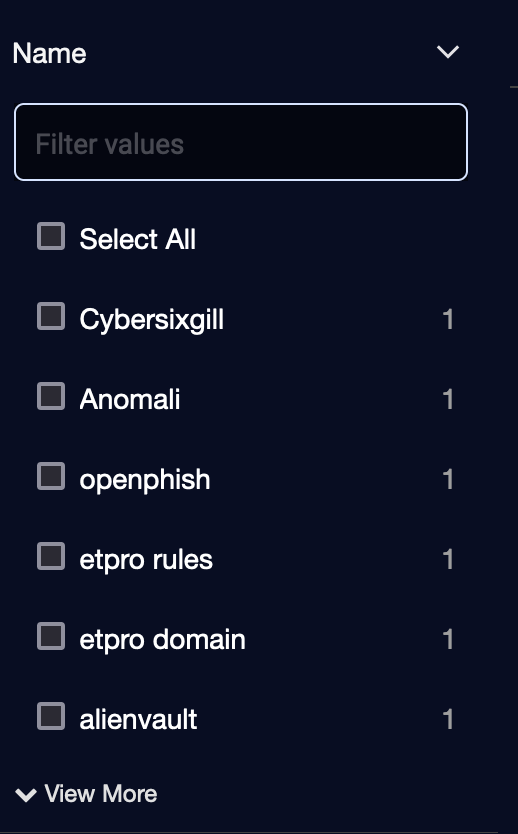
For Name, select the name of a feed using the check boxes or Select All. The number of feeds of each name is displayed on the right.
To see more Name fields, click View More.
-
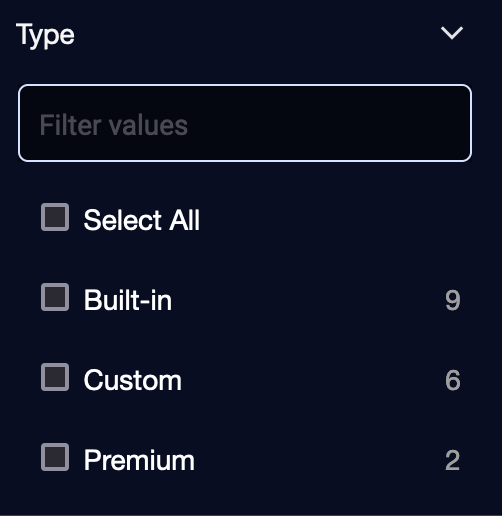
For Type, select a type of feed using the check boxes or Select All. The number of feeds of each type is displayed on the right.
-
For Status Message, select a status using the check boxes. The number of feeds with each status is displayed on the right.
-
For Enabled, select a state, either Enabled or Disabled, using the check boxes or Select All. The number of feeds with each state is displayed on the right.
-
For Polling Frequency, select a frequency using the check boxes or Select All. The number of feeds with each frequency is displayed on the right.
-
For Retention Period, select a retention period using the check boxes or Select All. The number of feeds with each retention period is displayed on the right.
-
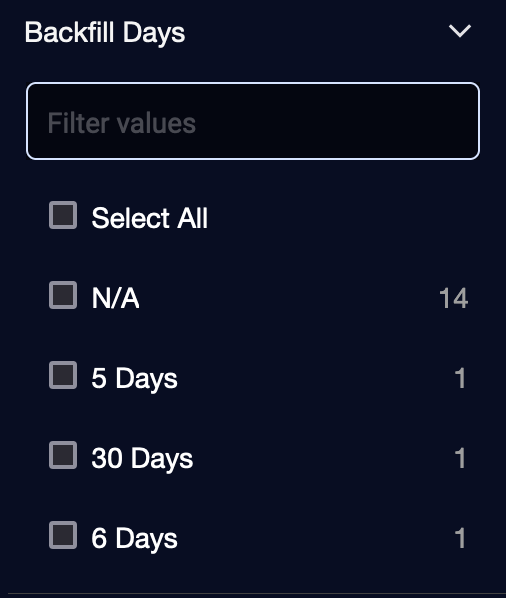
For Backfill Days, select a number of days using the check boxes or Select All. The number of feeds with each number of backfill days is displayed on the right.
-
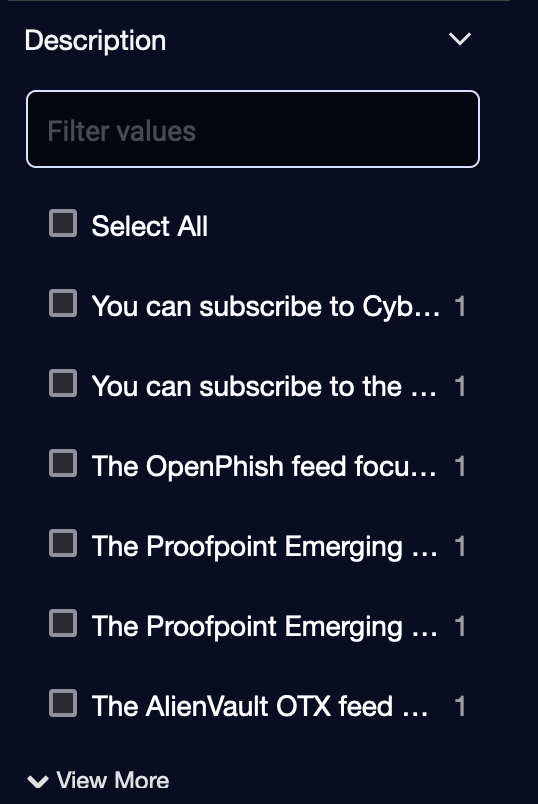
For Description, select the description of a feed using the check boxes or Select All. The number of feeds with each description is displayed on the right.
To see more Description fields, click View More.
-
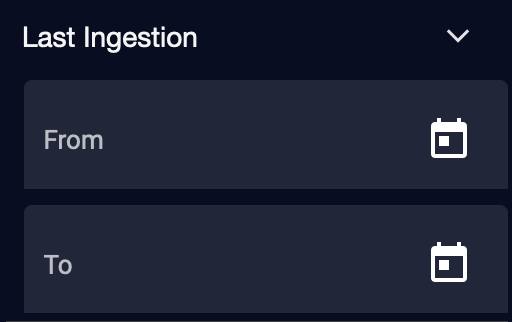
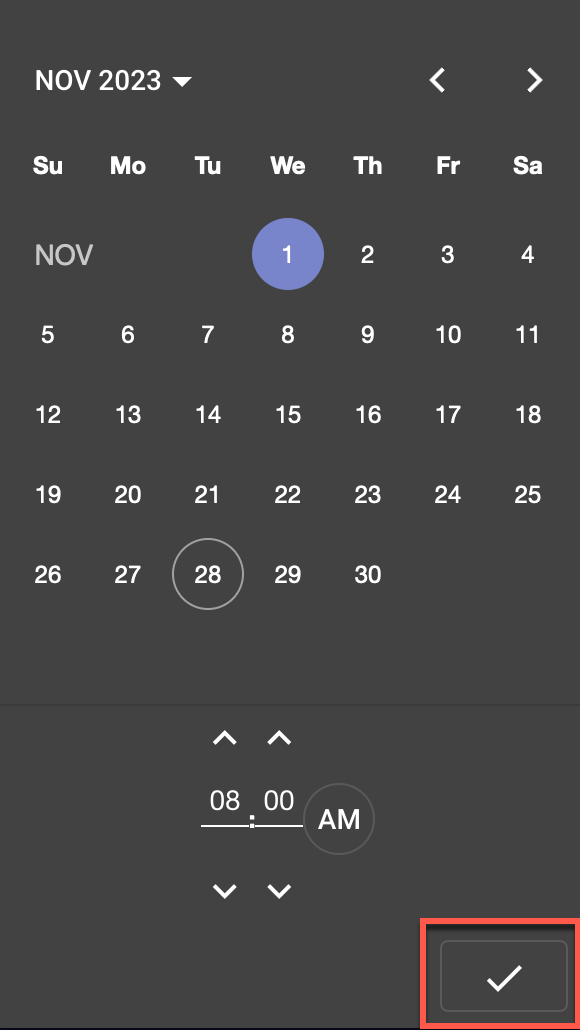
For Last Ingestion, enter From and To dates and times using the calendars.
Select a date, select a time, then click the checkmark.
-
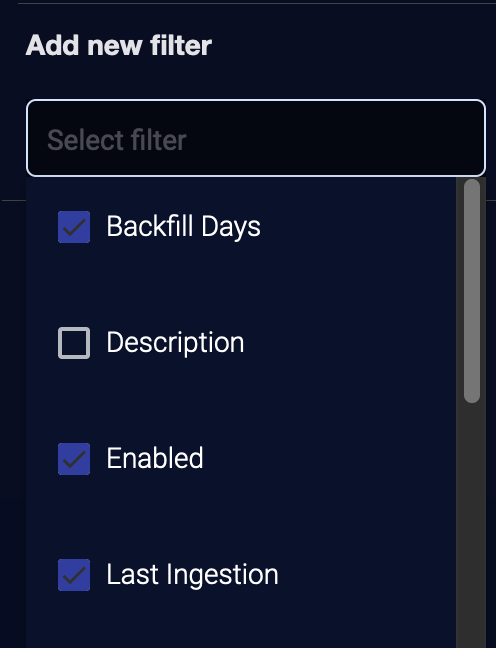
If a defined filter is unselected, you can click the search box under Add new filter to select a filter from the dropdown.
To exit, click Filters again. The configured filters are displayed at the top of the table.
To clear an individual filter, click the icon to the right of the filter (![]() ).
).
To clear all filters, click Clear All.
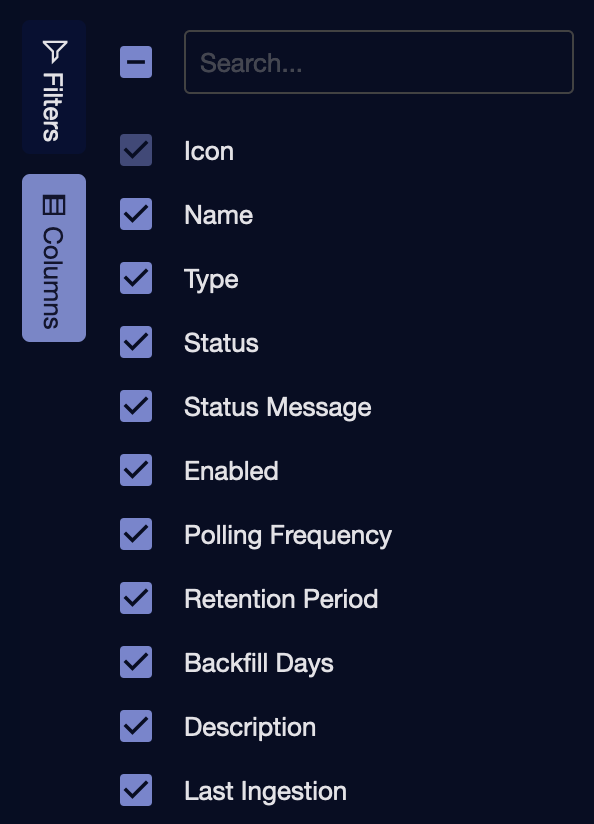
Using Columns
Disabling Feeds
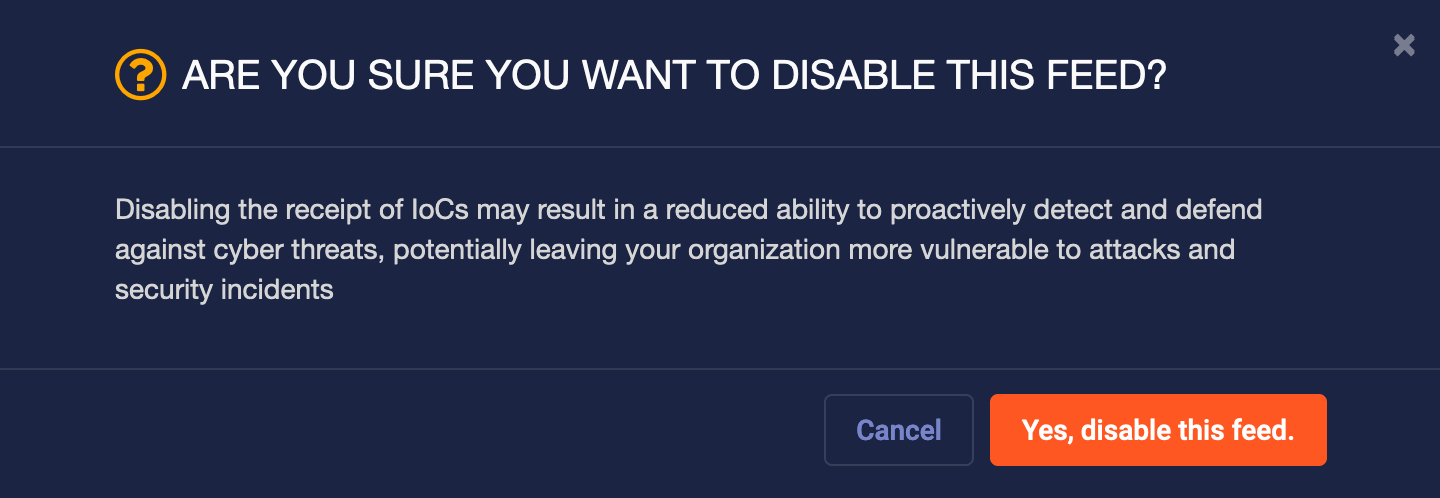
To disable a feed, click the toggle in the Enabled column from Enabled to Disabled. The following confirmation is displayed.
Click Yes, disable this feed.
Adding Custom Feeds
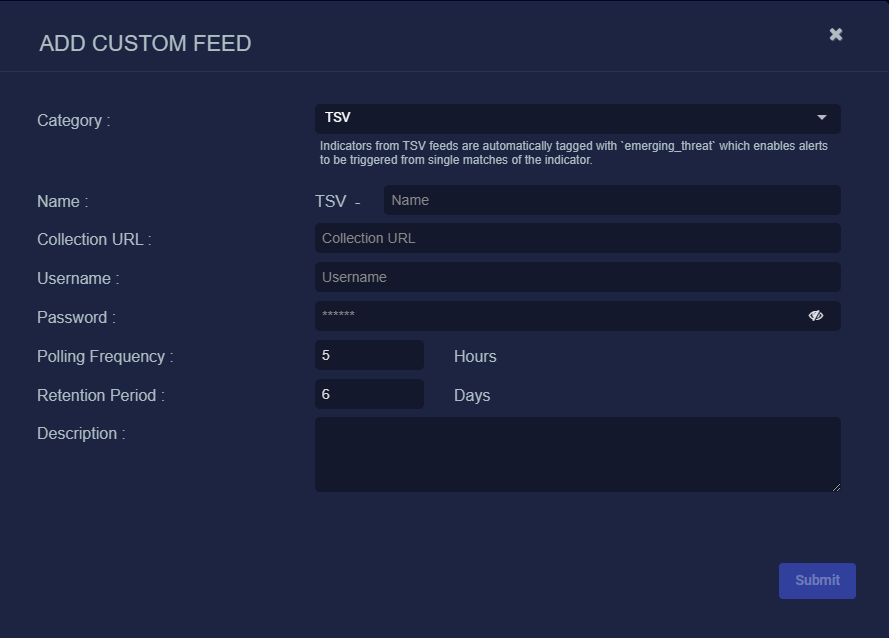
Custom feeds include TAXII and TSV. You configure custom feeds with credentials that you provide, for example, credentials for a TAXII server or credentials to access a TSV file. The TAXII version is 2.1.
You add Custom feeds by providing a Collection URL and entering basic HTTP authentication credentials such as Username and Password.
You can add up to 30 Custom feeds per organization.
Feeds may not work as expected if files are hosted on places where basic HTTP authentication is not allowed by default (for example, Amazon S3). Caution is advised.
When you add a TSV feed, an emerging_threat tag is added to all the IoCs brought in by that feed. Tags are displayed in the Tags column of the IoCs table.
For the rules and format of the TSV file, see TSV File Data Schema.
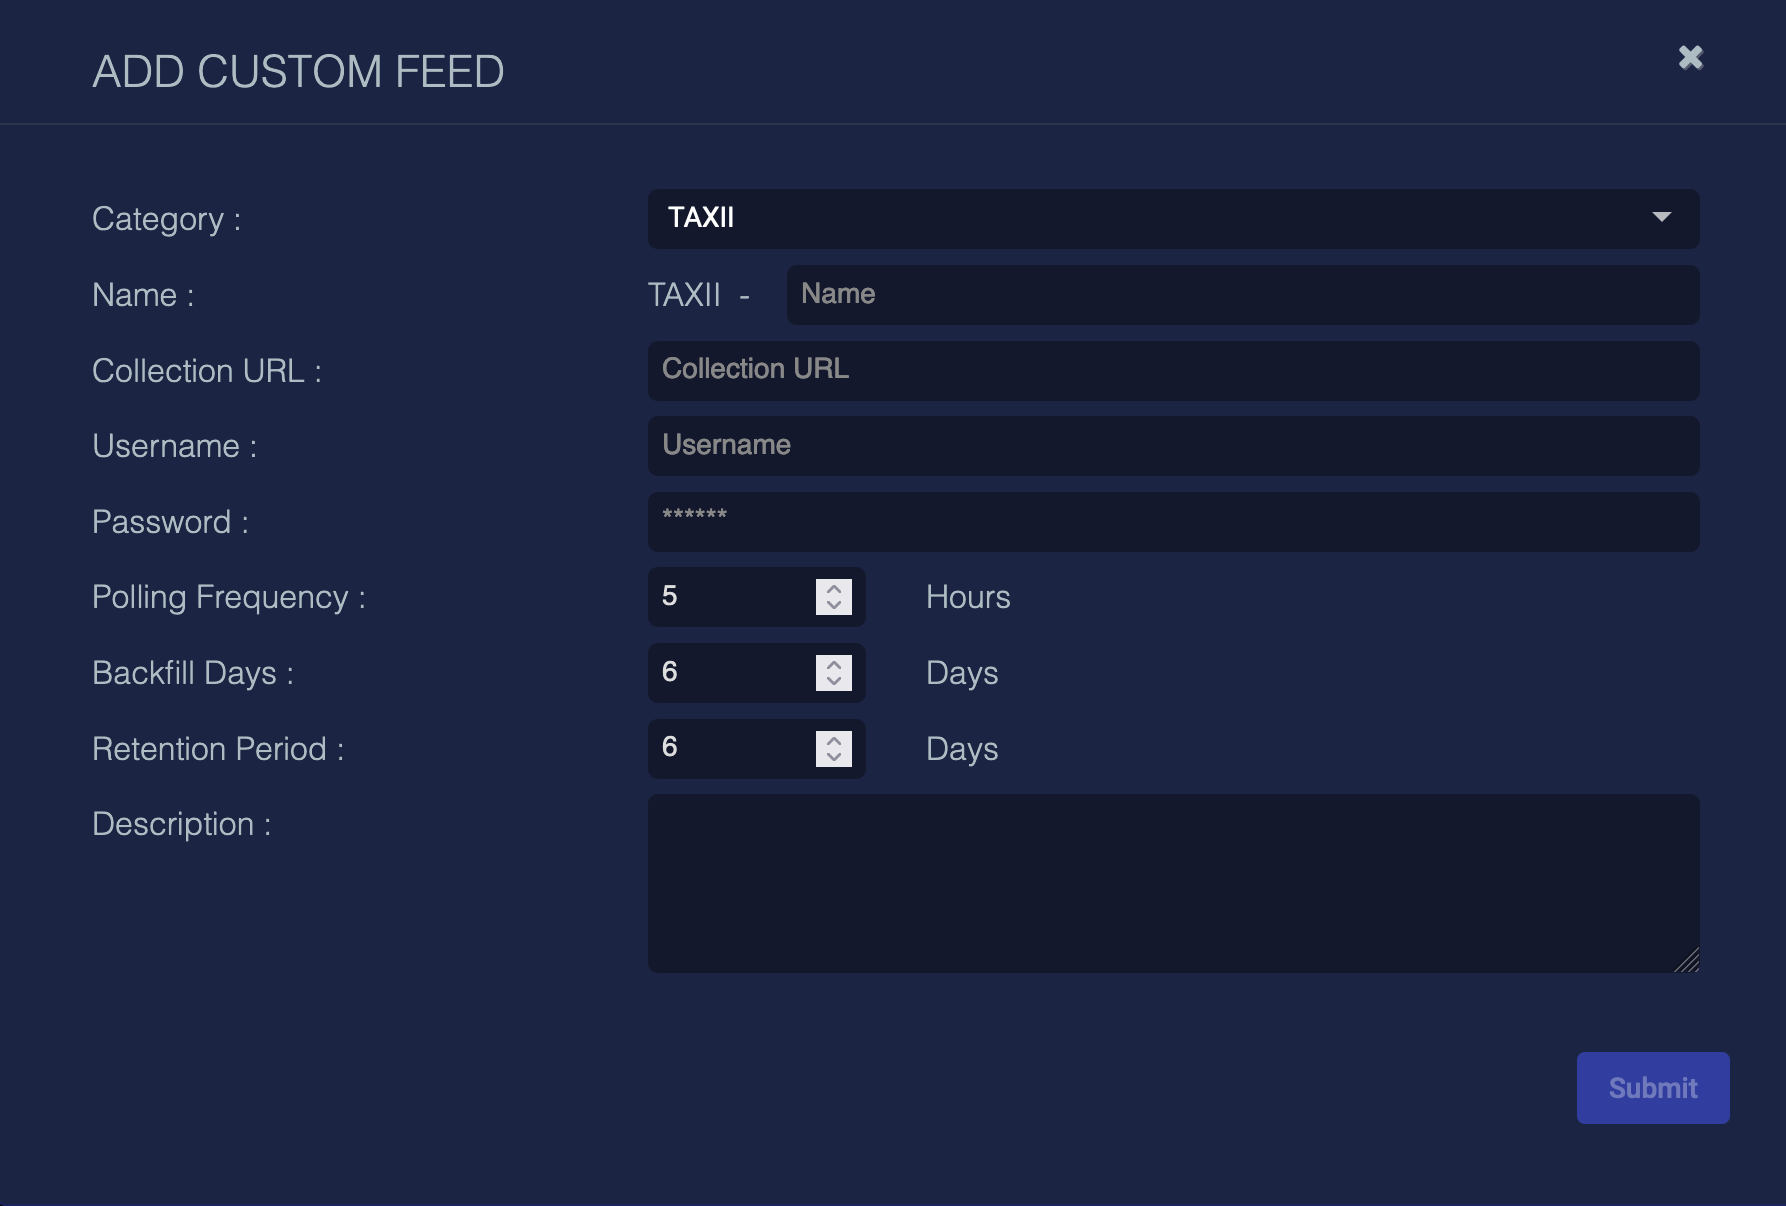
To add a custom feed:
-
Click Create.
-
The default Category is displayed, which is TAXII. Or select TSV.
-
Enter a Name. This is the name of the feed, which will be prepended with the Category, either TAXII or TSV.
-
Enter a Collection URL.
-
For TAXII, enter a Collection URL. For details on how to obtain the TAXII collection URL, see Obtaining the TAXII Collection URL.
-
For TSV, enter a URL to a TSV file.
-
-
Enter a Username and Password.
-
Select a Polling Frequency, in hours. This is how often the data is updated from the feed.
-
Select the number of Backfill Days, in days.
The Backfill Days field is only available for TAXII feeds.
-
Select the Retention Period, in days, after which feed data is deleted. For details, see Retention Policy.
-
Enter a Description.
-
Click Submit.
When the Custom feed is configured and enabled, the IoCs are fetched from the remote feed and stored locally.
TSV File Data Schema
The rules for the TSV file are:
-
Delimiter: Must be a tab
-
Fields, Field order, and Syntax:
Each row in the TSV file must have fields in the order and syntax shown below. Rows that do not meet this format are ignored.
The data schema of the TSV file is as follows:
| FIELD | TYPE | VALUE | SOURCE | SCORE |
|---|---|---|---|---|
| Purpose | Specify the type of address that will be entered in the next column. | Specify the address of the threat. This value may be associated with multiple sources. | Supply a name to identify the threat. | Assign a severity score to the threat. |
| Syntax |
url ip domain md5-hash sha1-hash sha256-hash |
A url An IPv4 address A fully qualified domain name md5 hash value sha1 hash value sha256 hash value |
A-Z a-z 0-9 _ - Alphanumeric, underscore, dash. No spaces, no other symbols. |
Integer from 0-100 Use 90 if you prefer not to tune |
| Case Sensitive? | yes | no | no | no |
Obtaining the TAXII Collection URL
Refer to the following definitions before using the procedure in this section to obtain the TAXII collection URL.
-
TAXII Server: A server that implements the TAXII standards to share cyber threat intelligence (CTI) over HTTPS. It hosts API endpoints for clients to access and exchange CTI data.
-
Discovery URL: A specific endpoint on a TAXII server that provides information about the server’s capabilities, available API roots, and other metadata. It is the starting point for clients to interact with the server.
-
API Root: A base URL that groups related TAXII resources (for example, collections) under a single namespace. Each API root represents a distinct set of data or services provided by the TAXII server.
-
Collection ID: A unique identifier for a specific collection of data hosted on a TAXII server. Collections are logical groupings of threat intelligence objects (for example, STIX data).
-
Collection URL: The endpoint URL for accessing a specific collection of data on a TAXII server. It is used to query objects from the collection.
The following example is for an AlienVault URL. The same format is used for other third-party providers that host TAXII servers.
The TAXII Collection URL does not support an alias for the TAXII collection name. Refer to the following procedure and use <collection ID>.
To set up a TAXII feed, obtain the TAXII collection URL as follows:
-
Do a cURL command from the AlienVault discovery URL:
curl -k -X GET https://otx.alienvault.com/taxii/ -H "Accept: application/taxii+json; version=2.1" --user username:password
This will produce something like the following:
{"title": "Open Threat Exchange TAXII Server", "description": "Open Threat Exchange TAXII Server", "contact": "otx-support@alienvault.com", "default": "https://otx.alienvault.com/taxii/root", "api_roots": ["https://otx.alienvault.com/taxii/root"]}%
The API root is
https://otx.alienvault.com/taxii/root. -
Add
/collectionsto the API root, then do another cURL commands as follows:curl -k -X GET https://otx.alienvault.com/taxii/root/collections -H "Accept: application/taxii+json; version=2.1" --user username:password
This will produce something like the following:
{"collections": [{"id": "<collection ID>", "alias": "subscription", "title": "Your pulse subscription", "description": "Your pulse subscription", "can_read": true, "can_write": false, "media_types": ["application/stix+json;version=2.1"]}]}%
-
Add your
<collection ID>to the previous URL, for example:https://otx.alienvault.com/taxii/root/collections/<collection ID>/
-
Use the collection URL to set up a TAXII feed in Adding Custom Feeds.
Retention Policy
When you configure a custom TAXII feed, you can select the Retention Period, in days, after which feed data is deleted. The retention period is displayed in the Retention Period column in the Feeds tab. If you then go to the IoCs tab and look at the Expiration Date column, you may notice a difference.
The retention policy for custom TAXII feeds is as follows. If the data source has all the valid_from and valid_until information, Stellar Cyber will use those dates. Otherwise, Stellar Cyber will do some calculations based on the retention period. Therefore, the expiration dates of custom TAXII feeds may not be based on the retention period.
Enabling Premium Feeds
Premium feeds are provided by Stellar Cyber and include Cybersixgill and Anomali ThreatStream. You configure them with credentials that you purchase.
Premium feeds are disabled by default. You edit the Premium feed and provide authentication credentials such as Username and Password or API Key, then enable the feed.
To enable premium feeds:
Enabling Cybersixgill Premium Feed
To enable the Cybersixgill Premium feed:
-
Click the Edit icon (
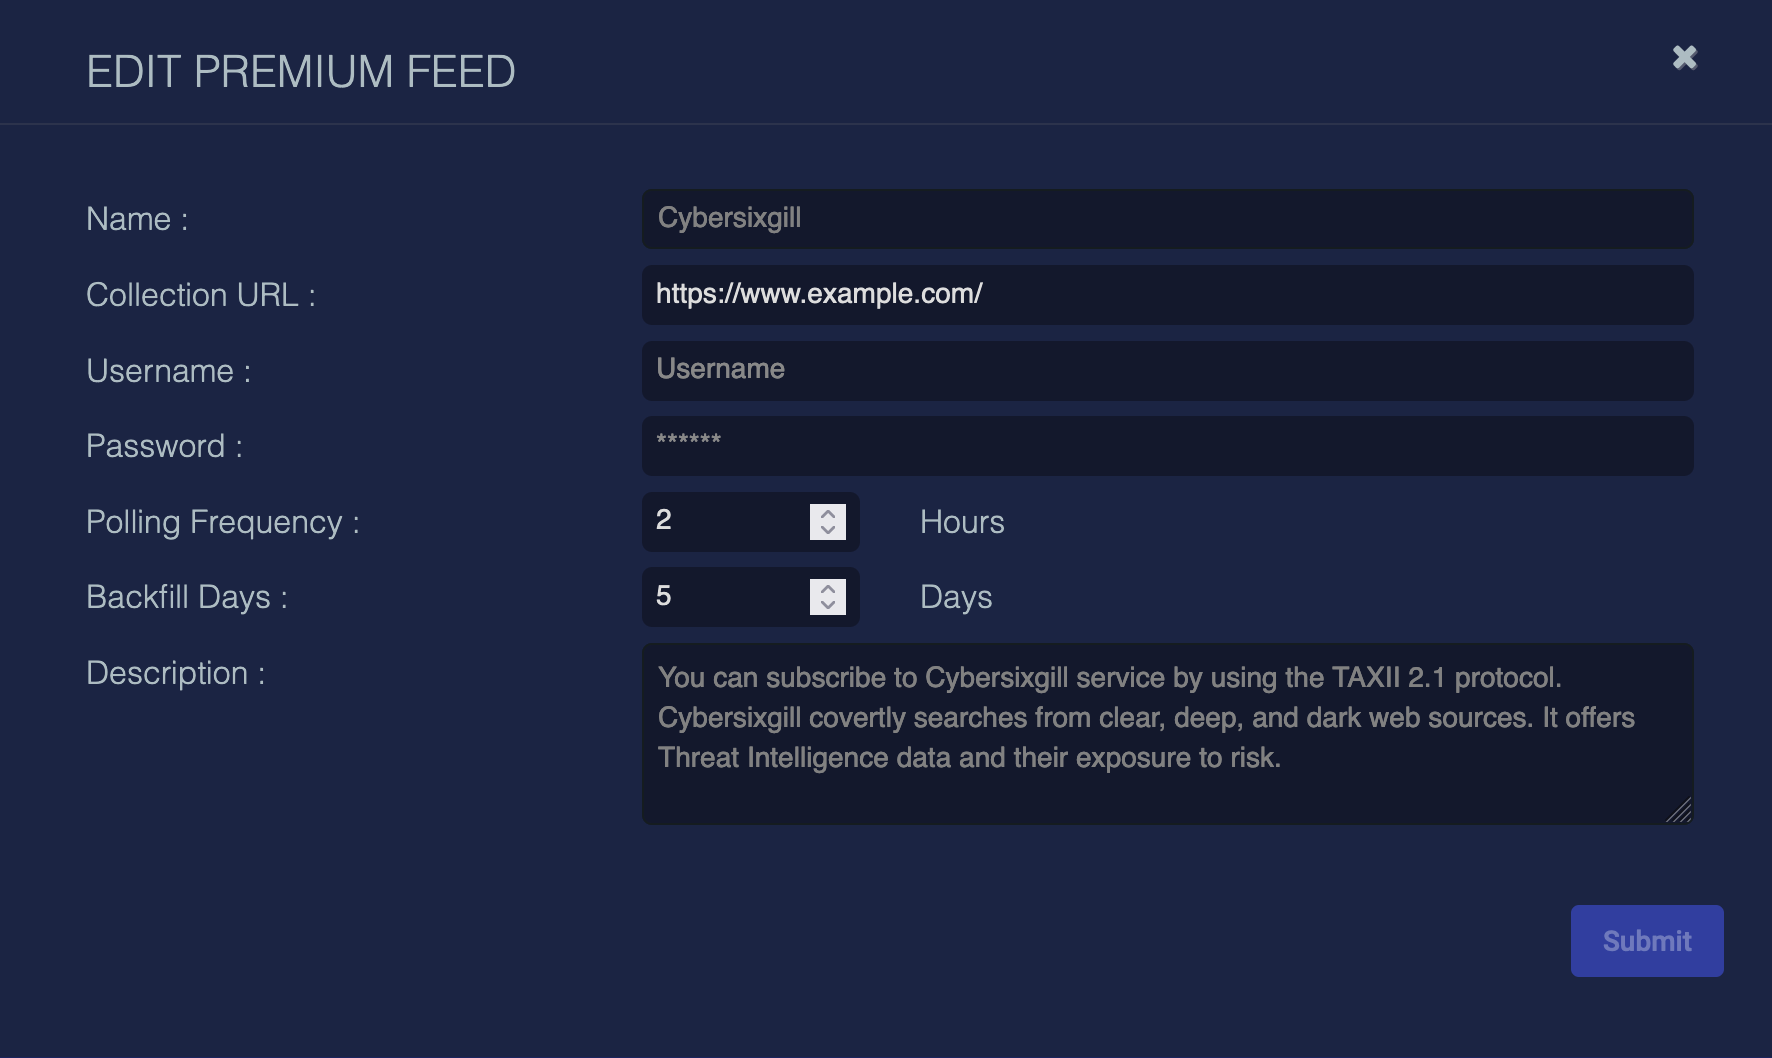
 ) on the row for the Cybersixgill Premium feed. The EDIT PREMIUM FEED dialog displays.
 -
The Name cannot be changed.
-
Enter a Collection URL.
-
Enter a Username and Password.
-
Select a Polling Frequency, in hours. This is how often the data is updated from the feed. The minimum value is 1 hour and the maximum is 24 hours.
-
Select the number of Backfill Days, in days. The minimum value is 1 day and the maximum is 30 days.
-
The Description cannot be changed.
-
Click Submit.
-
Click Enabled on the row for the Cybersixgill Premium feed.
When the Premium feed is configured and enabled, the IoCs are fetched from the remote feed and stored locally.
Enabling Anomali Premium Feed
To enable the Anomali Premium feed:
-
Click the Edit icon (
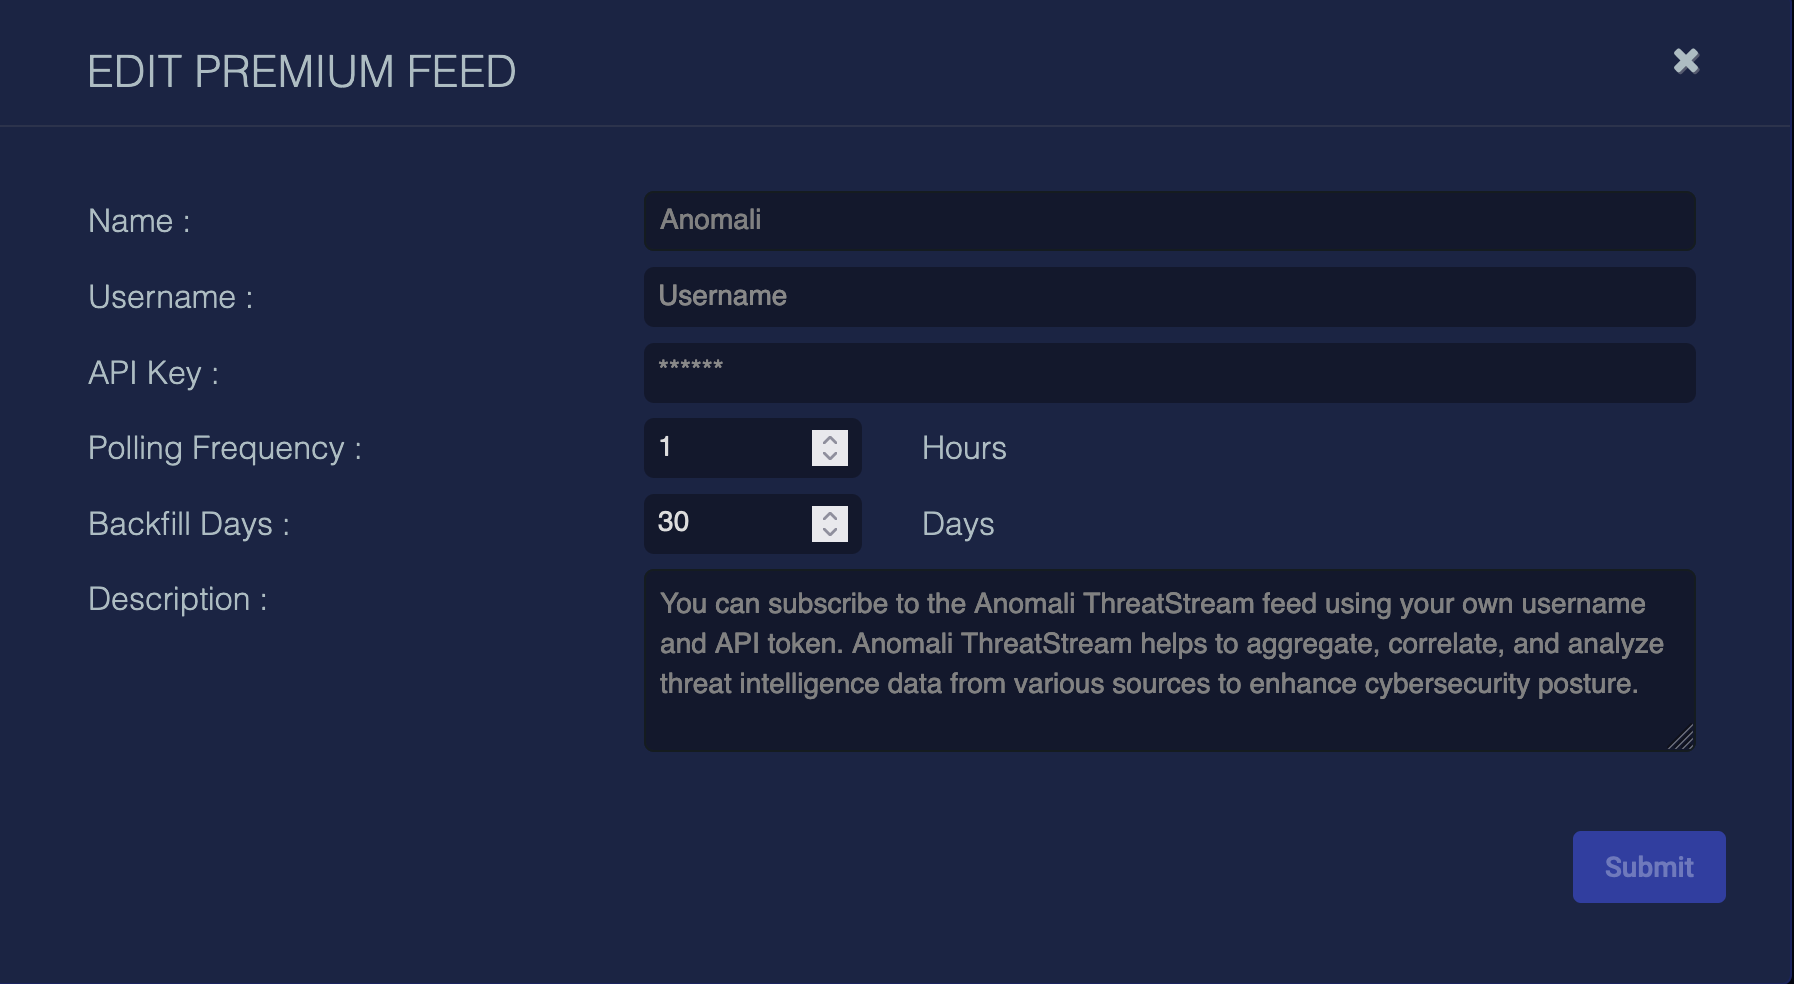
 ) on the row for the Anomali Premium feed. The EDIT PREMIUM FEED dialog displays.
 -
The Name cannot be changed.
-
Enter a Username.
-
Enter the API Key.
-
Select a Polling Frequency, in hours. This is how often the data is updated from the feed. The minimum value is 1 hour and the maximum is 24 hours.
-
Select the number of Backfill Days, in days. The minimum value is 1 day and the maximum is 30 days.
-
The Description cannot be changed.
-
Click Submit.
-
Click Enabled on the row for the Anomali Premium feed.
When the Premium feed is configured and enabled, the IoCs are fetched from the remote feed and stored locally.
Resetting Premium Feeds
To reset a Premium feed:
Editing Feeds
You can edit Custom and Premium feeds.
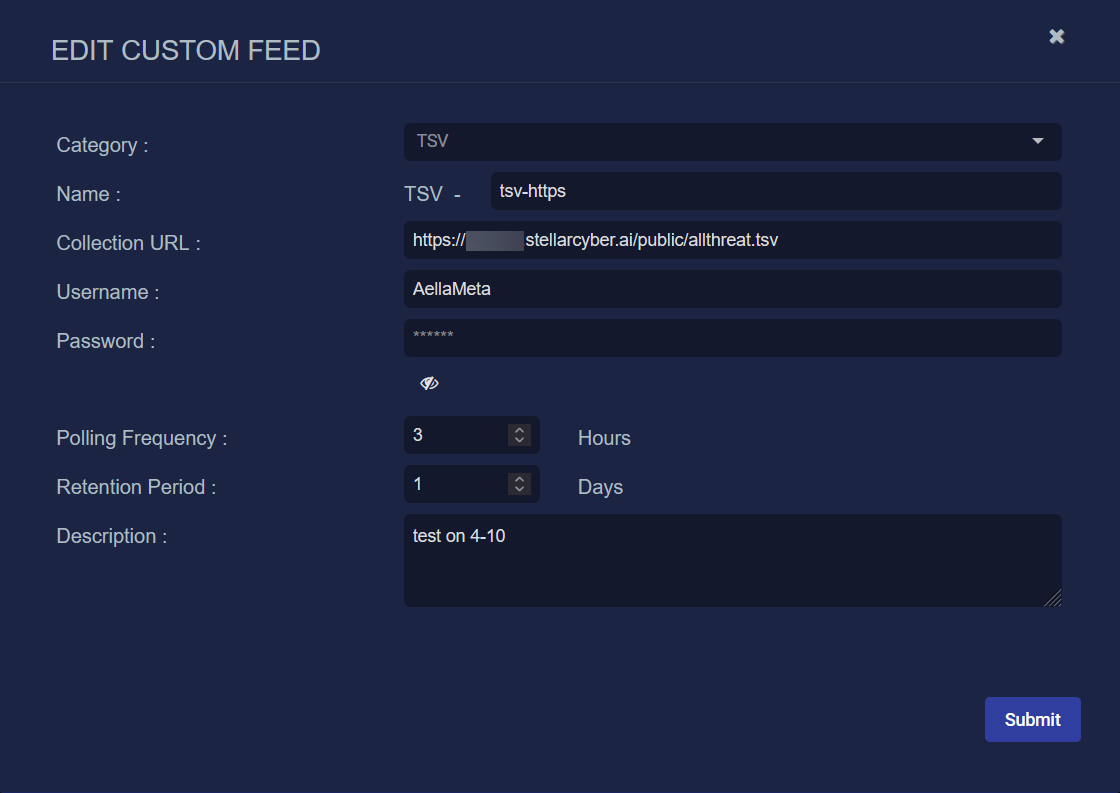
Click the Edit icon (![]() ) on a row in the table. A sample EDIT CUSTOM FEED is as follows:
) on a row in the table. A sample EDIT CUSTOM FEED is as follows:
For Custom feeds, the Category cannot be changed. The other fields can be edited.
Click the Edit icon (![]() ) on a row in the table. A sample EDIT PREMIUM FEED is as follows:
) on a row in the table. A sample EDIT PREMIUM FEED is as follows:
For Premium feeds, the Name and Description cannot be changed. The other fields can be edited.
About Feeds
The following sections provide more information about feeds.
Feed Descriptions
The following feeds are available, with their category and description.
|
Feed Name |
Category |
Description |
|---|---|---|
|
AlienVault OTX |
Built-in |
The AlienVault OTX feed provides IoCs, including malicious IP addresses, domains, URLs, and hashes that can be used to detect and investigate cyber threats. |
|
DHS |
Built-in |
The Department of Homeland Security (DHS) feed provides IP addresses, domains, URLs, and hashes. These IoCs help describe and identify potential cyber threats and incidents. |
|
Emerging Threat Pro IP, Domain |
Built-in |
The Proofpoint Emerging Threat feed provides up-to-the minute IP address and domain reputation. It is the industry’s most timely and accurate source of threat intelligence. |
|
Emerging Threat Pro Rules |
Built-in |
The Proofpoint Emerging Threat feed provides a ruleset for detecting advanced threats using existing network security appliances, such as network Intrusion Detection/Prevention systems (IDS/IPS). |
|
PhishTank |
Built-in |
The Phishtank feed provides a database of known phishing URLs. It is a collaborative clearing house for data and information about phishing attacks and fraudulent websites. |
|
Abuse.ch (urlhaus and SSL certs) |
Built-in |
The Abuse.ch feed shares malicious URLs and hashes that are being used for malware distribution, and contains information about SSL certificates that have been associated with malicious activities. |
|
OpenPhish |
Built-in |
The OpenPhish feed focuses on phishing threats. It identifies zero-day phishing URLs and provides comprehensive, actionable, real-time threat intelligence. |
|
Emerging Threat |
Built-in |
The Emerging Threat feed provides IP addresses, domains, URLs, and file hashes. Emerging Threat is a type of threat or risk that is newly identified, rapidly evolving, or gaining prominence. |
|
Cybersixgill |
Premium |
You can subscribe to the Cybersixgill service by using TAXII 2.1 protocol. Cybersixgill covertly searches from clear, deep, and dark web sources, and offers Threat Intelligence data and their exposure to risk. |
| Anomali | Premium |
You can subscribe to the Anomali ThreatStream feed using your own username and API token. Anomali ThreatStream helps to aggregate, correlate, and analyze threat intelligence data from various sources to enhance cybersecurity posture. |
Feed Error Messages
The following error messages are for Premium and Custom feeds only.
|
Feed State |
Detailed Error Message |
|---|---|
|
Invalid Credentials |
Please validate the credentials and then reconfigure the feed. |
|
Invalid URL |
Please validate the URL and credentials, and then reconfigure the feed. |
|
Invalid collection URL |
Please validate the URL and credentials, and then reconfigure the feed. |
|
Connection Error |
Failed to connect to feed source. Please validate the feed input. |
| Fetching Data Error |
Please validate if the credentials are still valid or if the data source is still available. |
|
Surpassed Query Limit |
Reached the API rate limit. Please reduce the backfill day length. |
