Configuring Roles on Data Processor VMs
This is part of Installing a Data Processor in Proxmox VE (Cluster).
When the VMs are running, log in to their consoles (VM > Console in the Proxmox GUI) and assign roles.
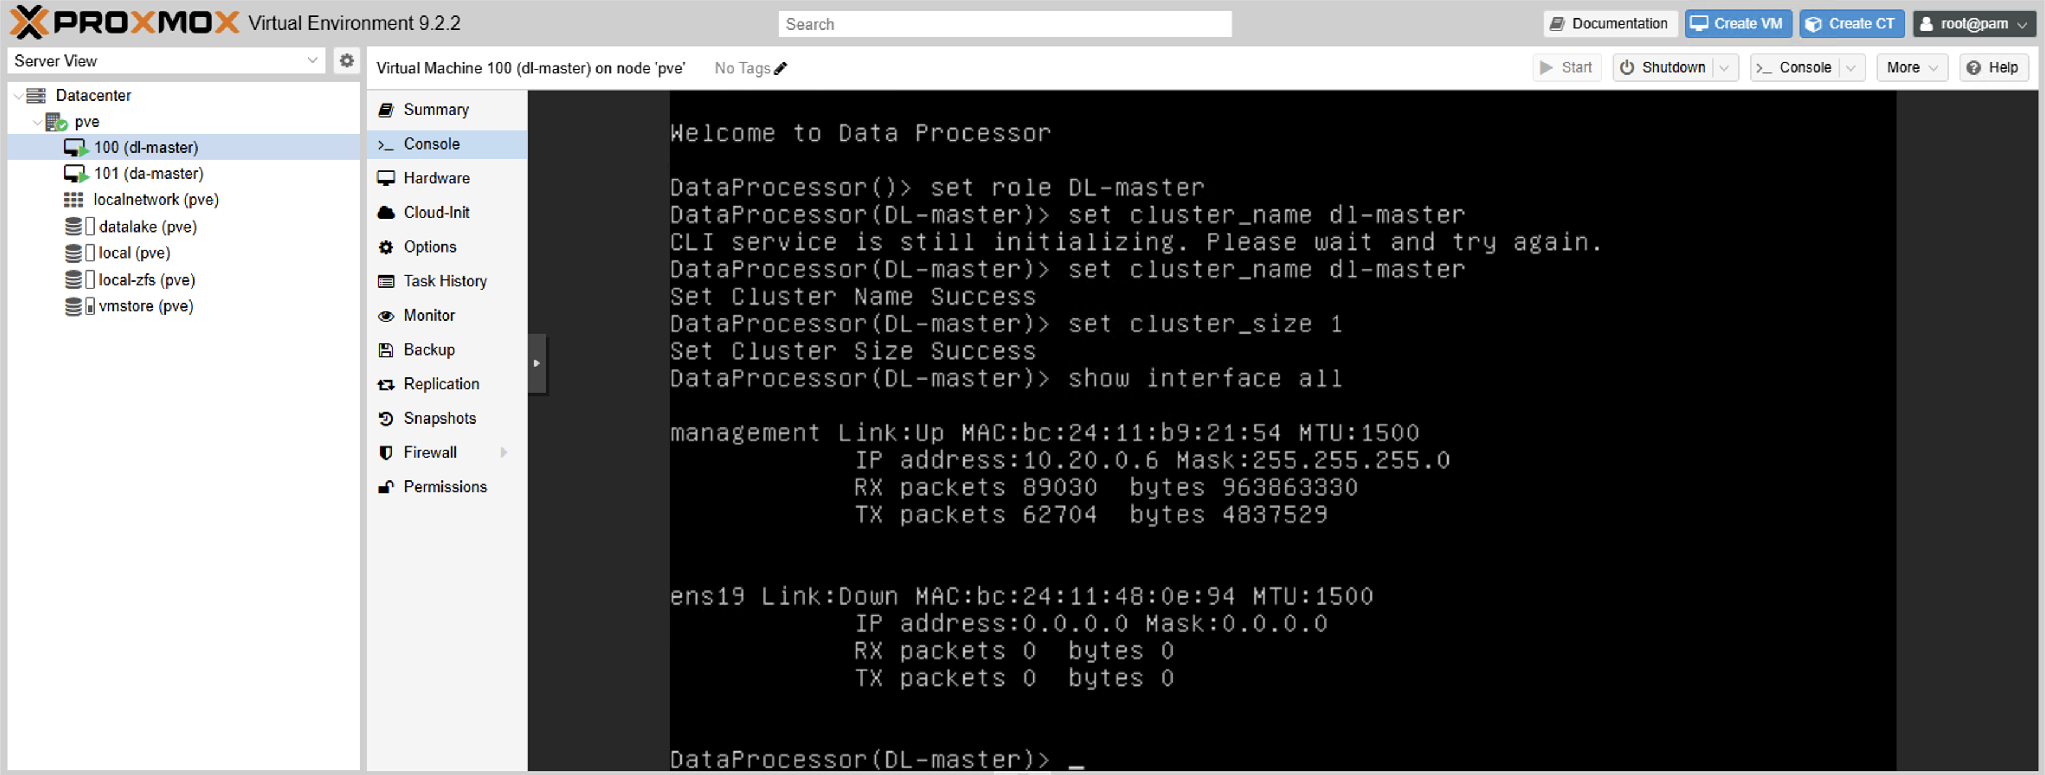
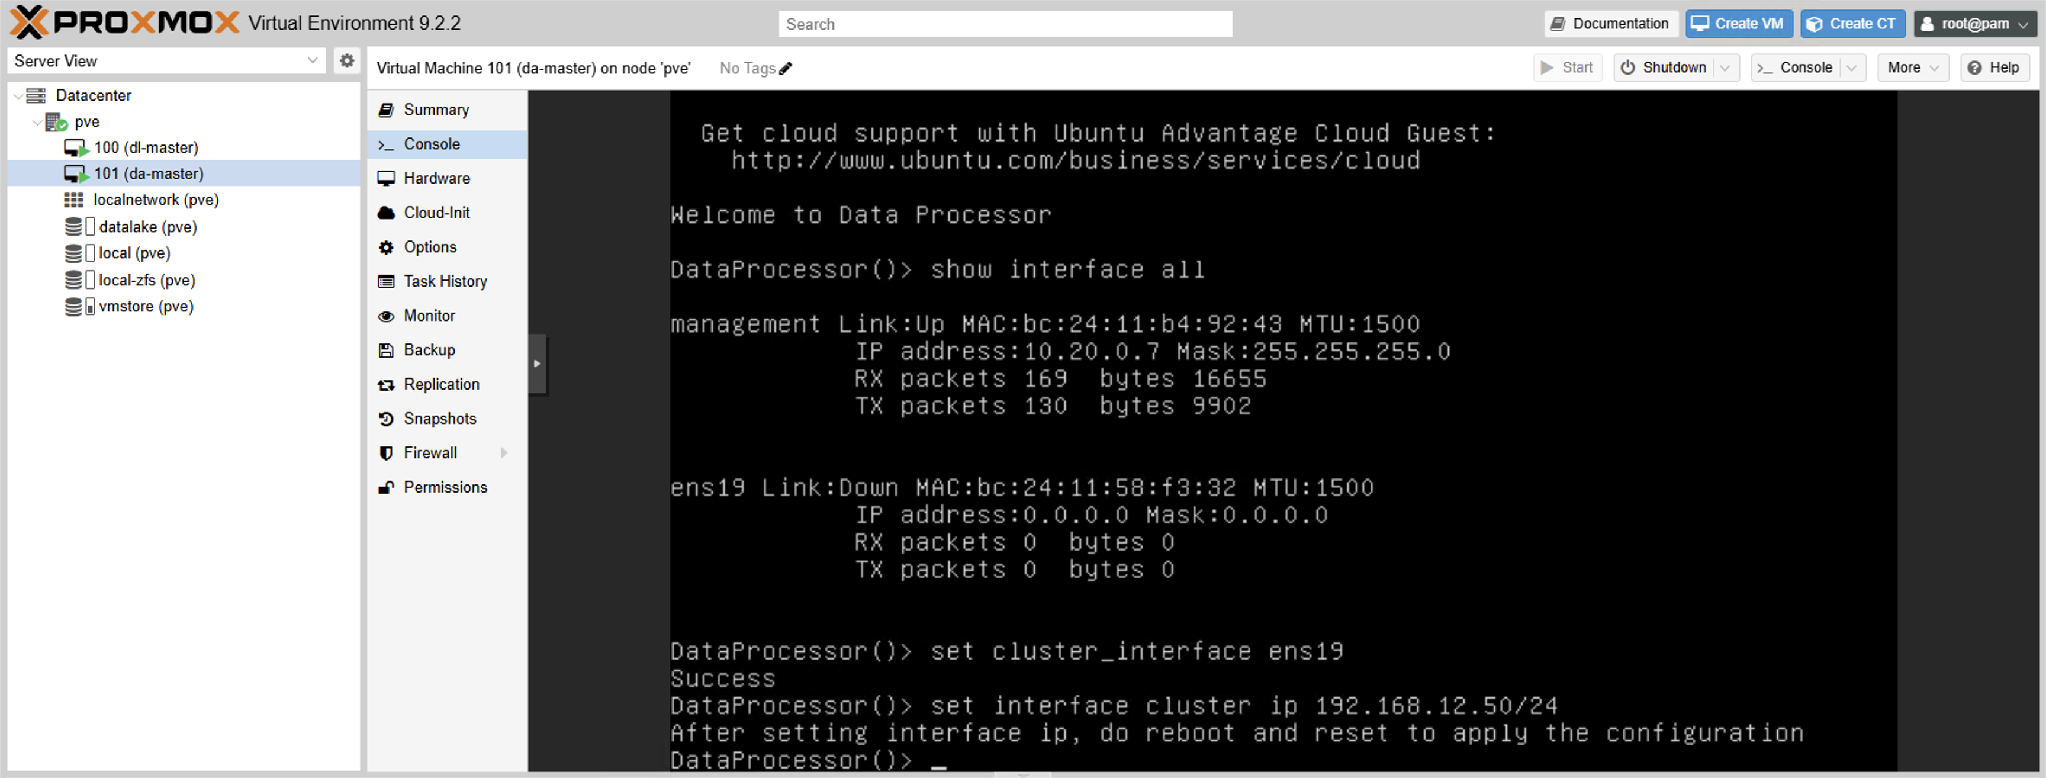
Identify the cluster interface name before configuring it. The guest assigns interface names based on the virtual PCI topology. With the VM configuration in this guide — net0 and net1 both VirtIO — the second (cluster) interface is ens19. Confirm with show interface all before use: the cluster interface is the one without the management IP. After set cluster_interface is applied, the same interface is displayed as cluster in subsequent output.
To Configure the Data Lake Master Role
- Open a console connection to the dl-master VM.
-
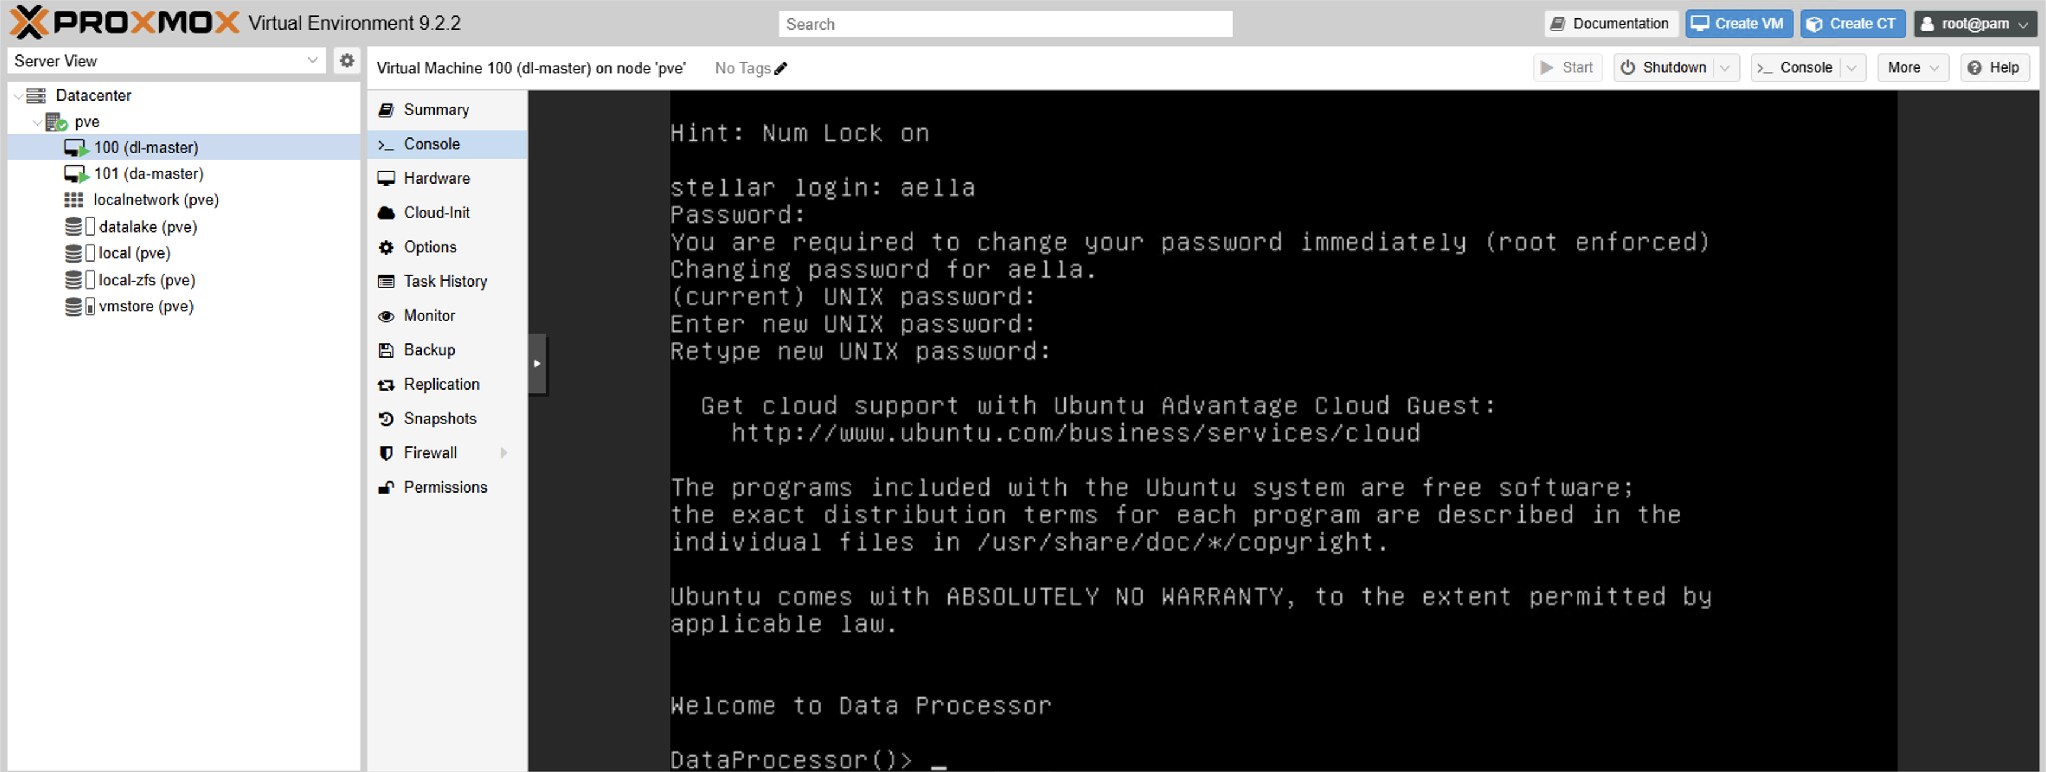
Log in with the default credentials aella / changeme. Change the password when prompted.
-
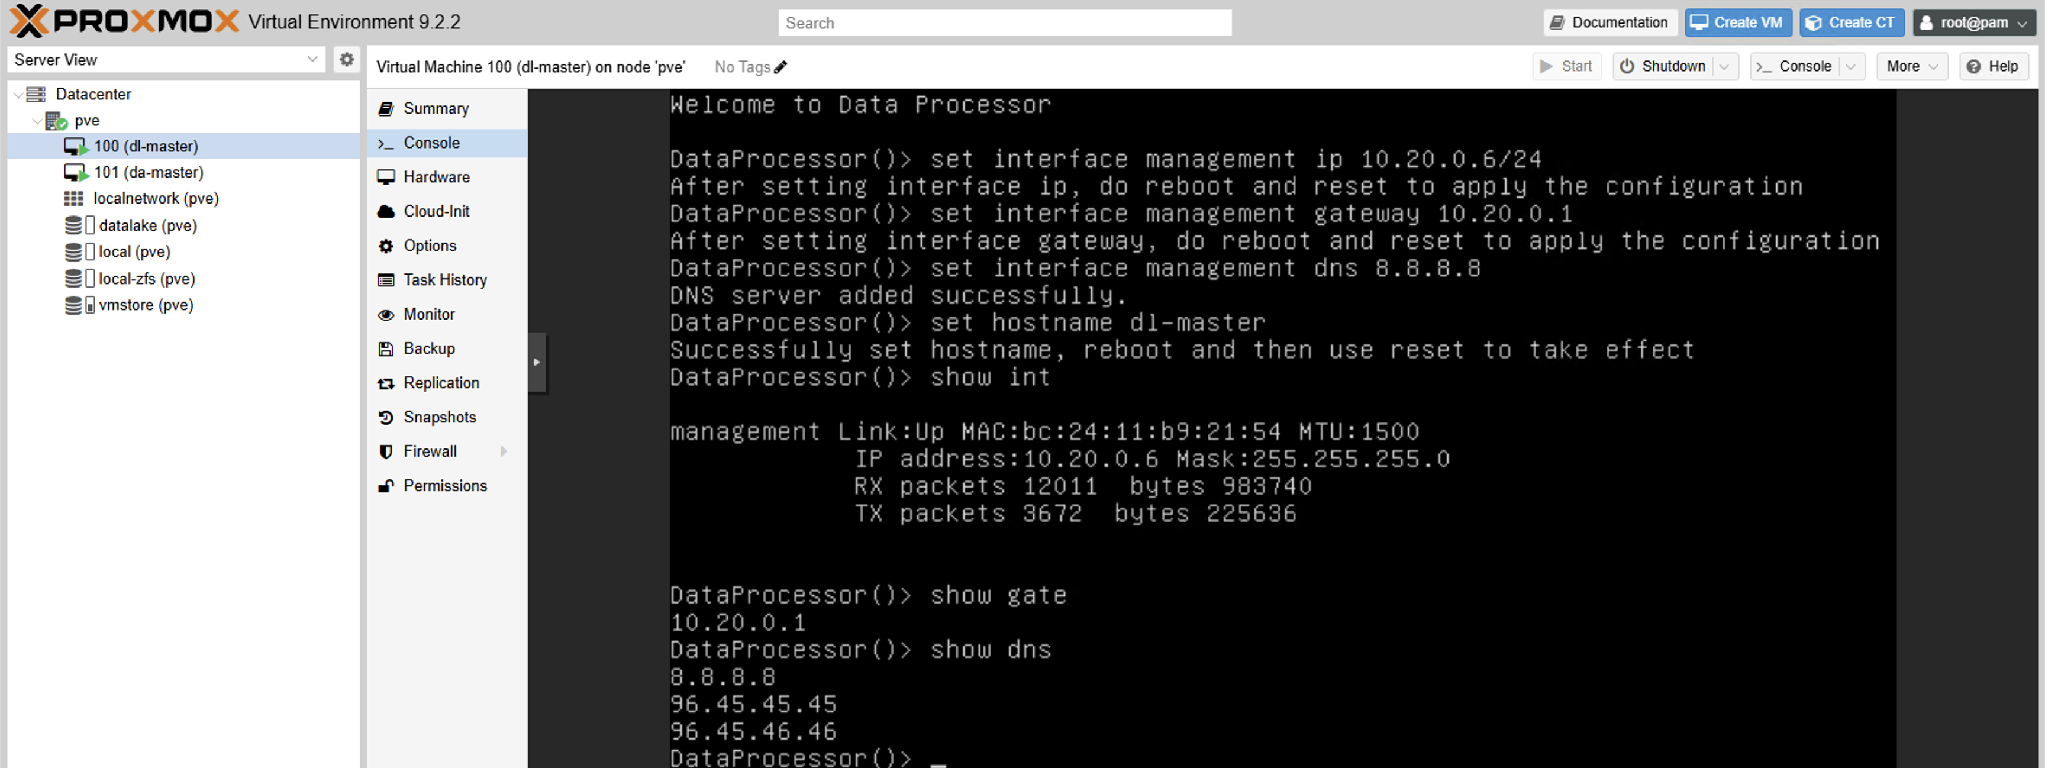
Assign static management IP information:
set interface management ip 10.20.0.6/24
set interface management gateway 10.20.0.1
set interface management dns 8.8.8.8
-
Assign a hostname:
set hostname dl-master
-
Reboot the VM:
reboot
- Reconnect to the console and log in.
-
Assign the role:
set role DL-master
-
Configure the cluster name and size:
set cluster_name dl-master
set cluster_size 1
-
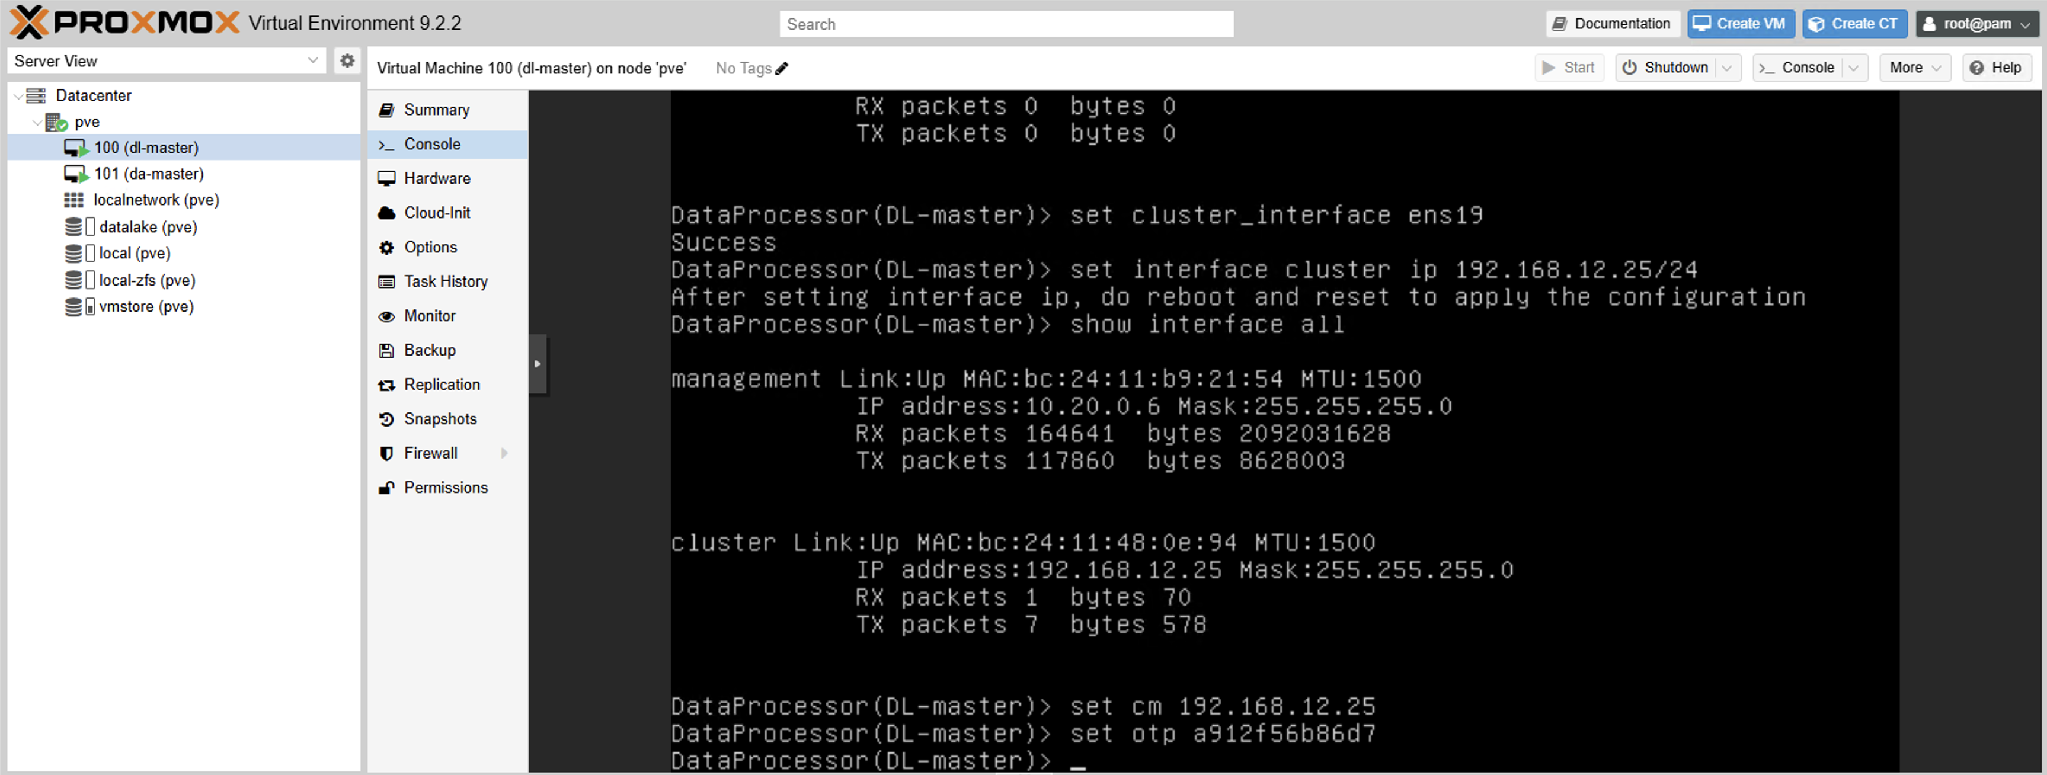
Identify the cluster interface:
show interface all
-
Set the cluster interface:
set cluster_interface ens19
-
Assign the cluster IP:
set interface cluster ip 192.168.12.25/24
-
Verify with
show interface all. The cluster interface now displays ascluster.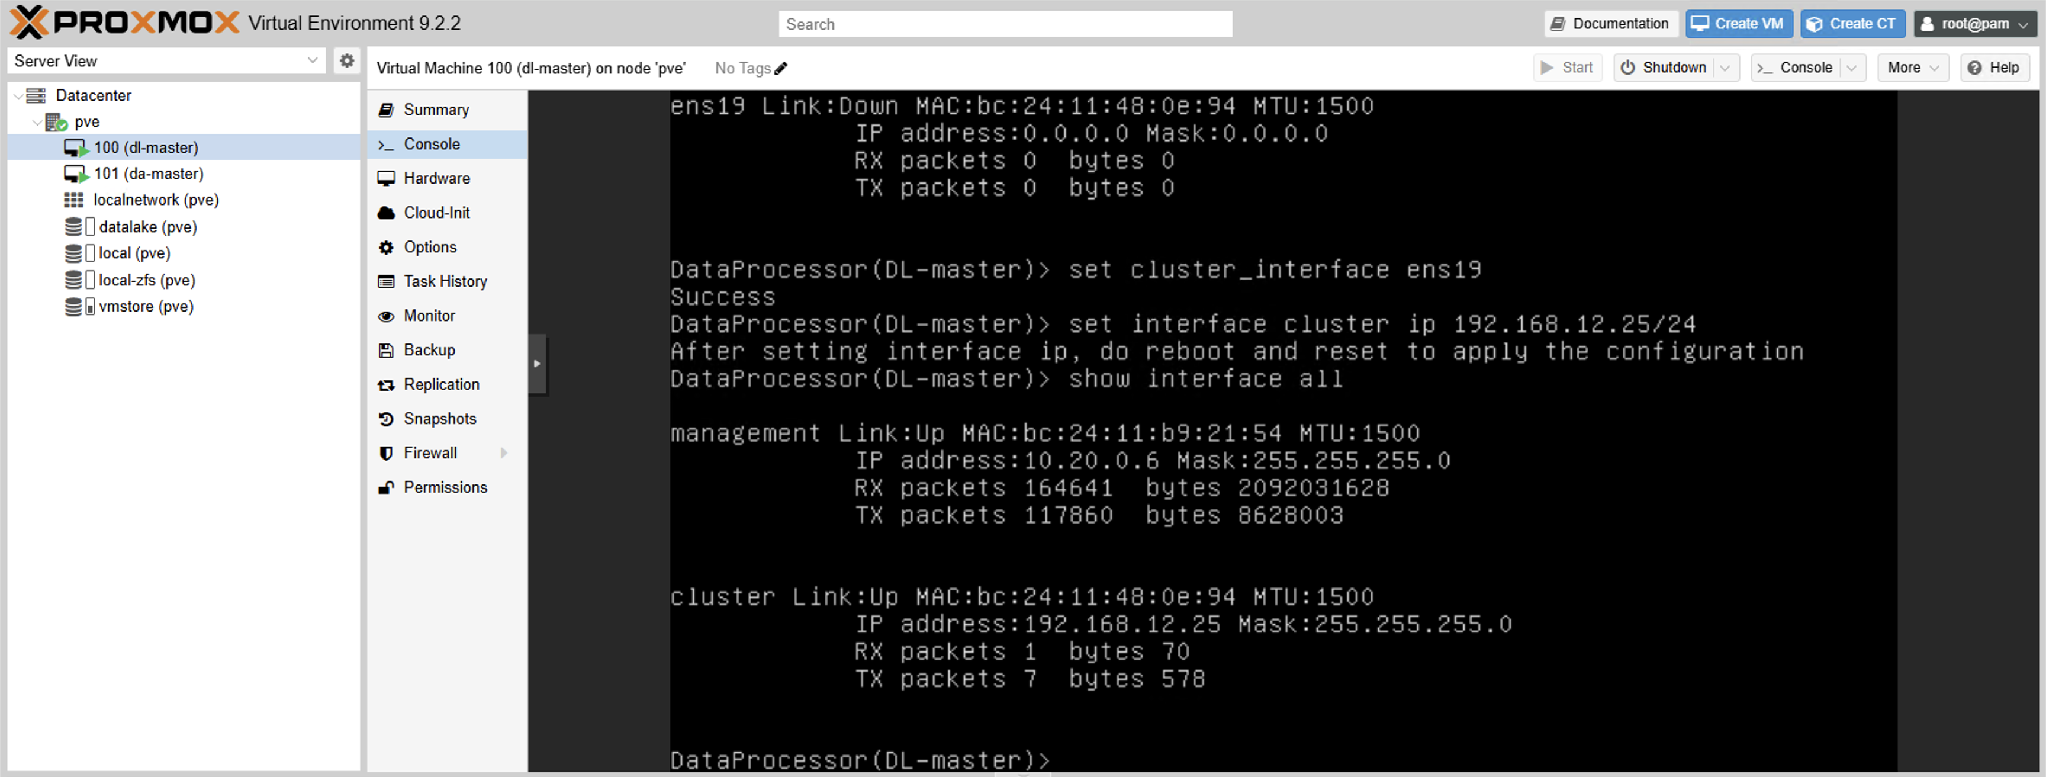
-
Point the cluster manager at the DL's cluster IP:
set cm 192.168.12.25
-
Supply your License Key:
set otp <License Key>
-
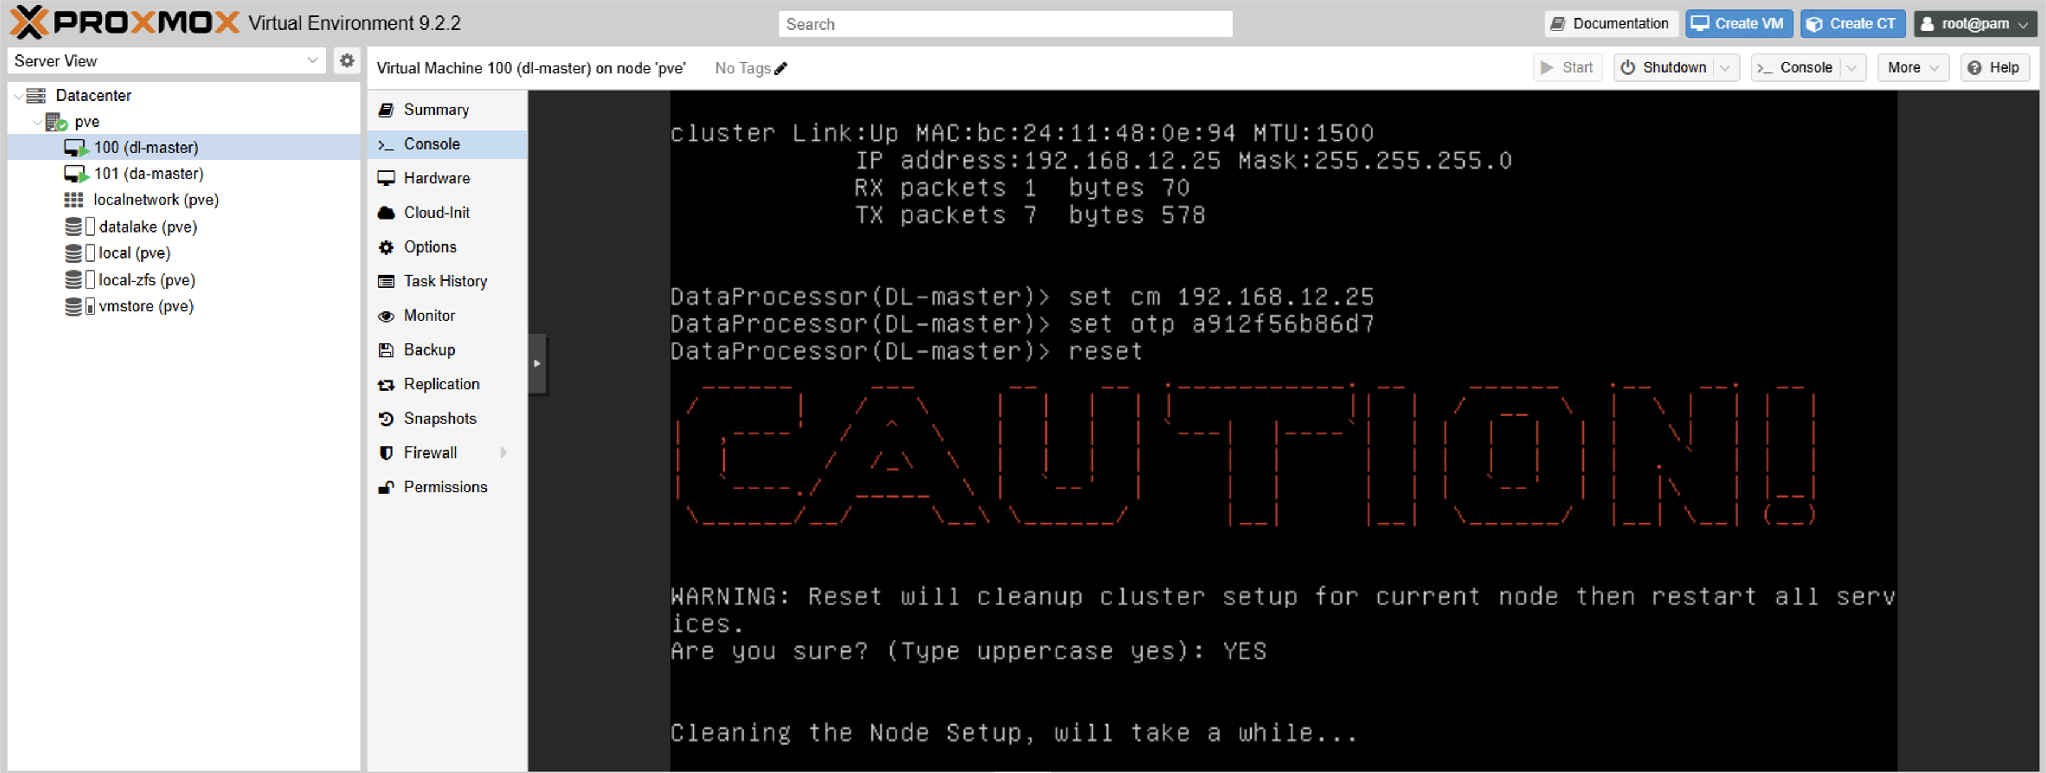
Reset the VM to download and install the image:
reset
-
Monitor with
show statusuntil the system reports ready.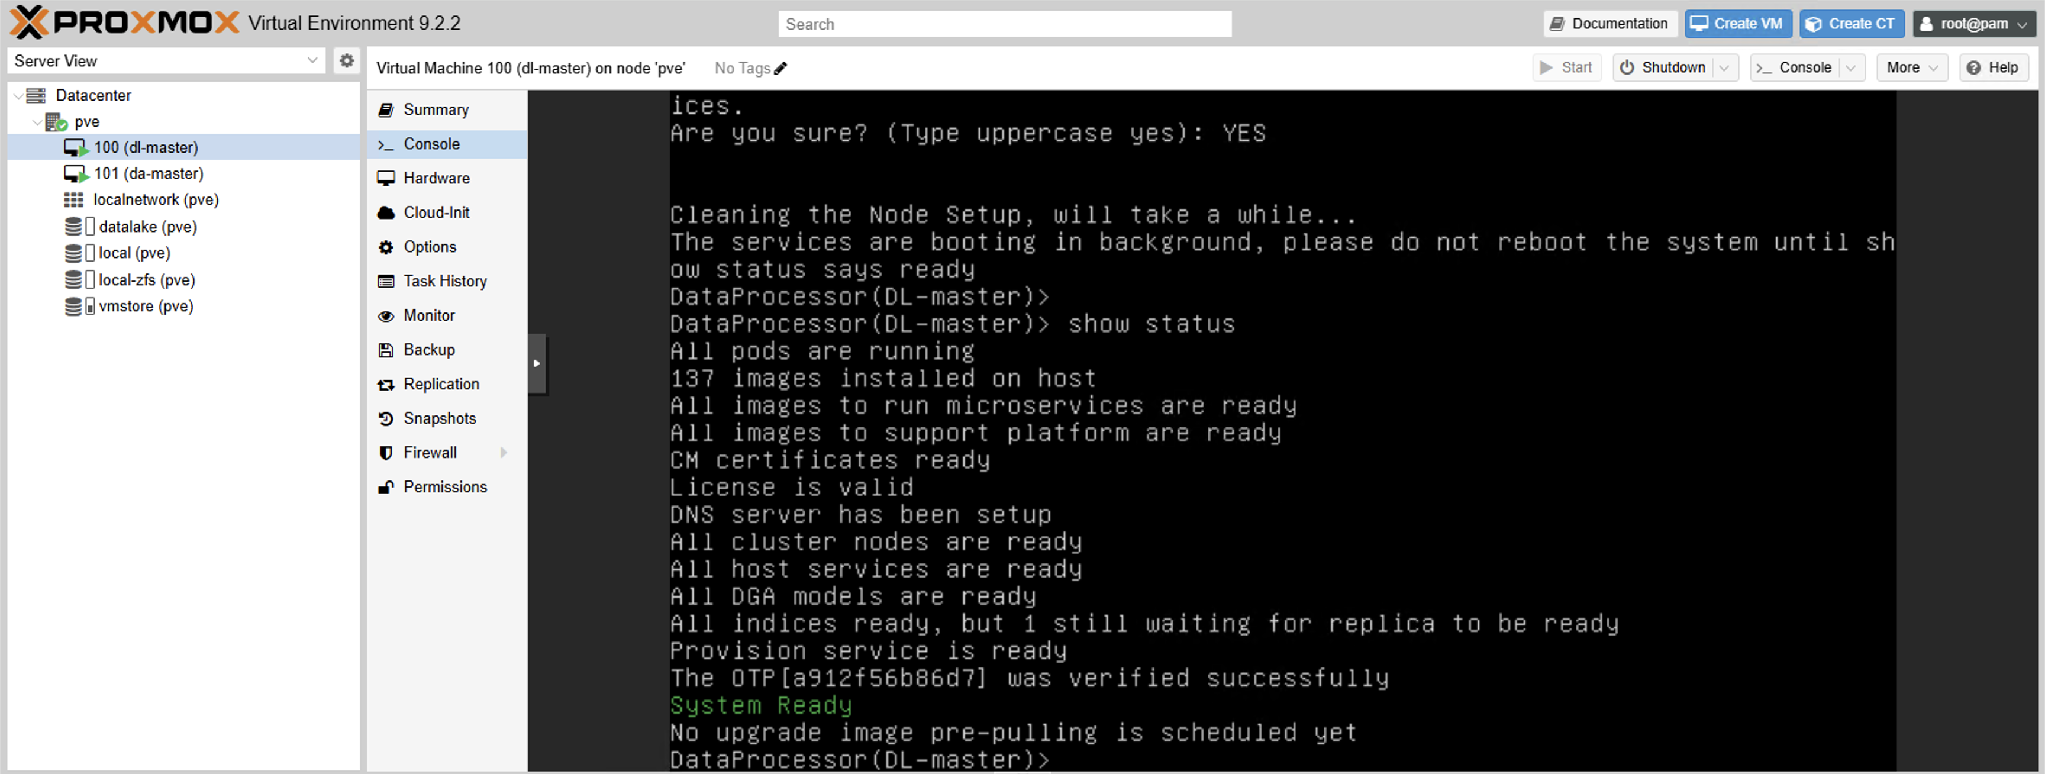
To Configure the Data Analyzer Master Role
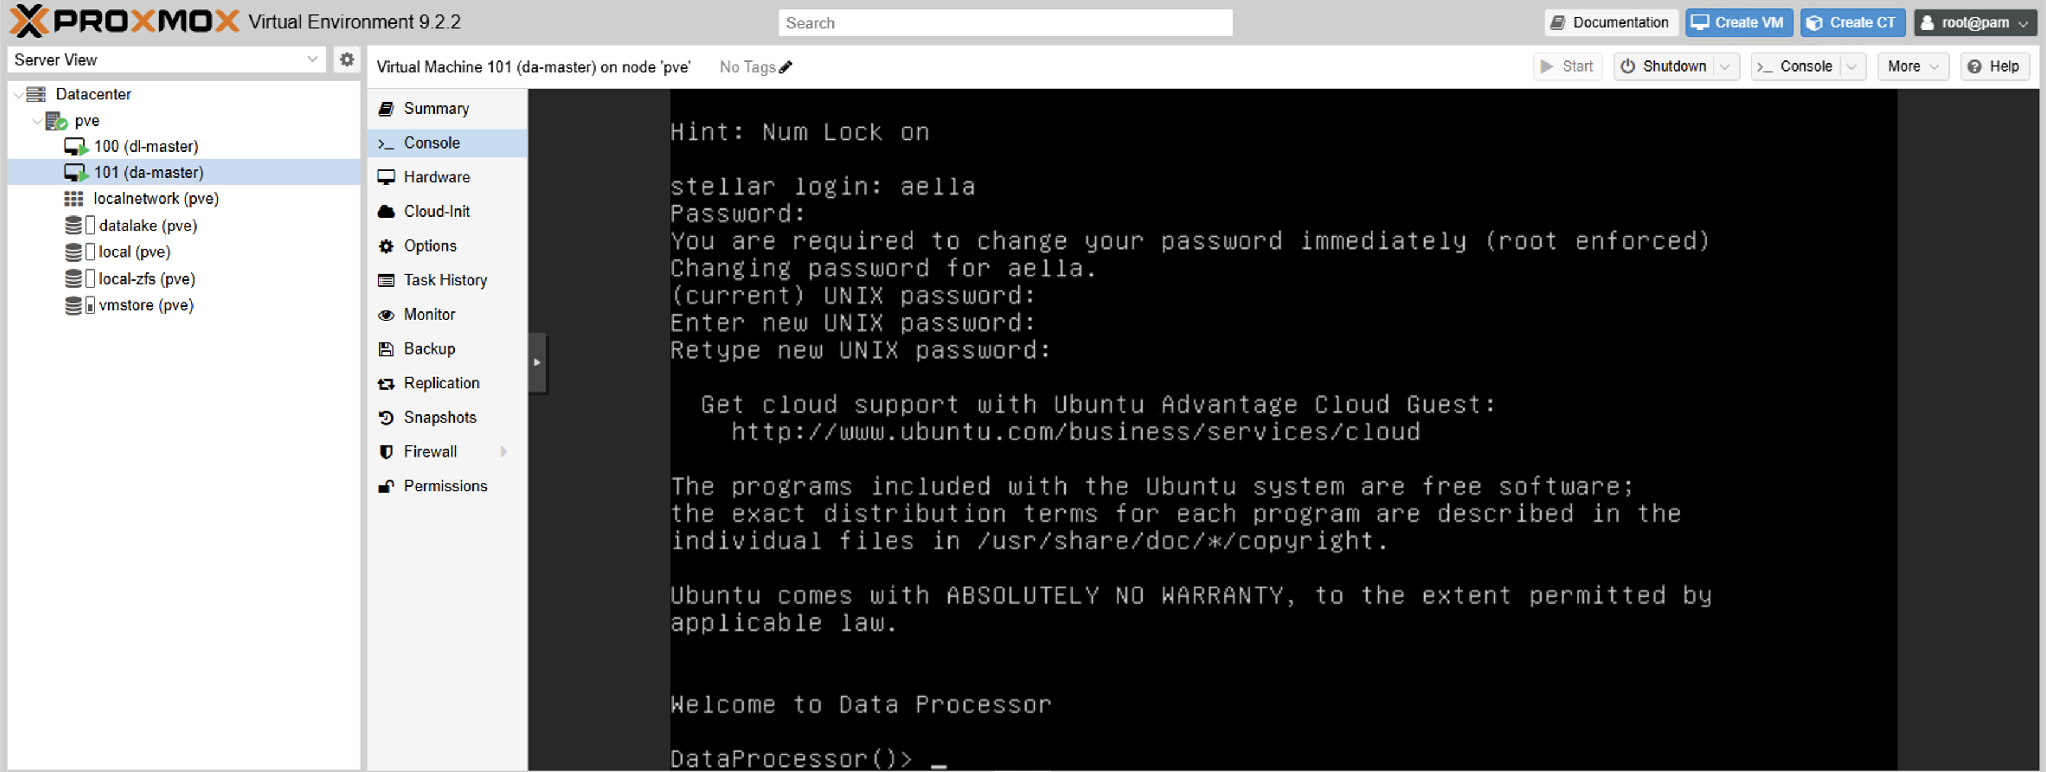
- Open a console connection to the da-master VM.
-
Log in with aella / changeme and change the password.
-
Assign static management IP information:
set interface management ip 10.20.0.7/24
set interface management gateway 10.20.0.1
set interface management dns 8.8.8.8
-
Assign a hostname:
set hostname da-master
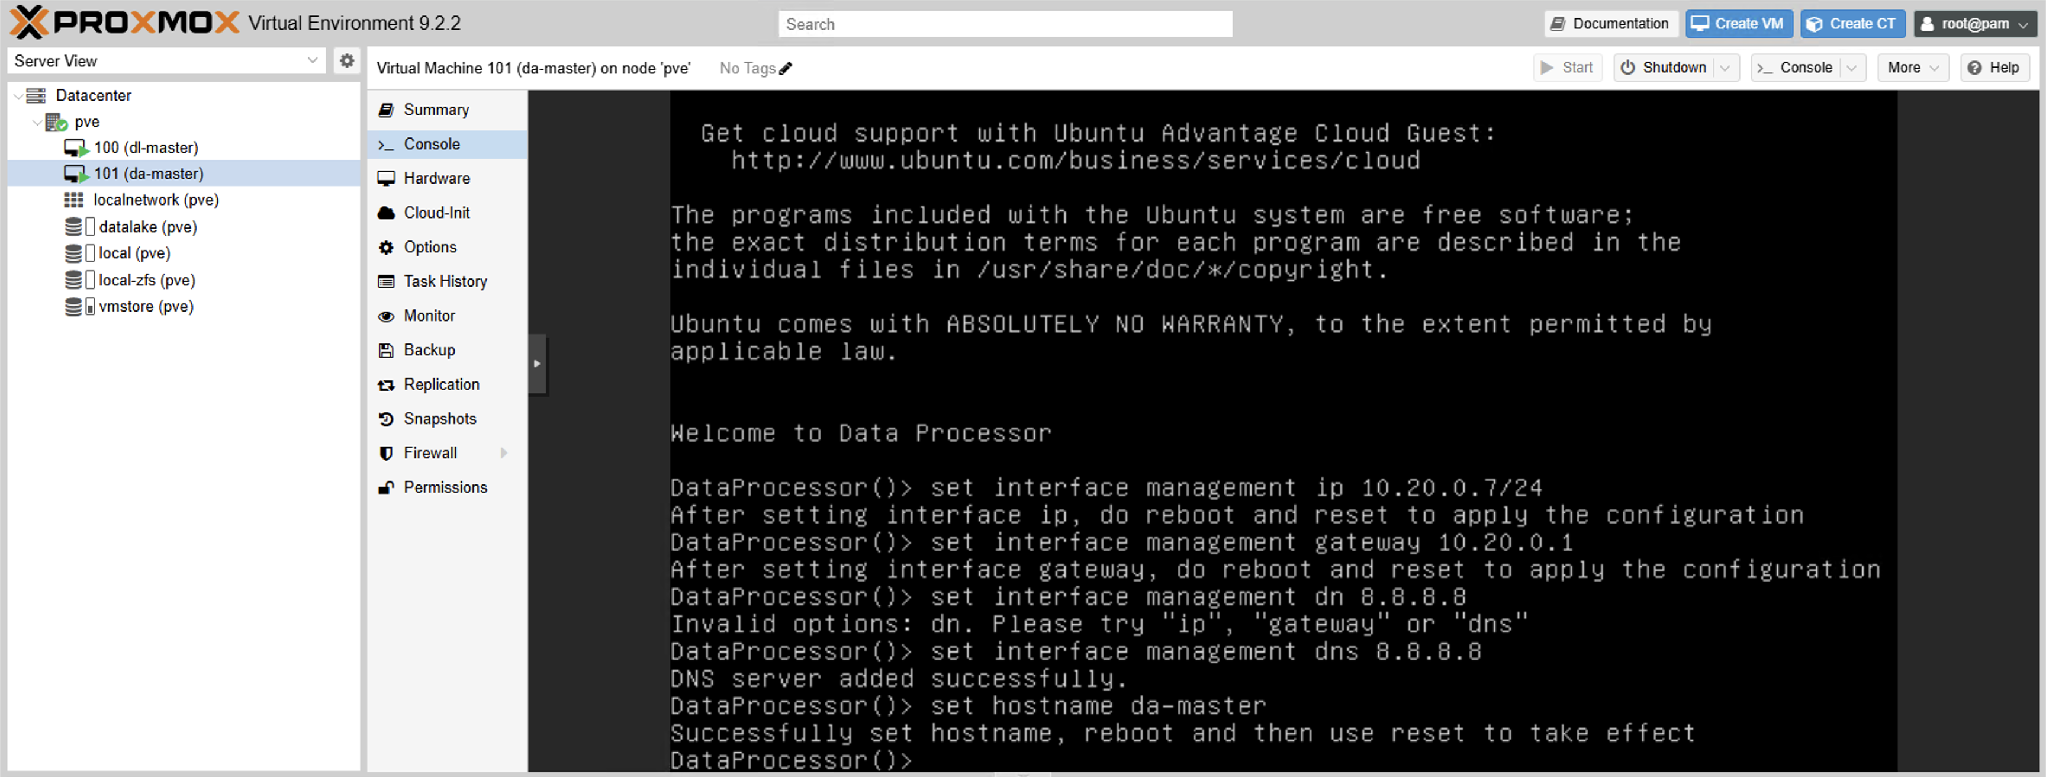
- Reboot, reconnect, and log in.
-
Identify the cluster interface:
show interface all
-
Set the cluster interface and IP:
set cluster_interface ens19
set interface cluster ip 192.168.12.50/24
-
Verify with
show interface all.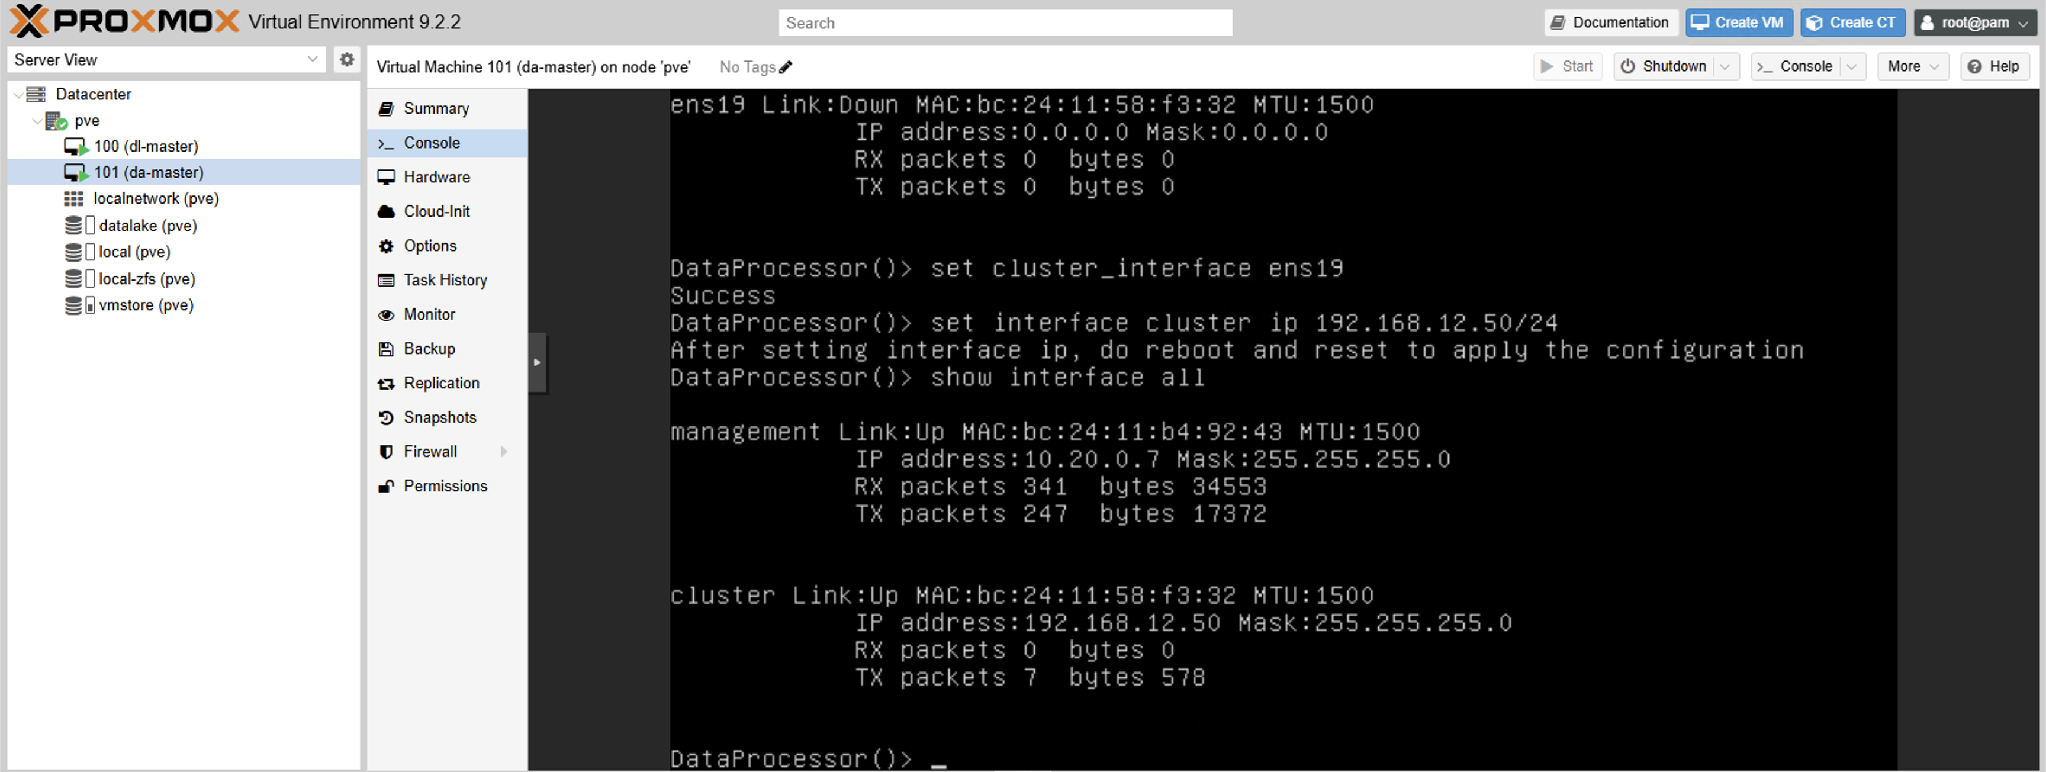
-
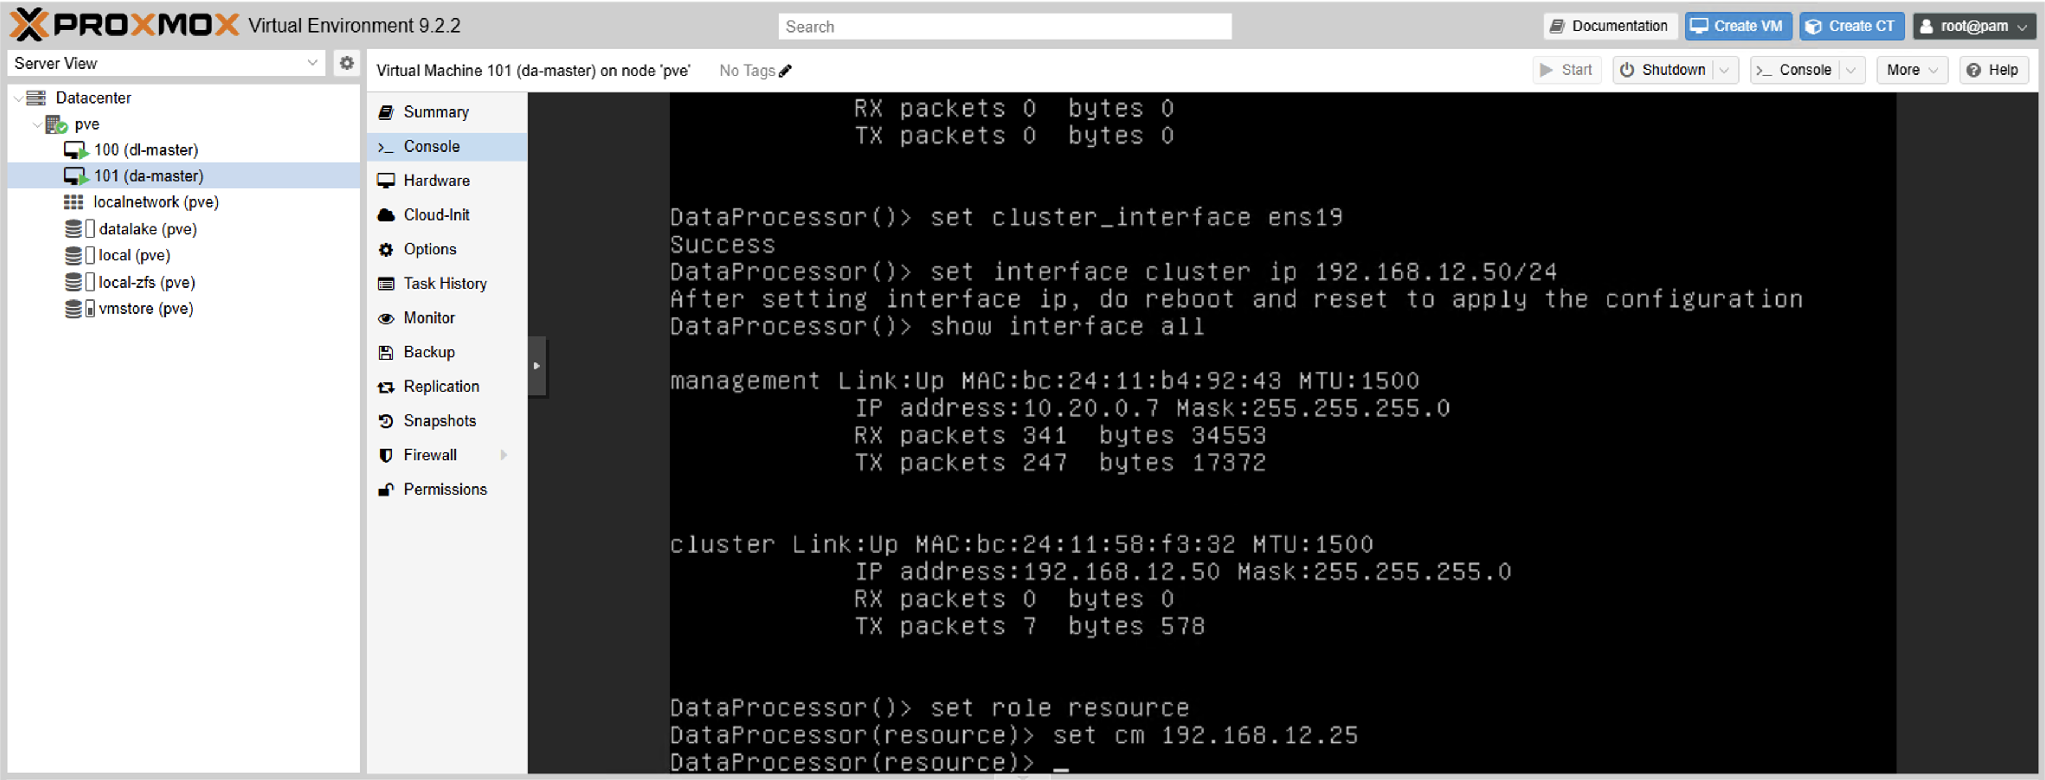
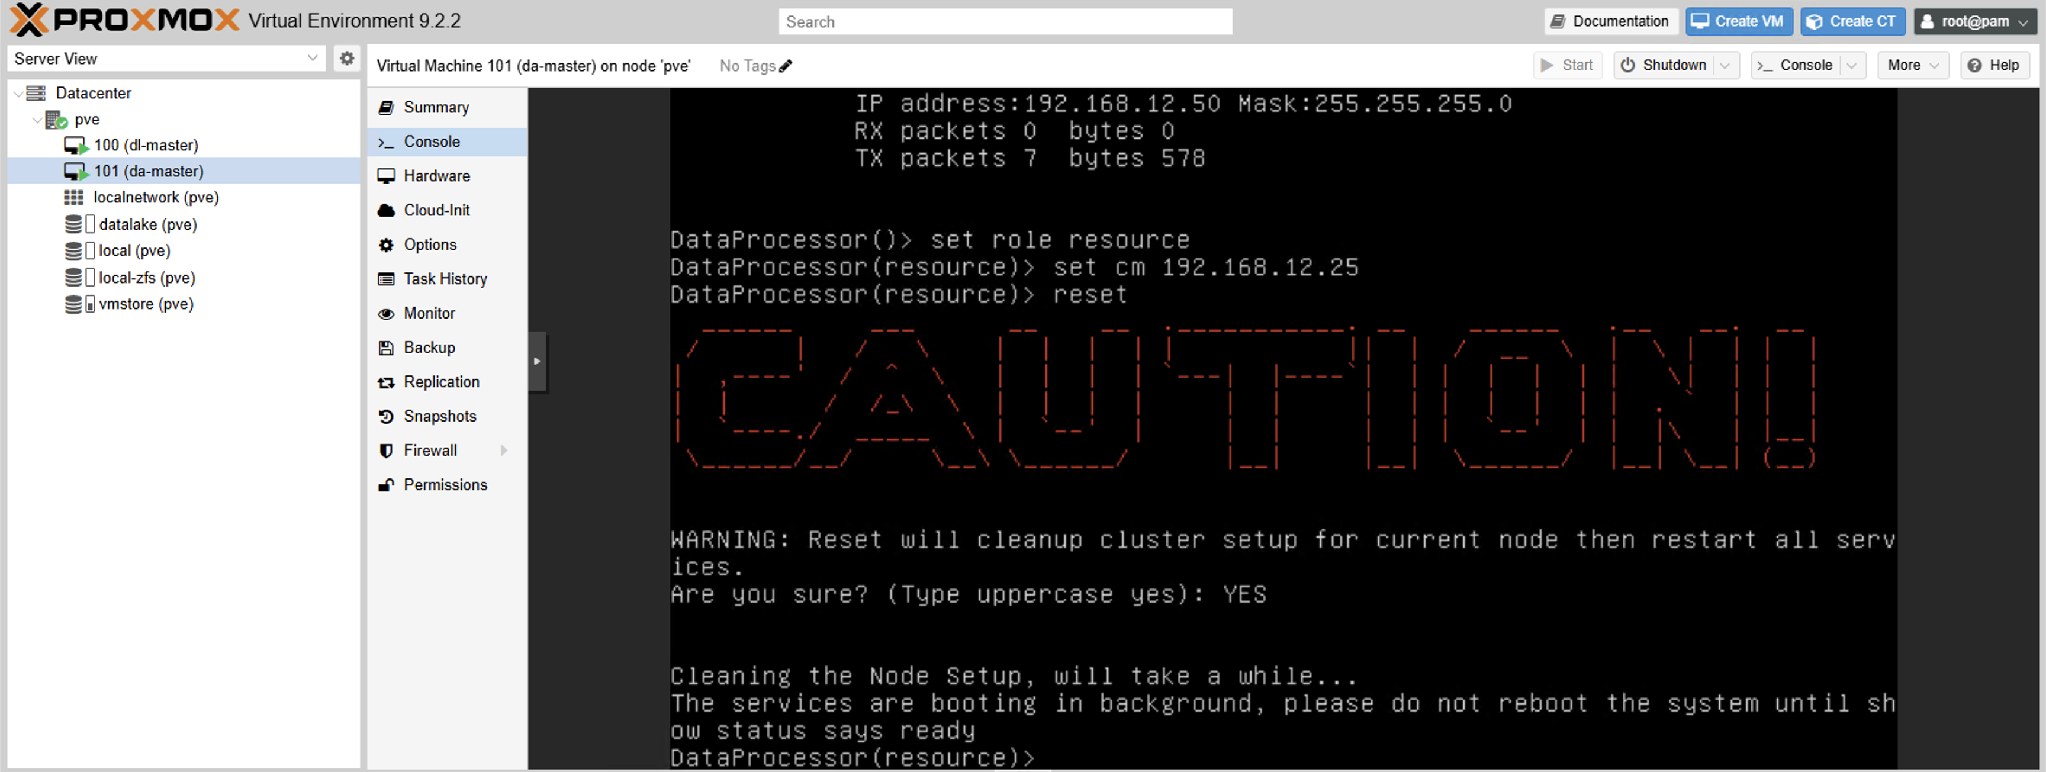
Assign the
resourcerole:set role resource
-
Point the VM at the DL's cluster IP:
set cm 192.168.12.25
-
Reset the VM:
reset
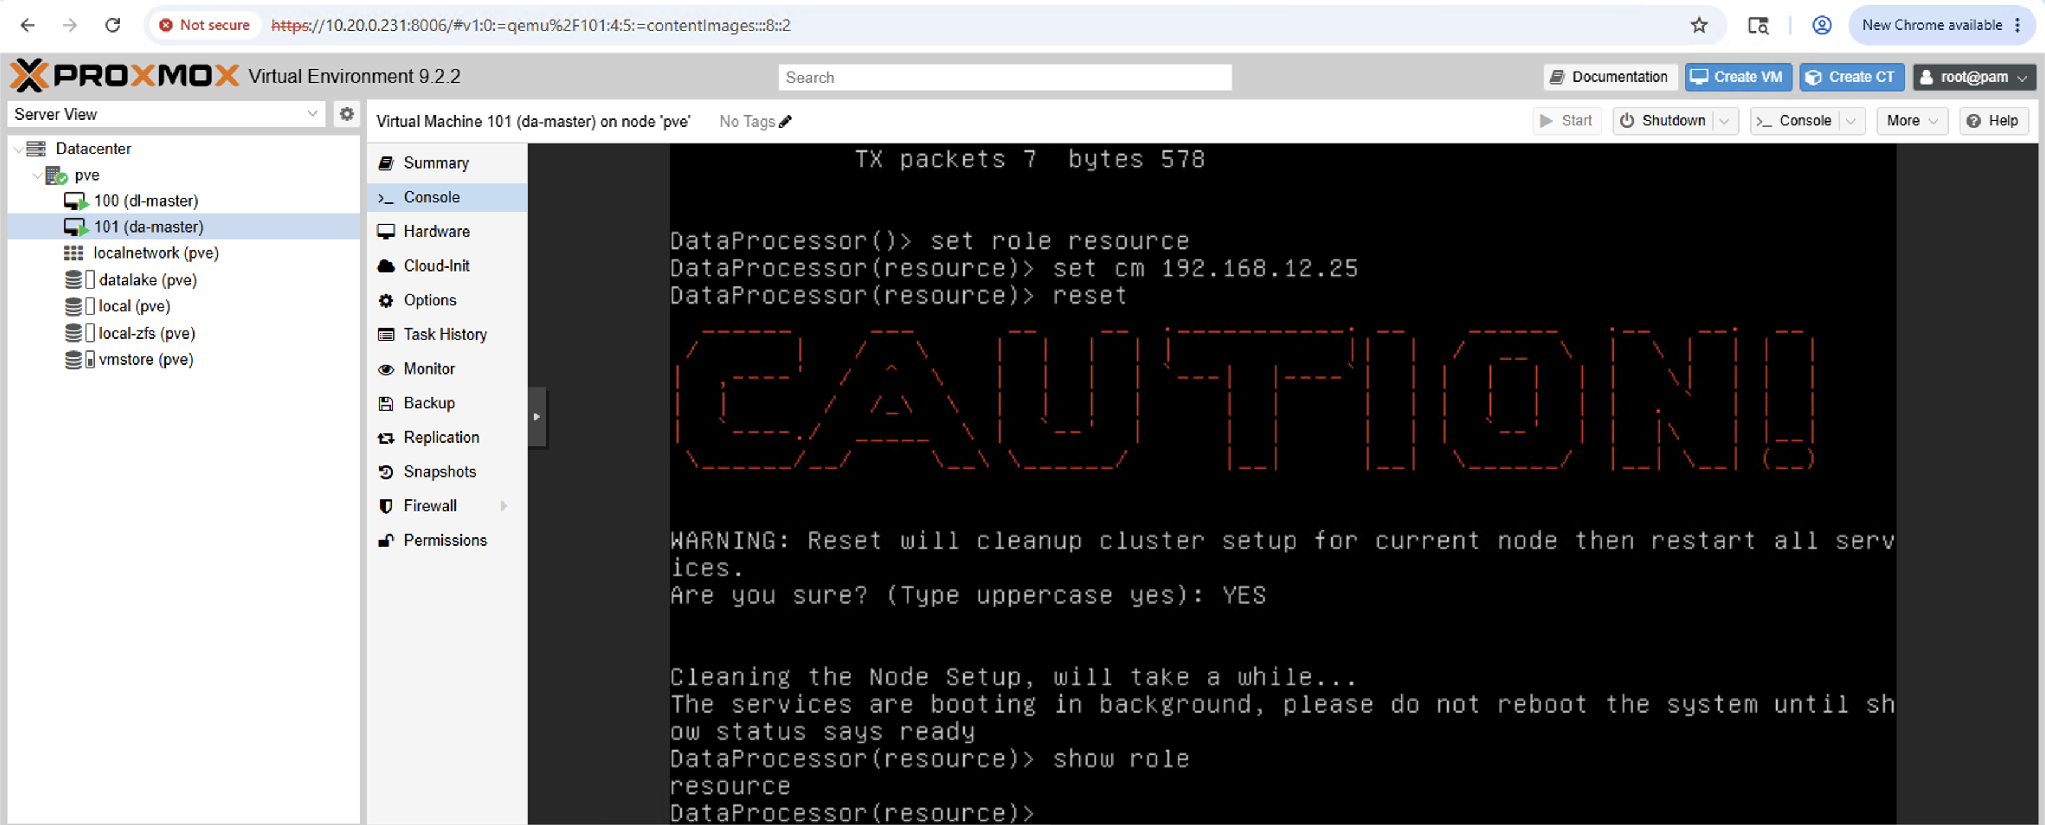
- Verify with
show role. When the system reports resource, proceed to role conversion.
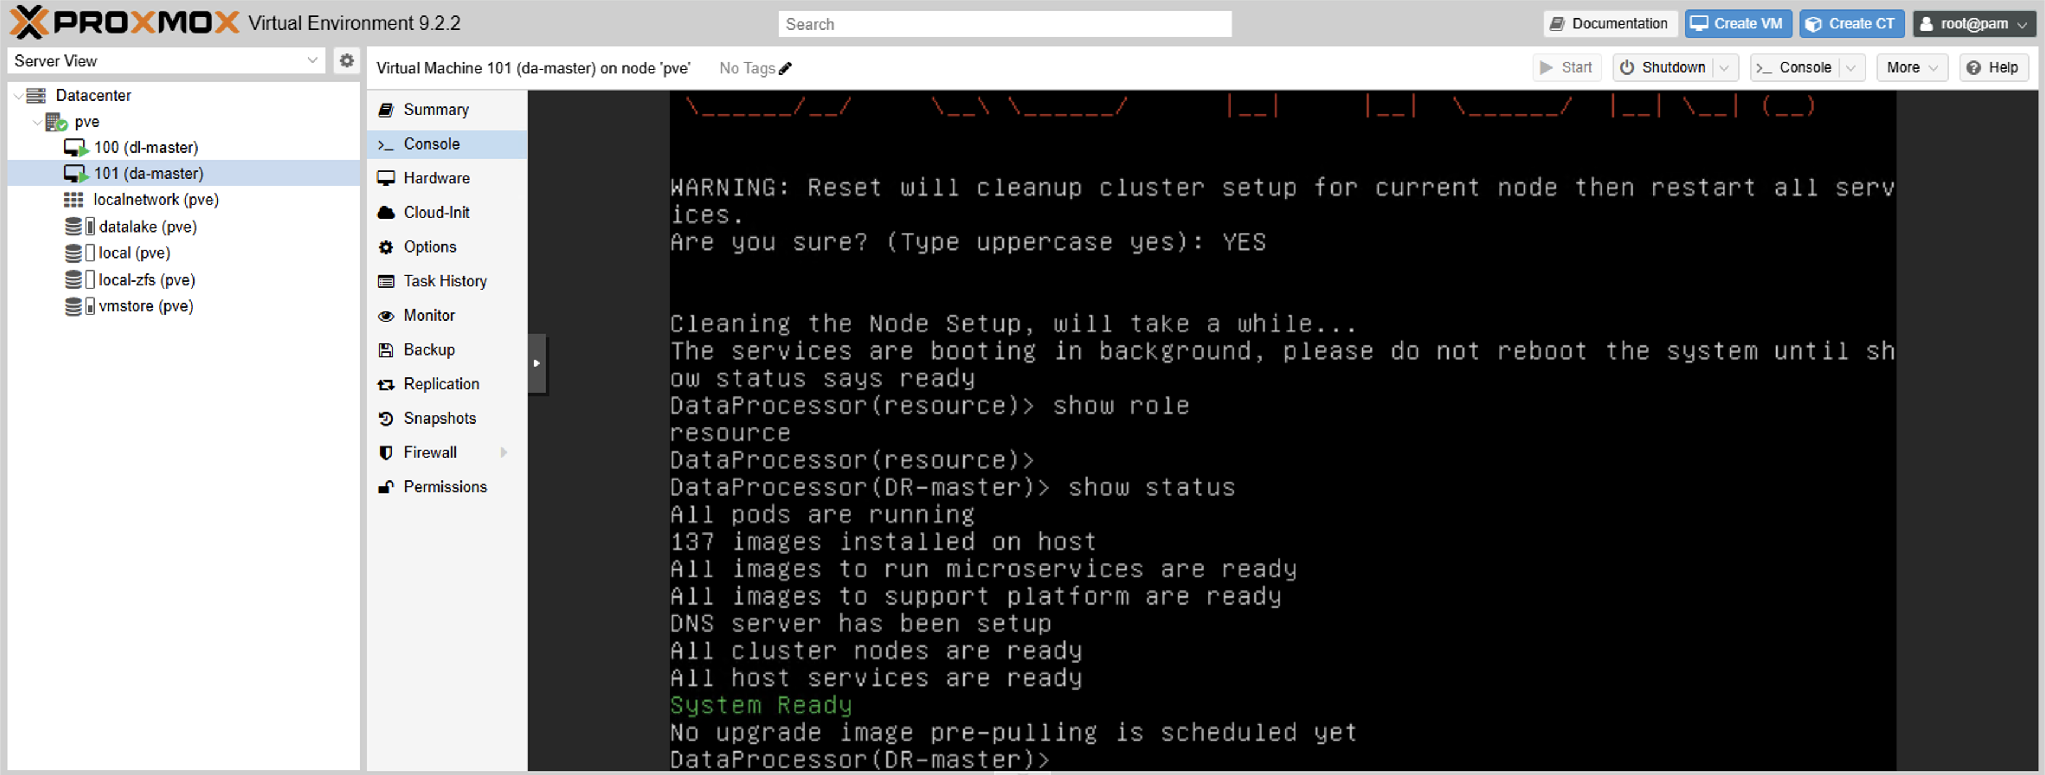
To Convert the DAm Role from "resource" to "DA-Master"
-
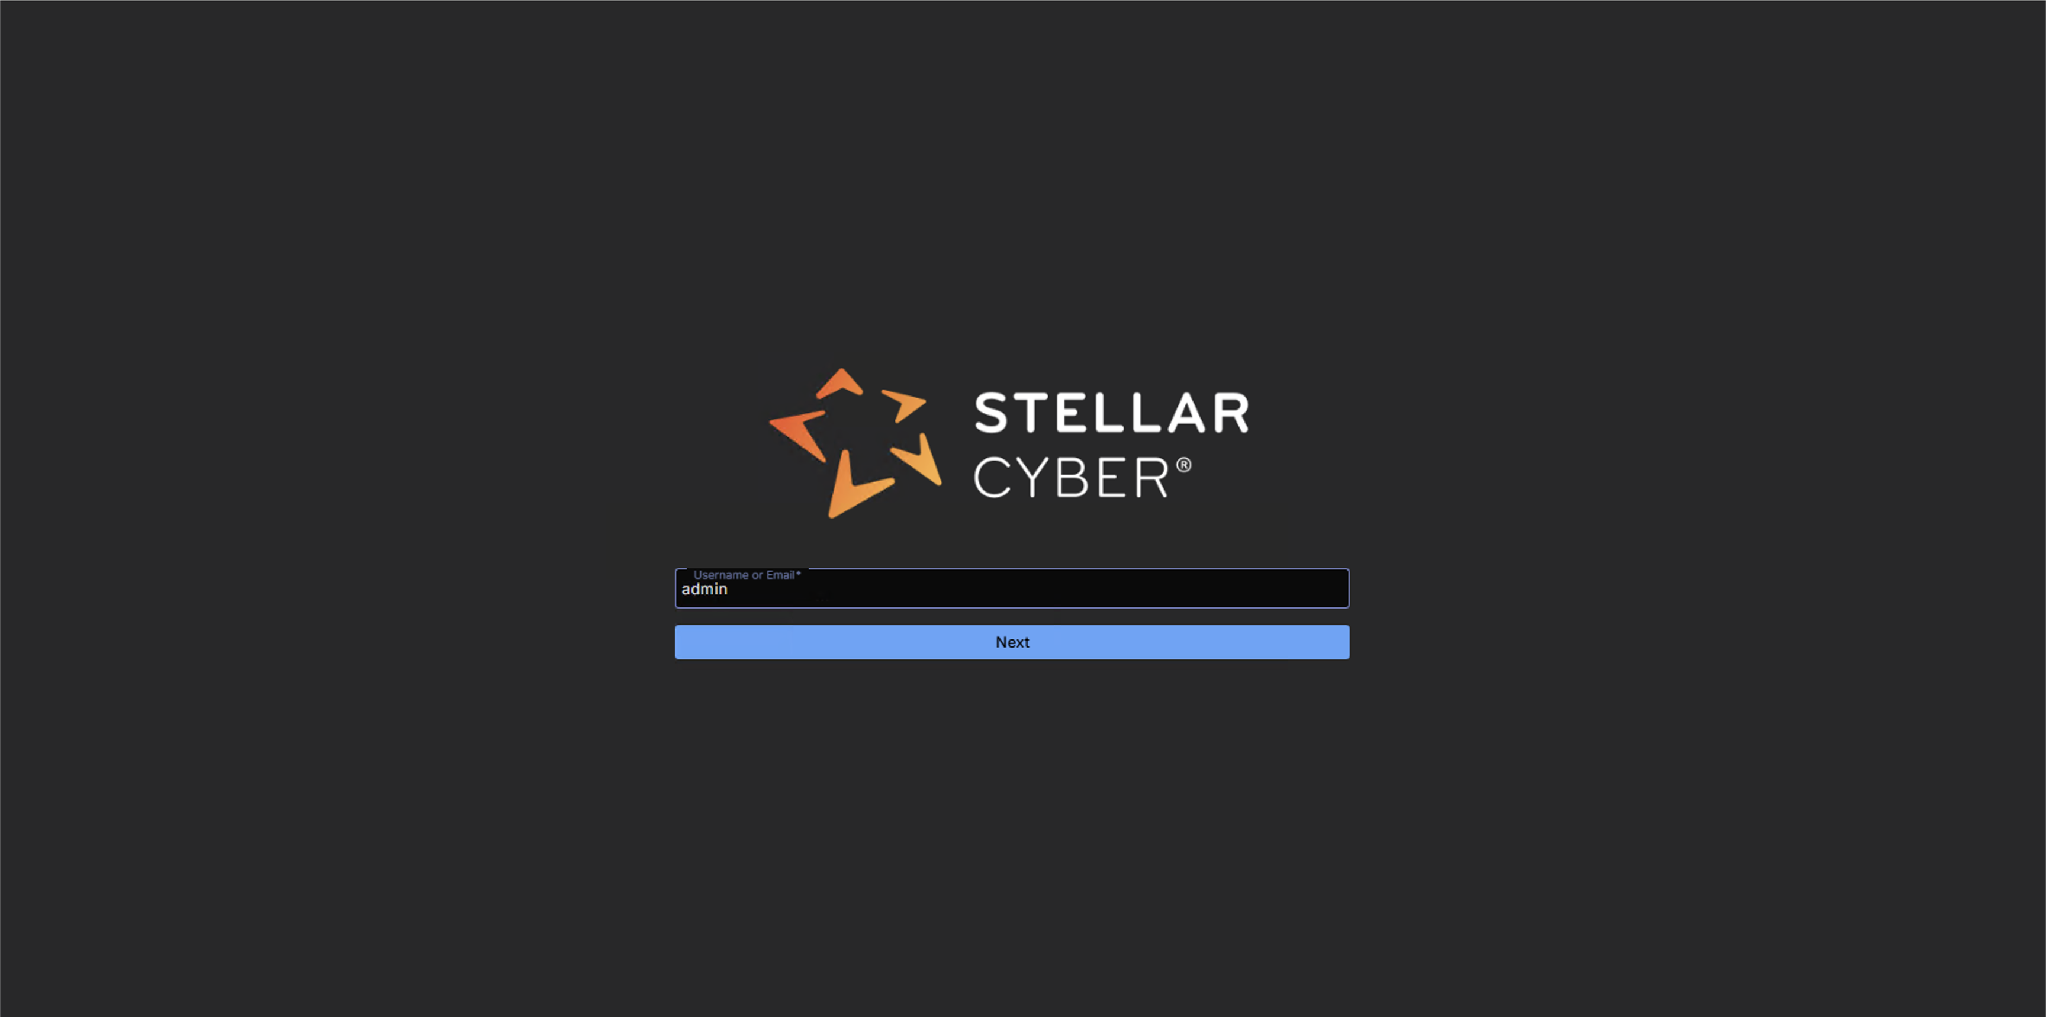
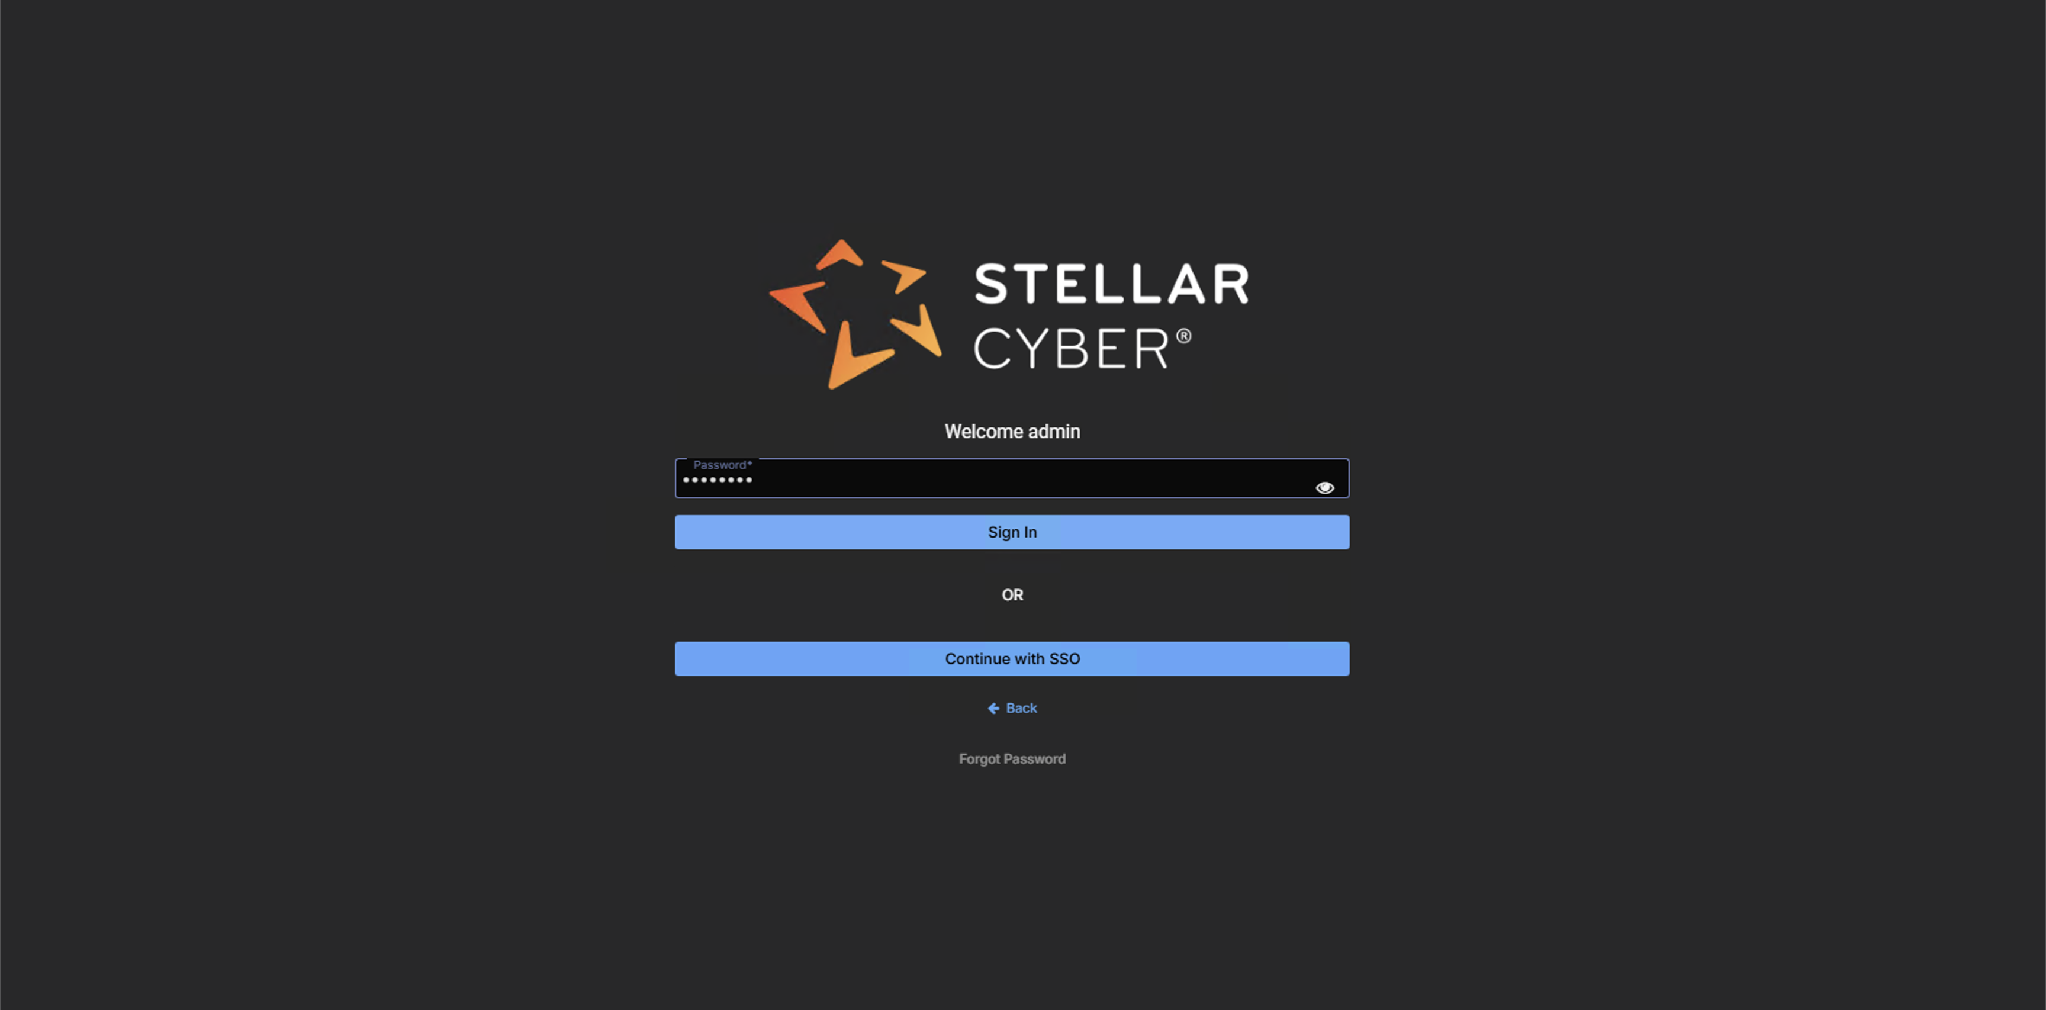
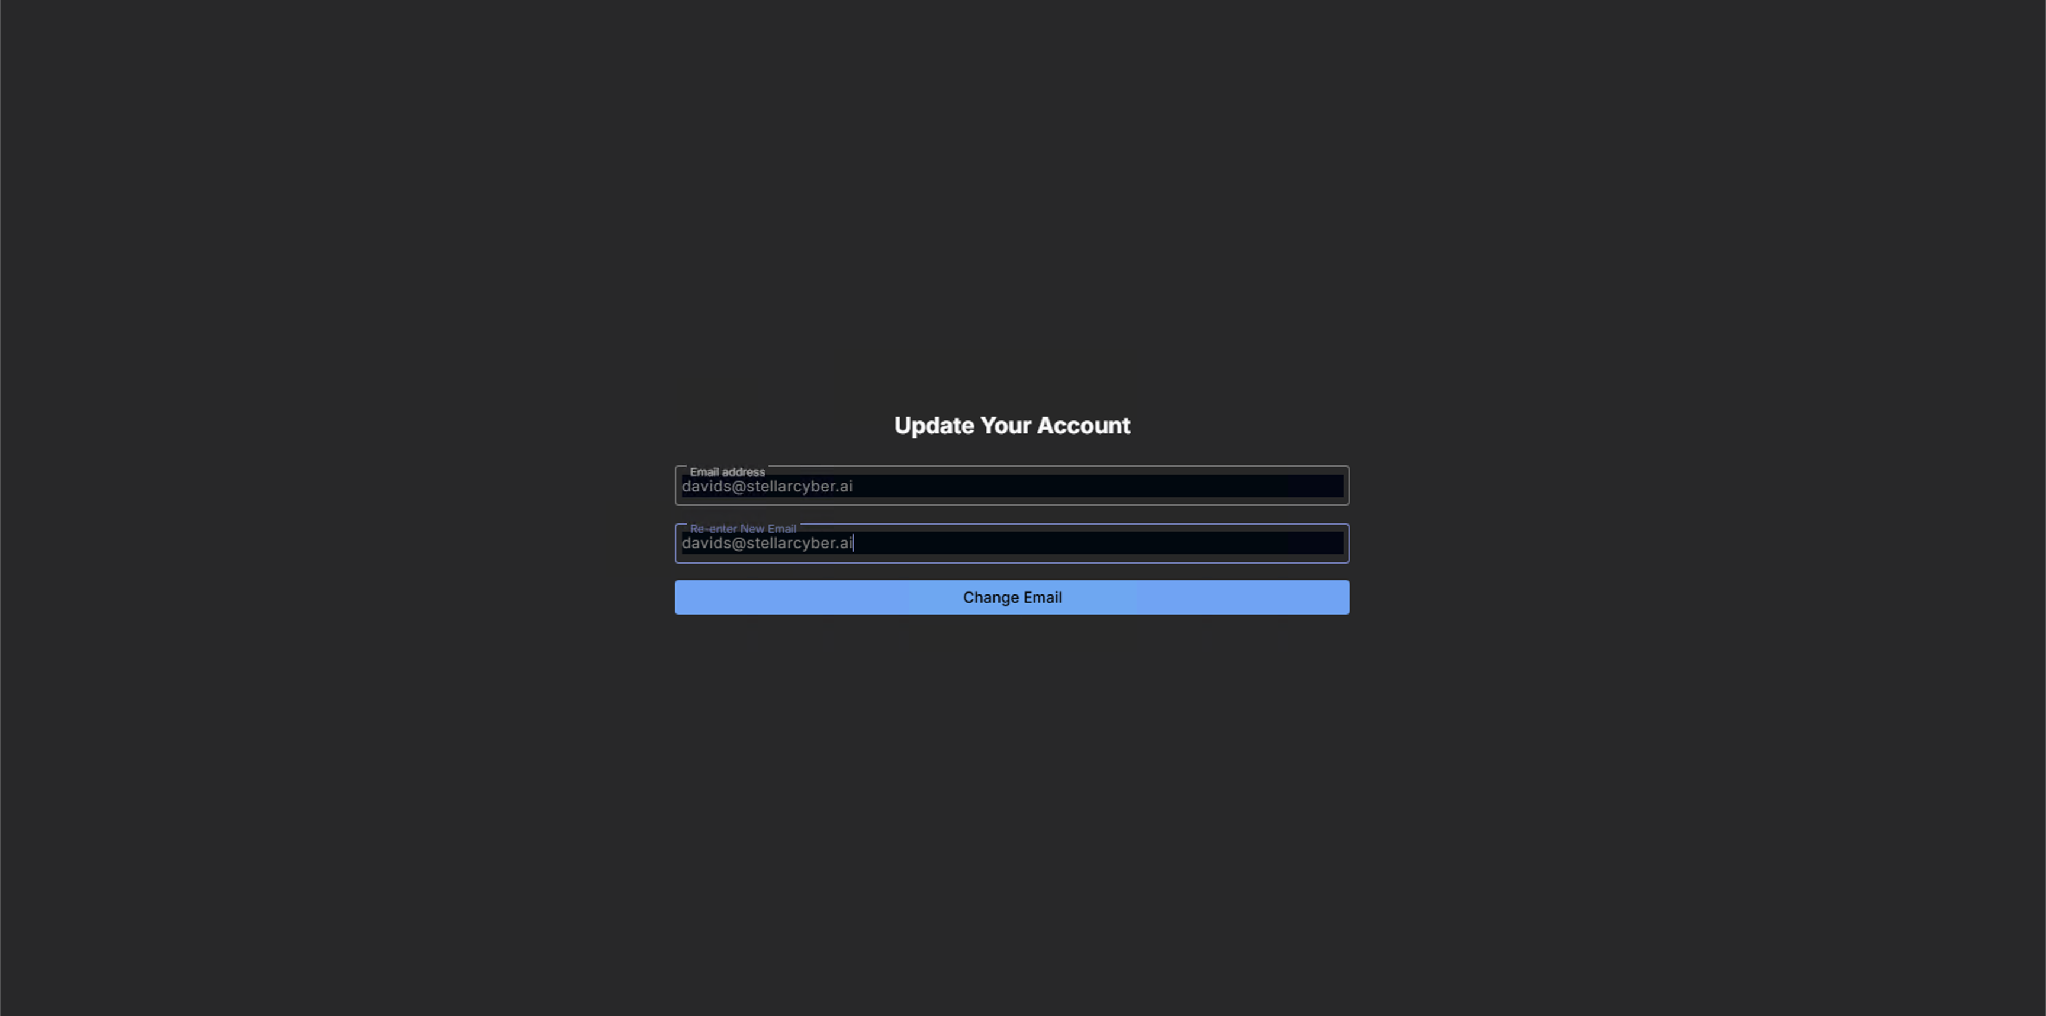
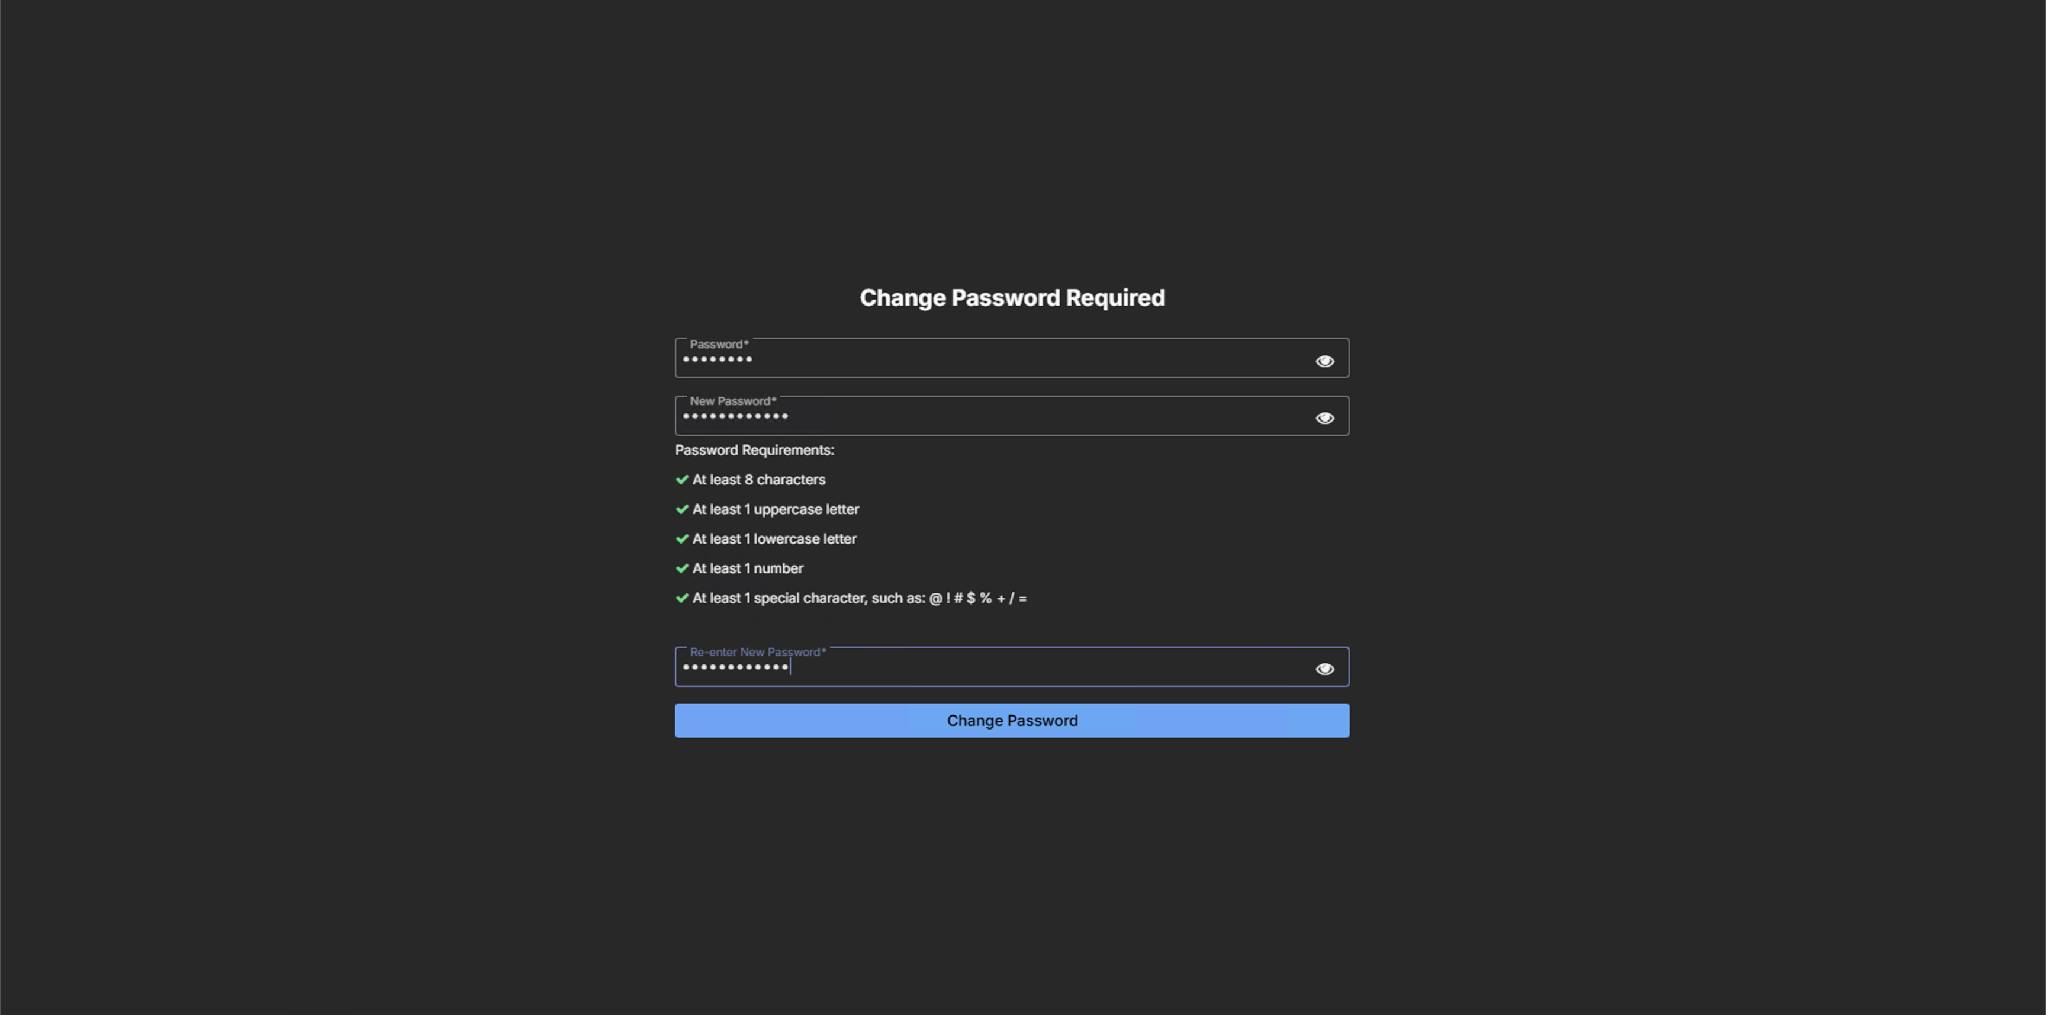
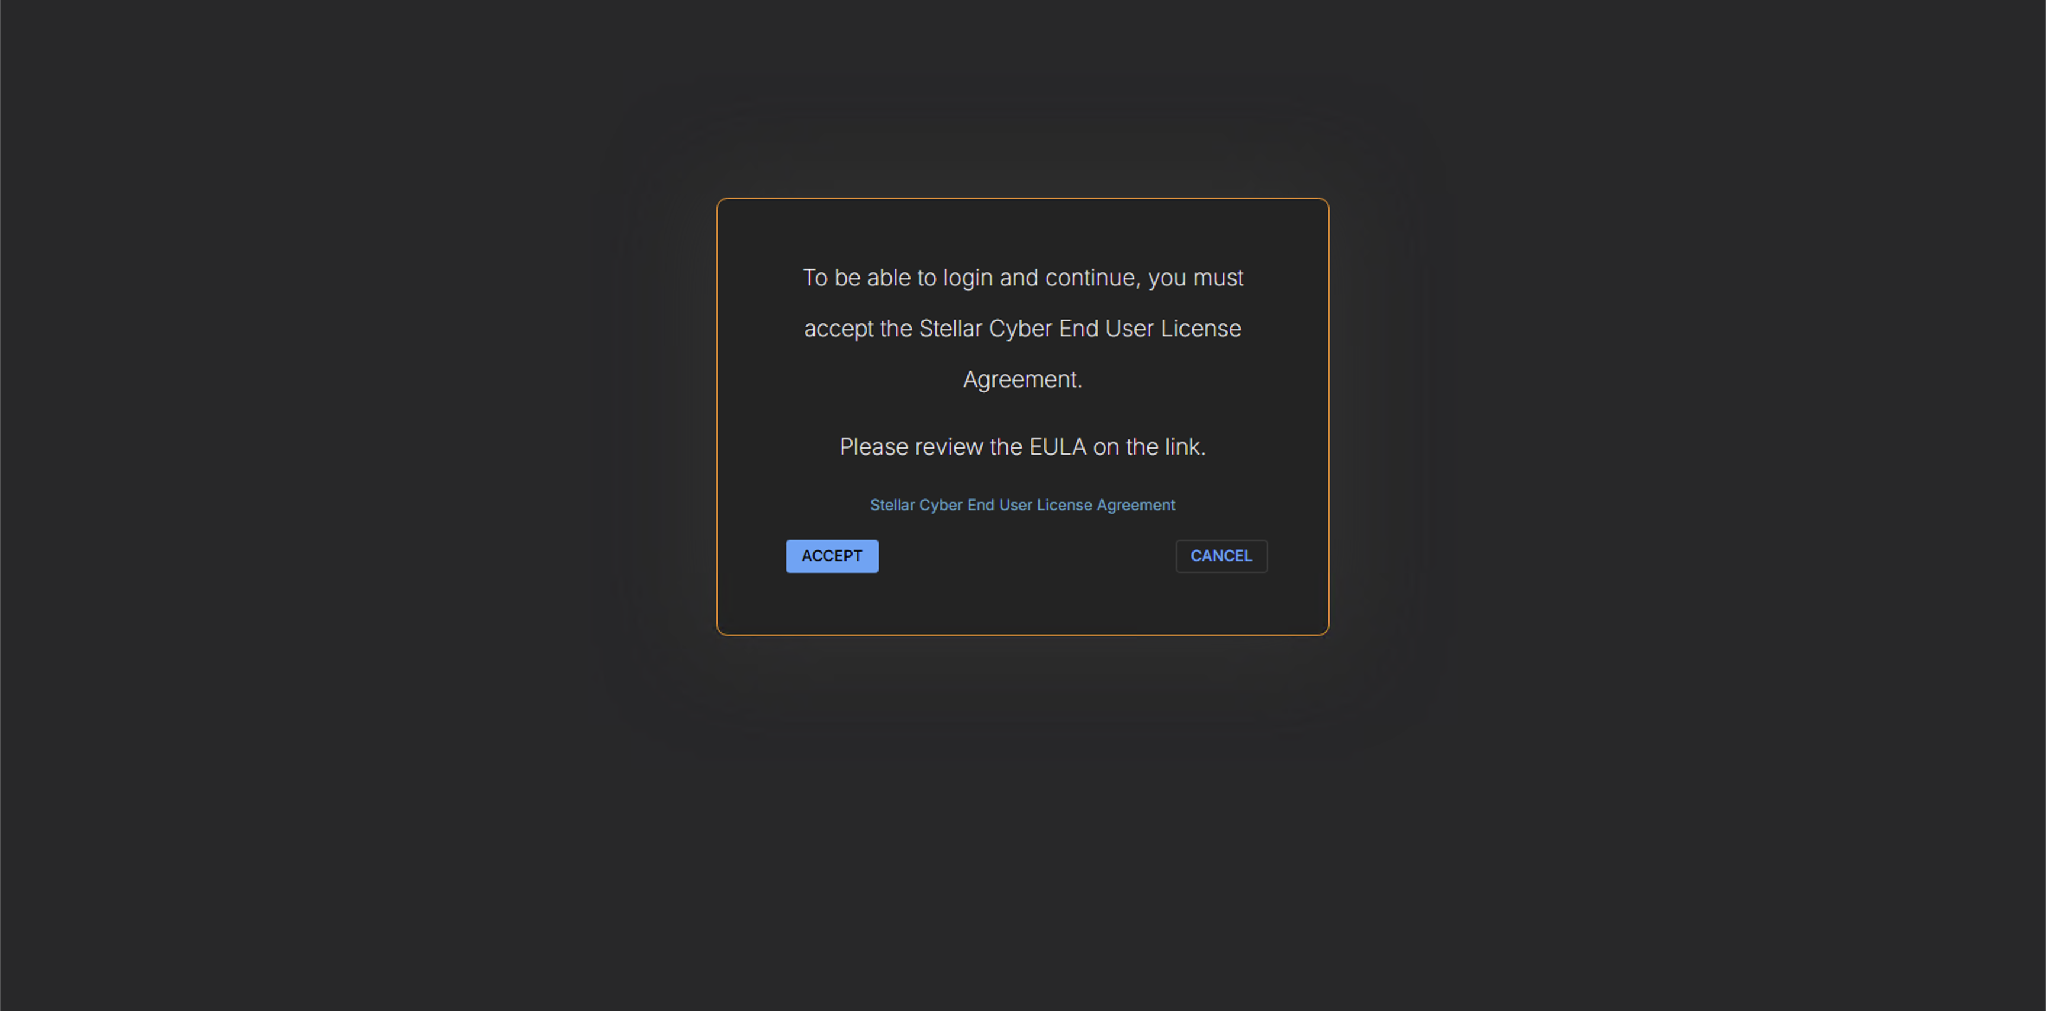
With the DLm reporting System Ready and the DAm reporting resource, browse to the DLm UI:
Default credentials: admin / changeme.
-
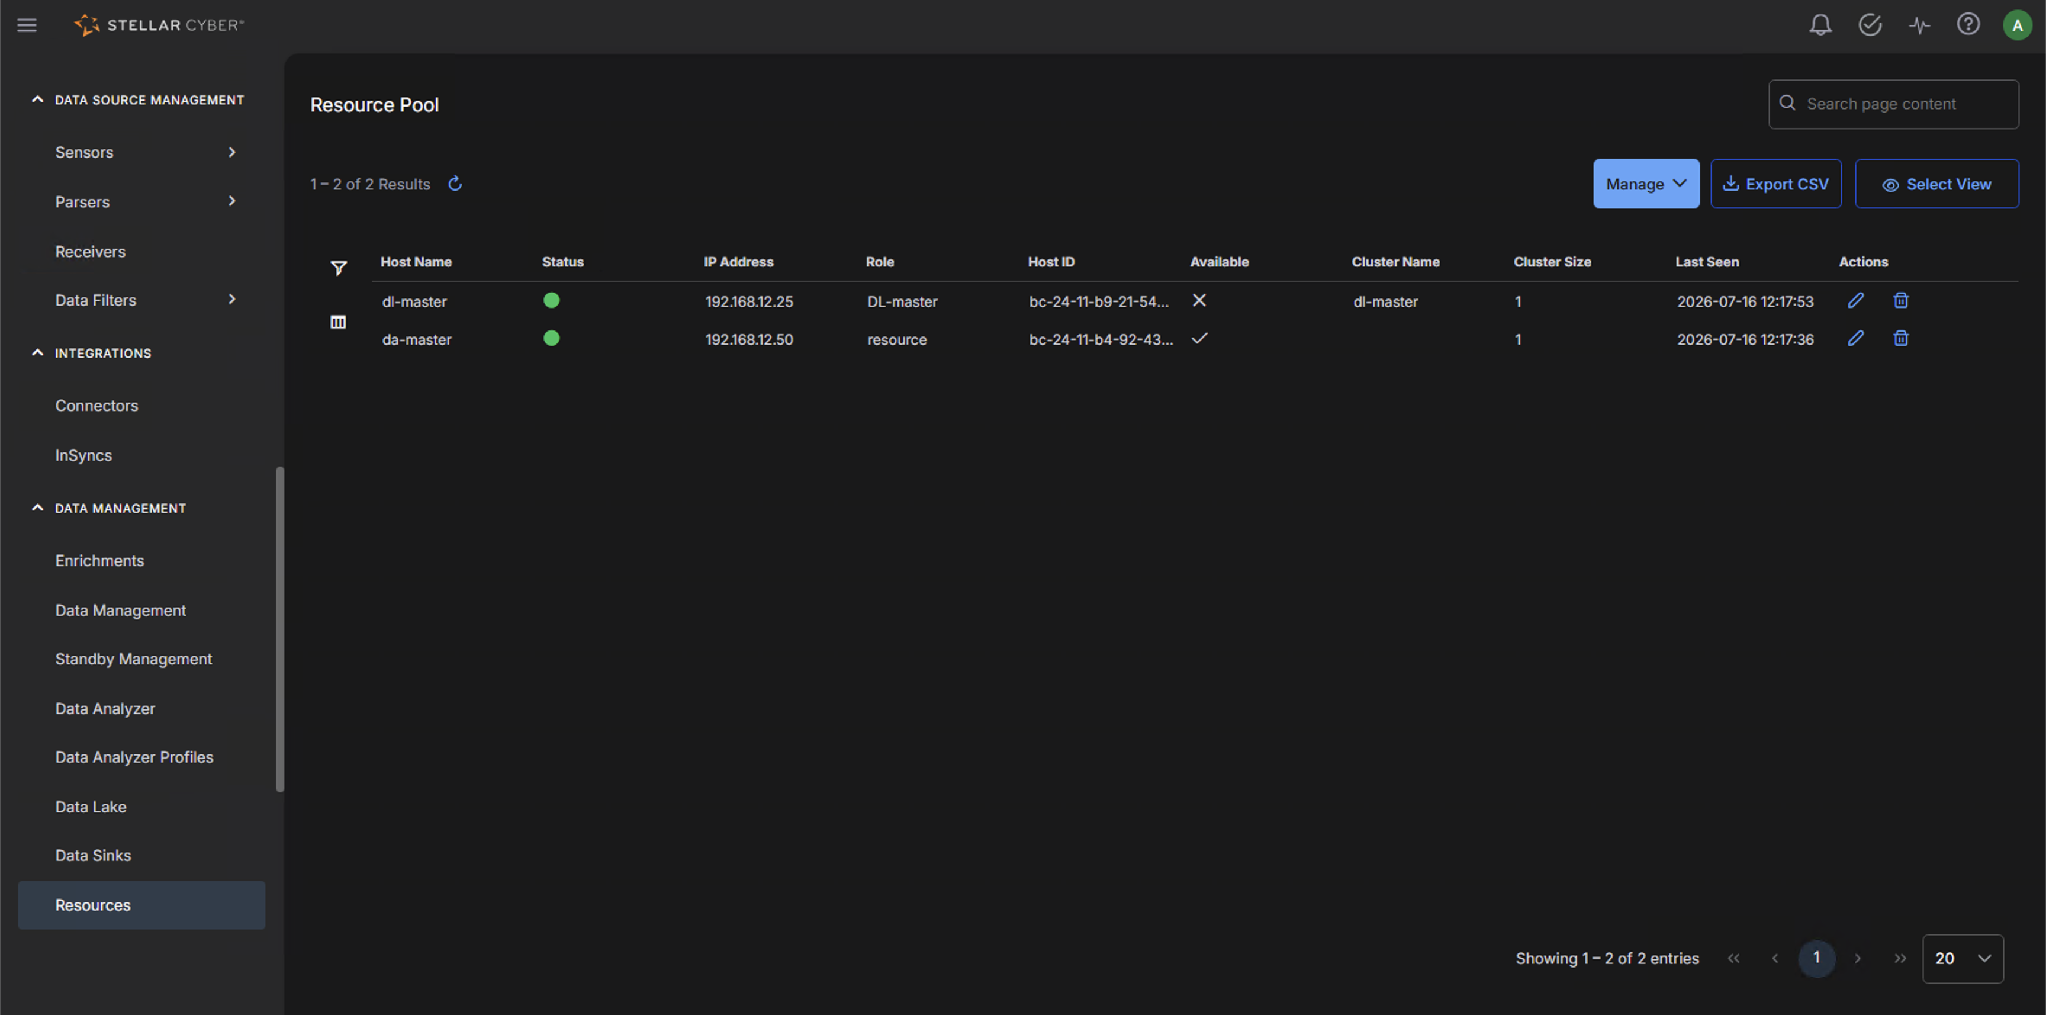
Navigate to System | DATA MANAGEMENT | Resources and confirm the resource is ready and available.
-
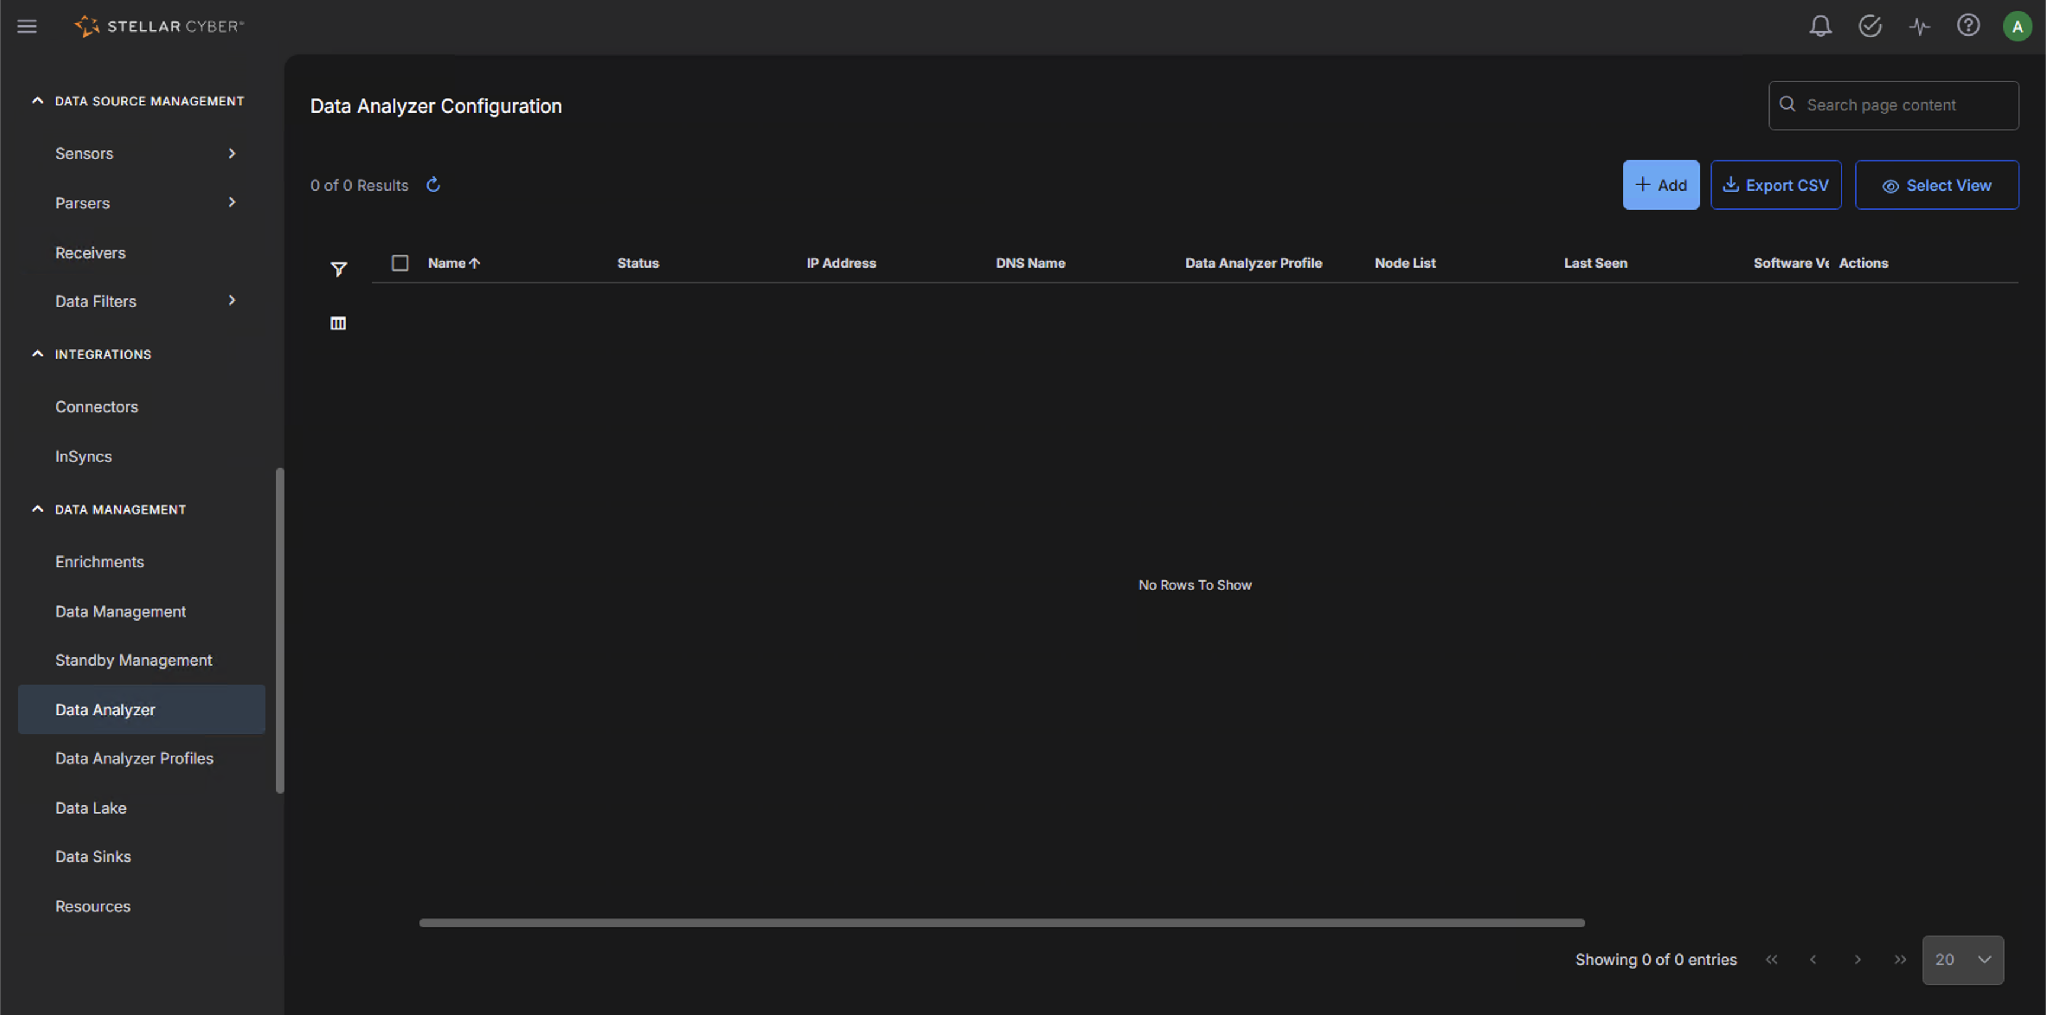
Navigate to System | DATA MANAGEMENT | Data Analyzer and click Create.
-
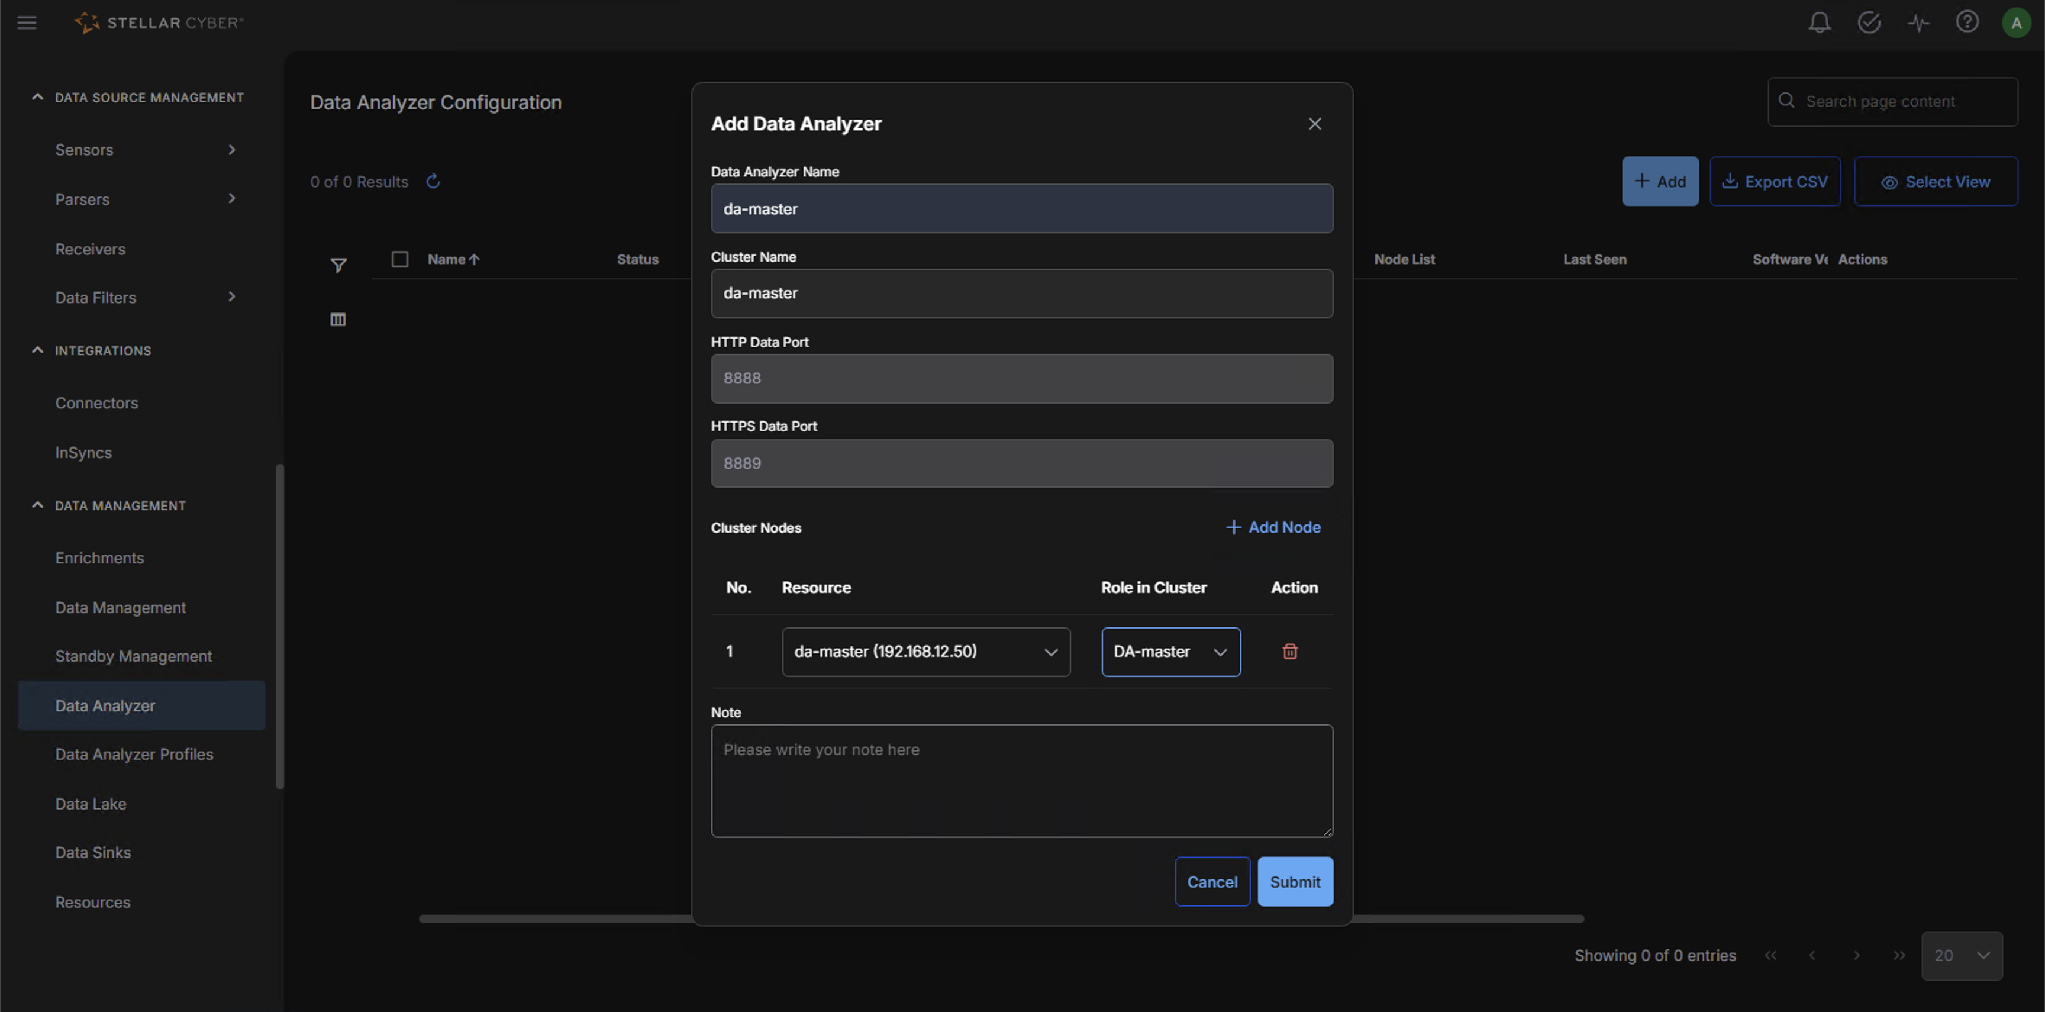
In the Add Data Analyzer dialog:
- Data Analyzer Name: da-master
- Cluster Name: da-master
- HTTP/HTTPS Data Ports: defaults
- Cluster Nodes: Add Node → Resource: da-master → Role in Cluster: DA-Master → Submit
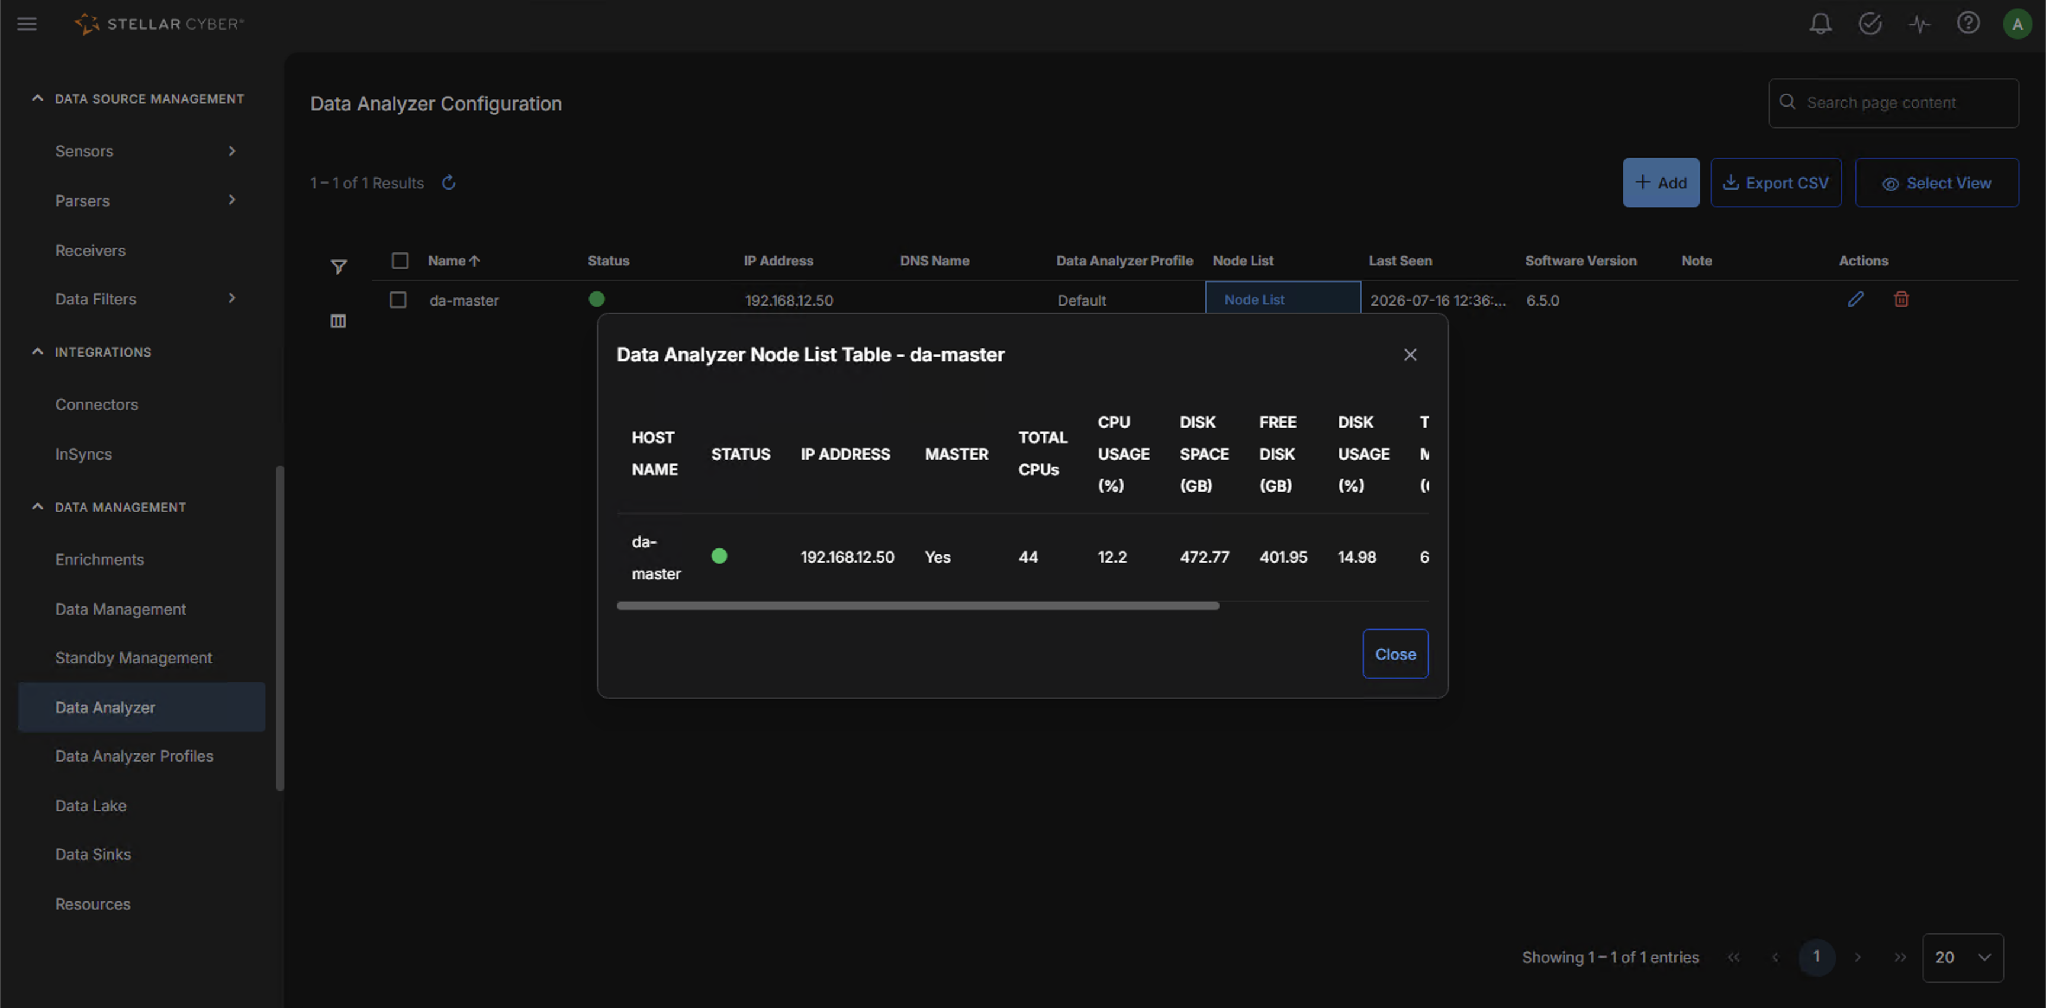
- Wait a few minutes, refresh, and confirm the Node List shows 1 Nodes with a green status.
The Data Analyzer Configuration page reports the DAm against its cluster IP (192.168.12.50), while the Data Analyzer Node List reports it against its management IP (10.20.0.7). Both are expected.
