Using the Retention Groups Tab
You must have Root scope to use this feature.
The System | Data Processor | Data Management | Retention Groups tab lets you create groups of retention times for different types of data in both the hot and cold tiers. Once you've created a retention group, you can assign it to tenants in the System | Administration | Tenants page, allowing you to customize a data retention strategy that works best for different tenants' needs. You can create up to five retention groups.
In addition to creating customized retention groups, you may also want to adjust the settings for the Default group; this is the one that is assigned to new tenants by default.
Retention Group Data Types
You can create different hot and cold retention times for Traffic, Log, Security, and Signals data, each of which corresponds to different indices in the Stellar Cyber data lake.
-
Traffic – The Traffic data type refers to all data stored under the Traffic index (aella-adr-*).
-
Security – The Security data type refers to all data stored under the Security Events/Alerts (aella-ser-*), Scans (aella-scan-*), Users (aella-users-*), Assets (aella-assets-*), and sensor monitoring (aella-ade-*).
-
Signals – The Signals data type refers to all data stored under the Signals index (aella-signals-*).
-
Log – The Log data type refers to syslog (aella-syslog-*) and all other indices, including AWS Events (aella-cloudtrail-*), Linux Events ( aella-audit-* ), ML-IDS Events ( aella-maltrace-* ), and Windows Events ( aella-wineventlog-* ).
Note that the DP Monitoring indiex (aella-dp-monitor) does not have a Retention Group type.
Creating a Retention Group
To create a retention group:
- Click System | Data Processor | Data Management.
-
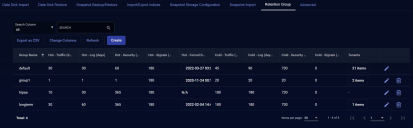
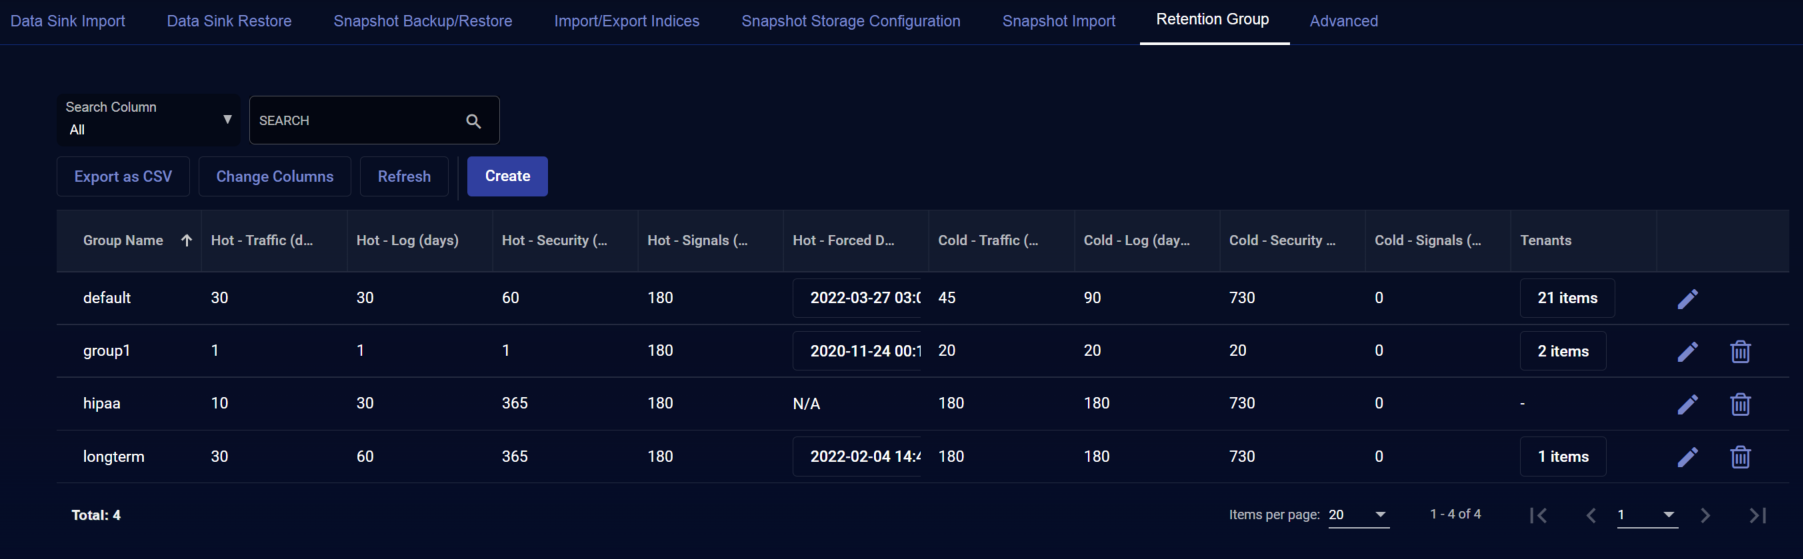
Click the Retention Groups tab. The list of existing retention groups appears.
-
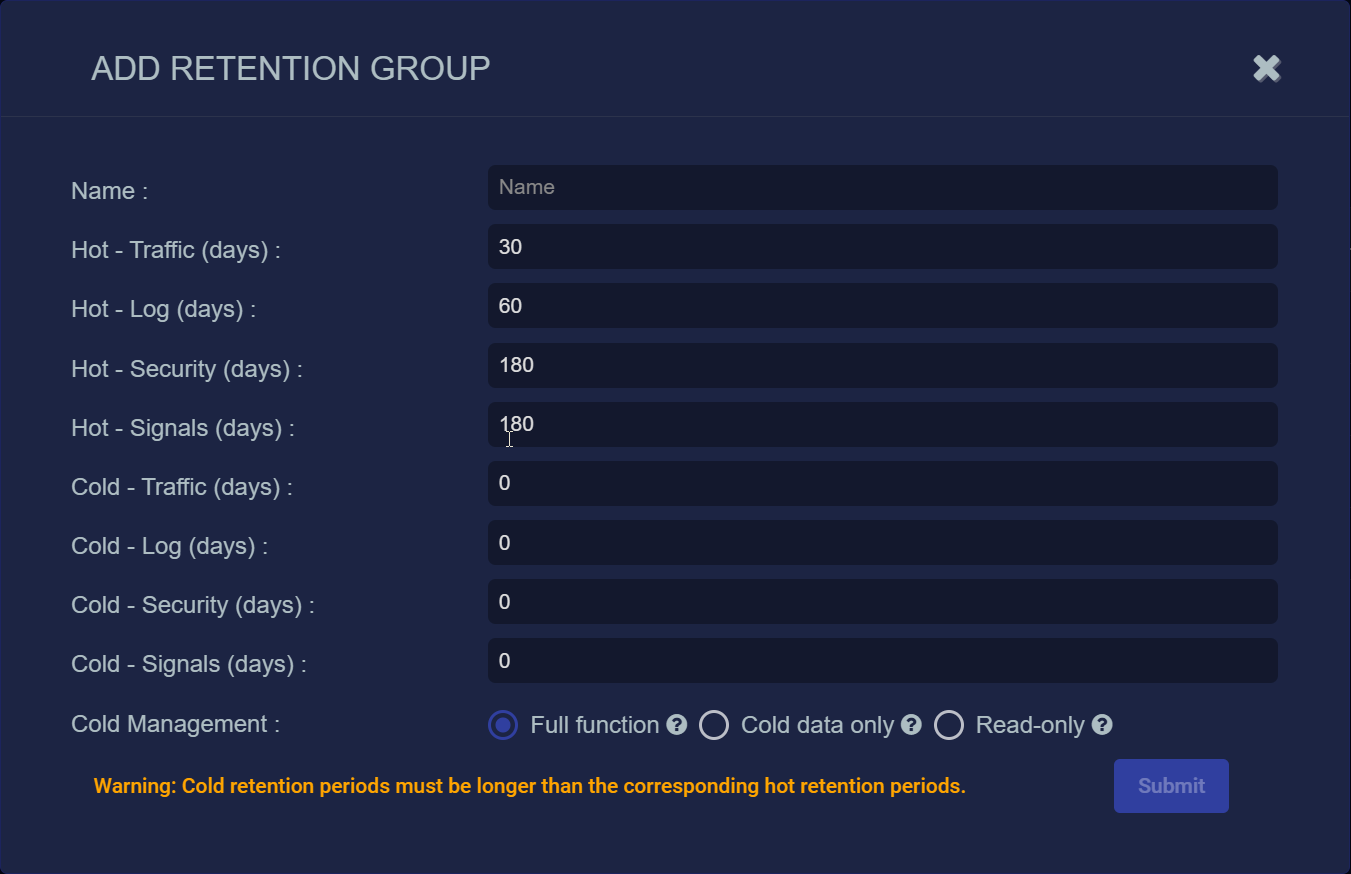
Click Create. The Add Retention Group screen appears, populated with the default retention times.

- Enter a Name. You can change the name later by editing the retention group.
- Change the hot retention times for each of the available data types.
-
If you configured cold storage, enter the cold retention times for each of the available data types. A time of 0 disables cold storage. The cold retention times must be longer than the corresponding hot retention times.
 If you change a cold retention time to 0, no new data of the corresponding type is moved to cold storage. However, any existing data in cold storage is left in cold storage.
Retention days are counted beginning with the day of ingestion. So, cold retention times include the hot retention time. For example, if you have 30 days hot retention and 90 days cold, the data is kept in hot storage for 30 days. On day 31 the data is moved to cold storage. It stays in cold storage for 60 days (for a total of 90 days since it was ingested), and is removed after that.
-
If you configured cold storage, set the Cold Management option for the retention group. This option helps you manage cold storage behavior as you transition to the data sink model for long-term storage. The options are as follows:

-
Full function – Stellar Cyber moves data from the hot tier to cold storage when the number of Hot days specified is reached and purges it from cold storage when the number of Cold days is reached. This is the default option. Use this option when you intend to use the traditional cold storage approach and want to ensure that data starts in the hot tier, moves to the cold tier, and is eventually removed entirely.
-
Cold data only – Stellar Cyber does not move data in this retention group to cold storage but does purge data from cold storage when the specified number of Cold days is reached. Use this option when you are transitioning to the data sink model and want to gradually remove outdated data from cold storage as it becomes available in the data sink.
-
Read-only – Stellar Cyber does not move data in this retention group to cold storage, nor does it purge existing data from cold storage. Use this option if you want to preserve your existing data in cold storage indefinitely (for example, if you are using a low-cost archival storage for your cold data).
-
- Click Submit.
You can now assign tenants to this retention group by clicking System | Administration | Tenants and editing the tenant.
