Installing a Data Aggregator in Azure
Important: Stellar Cyber recommends that you deploy an aggregator using a Modular Sensor with the Aggregator feature enabled in its Sensor Profile rather than using the purpose-built aggregator image. Installation of aggregators using the purpose-built images is officially a deprecated feature, although the images are still available.
You can install a data aggregator in Azure. To install you must:
- Prepare.
- Authorize the Stellar Cyber software images.
- Connect to the DP.
- Authorize the aggregator.
- Configure sensors to use the aggregator.
Preparing
Click to see the minimum system requirements for installing a data aggregator
The Azure instance types in the az create command in the procedure below all meet the necessary minimum system requirements, as follows:
-
Data Aggregator – Standard_A4_v2
If this instance type is not available in your region, you can select a version that supplies an equivalent amount of vCPUs and RAM as stated in the system requirements.
To prepare for the installation:
- Open firewall ports.
-
Contact Stellar Cyber support (support@stellarcyber.ai) to have the image deployed in your region. You will need to provide the Azure region for the aggregator your are installing.
Do this at least a day before installing, so we have enough time to deploy the images to your region.
Current Azure Aggregator Versions
The current aggregator version for Azure deployments is as follows:
- Data Aggregator – 4.2.1
Contact Stellar Cyber support (support@stellarcyber.ai) if you need a different version.
Authorizing the Stellar Cyber Software Images
You must authorize the Stellar Cyber software images so that they are available in the Azure portal:
Use our example as a guideline, as you might be using a different software version.
-
Log in to your Azure portal at https://portal.azure.com/.
-
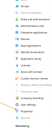
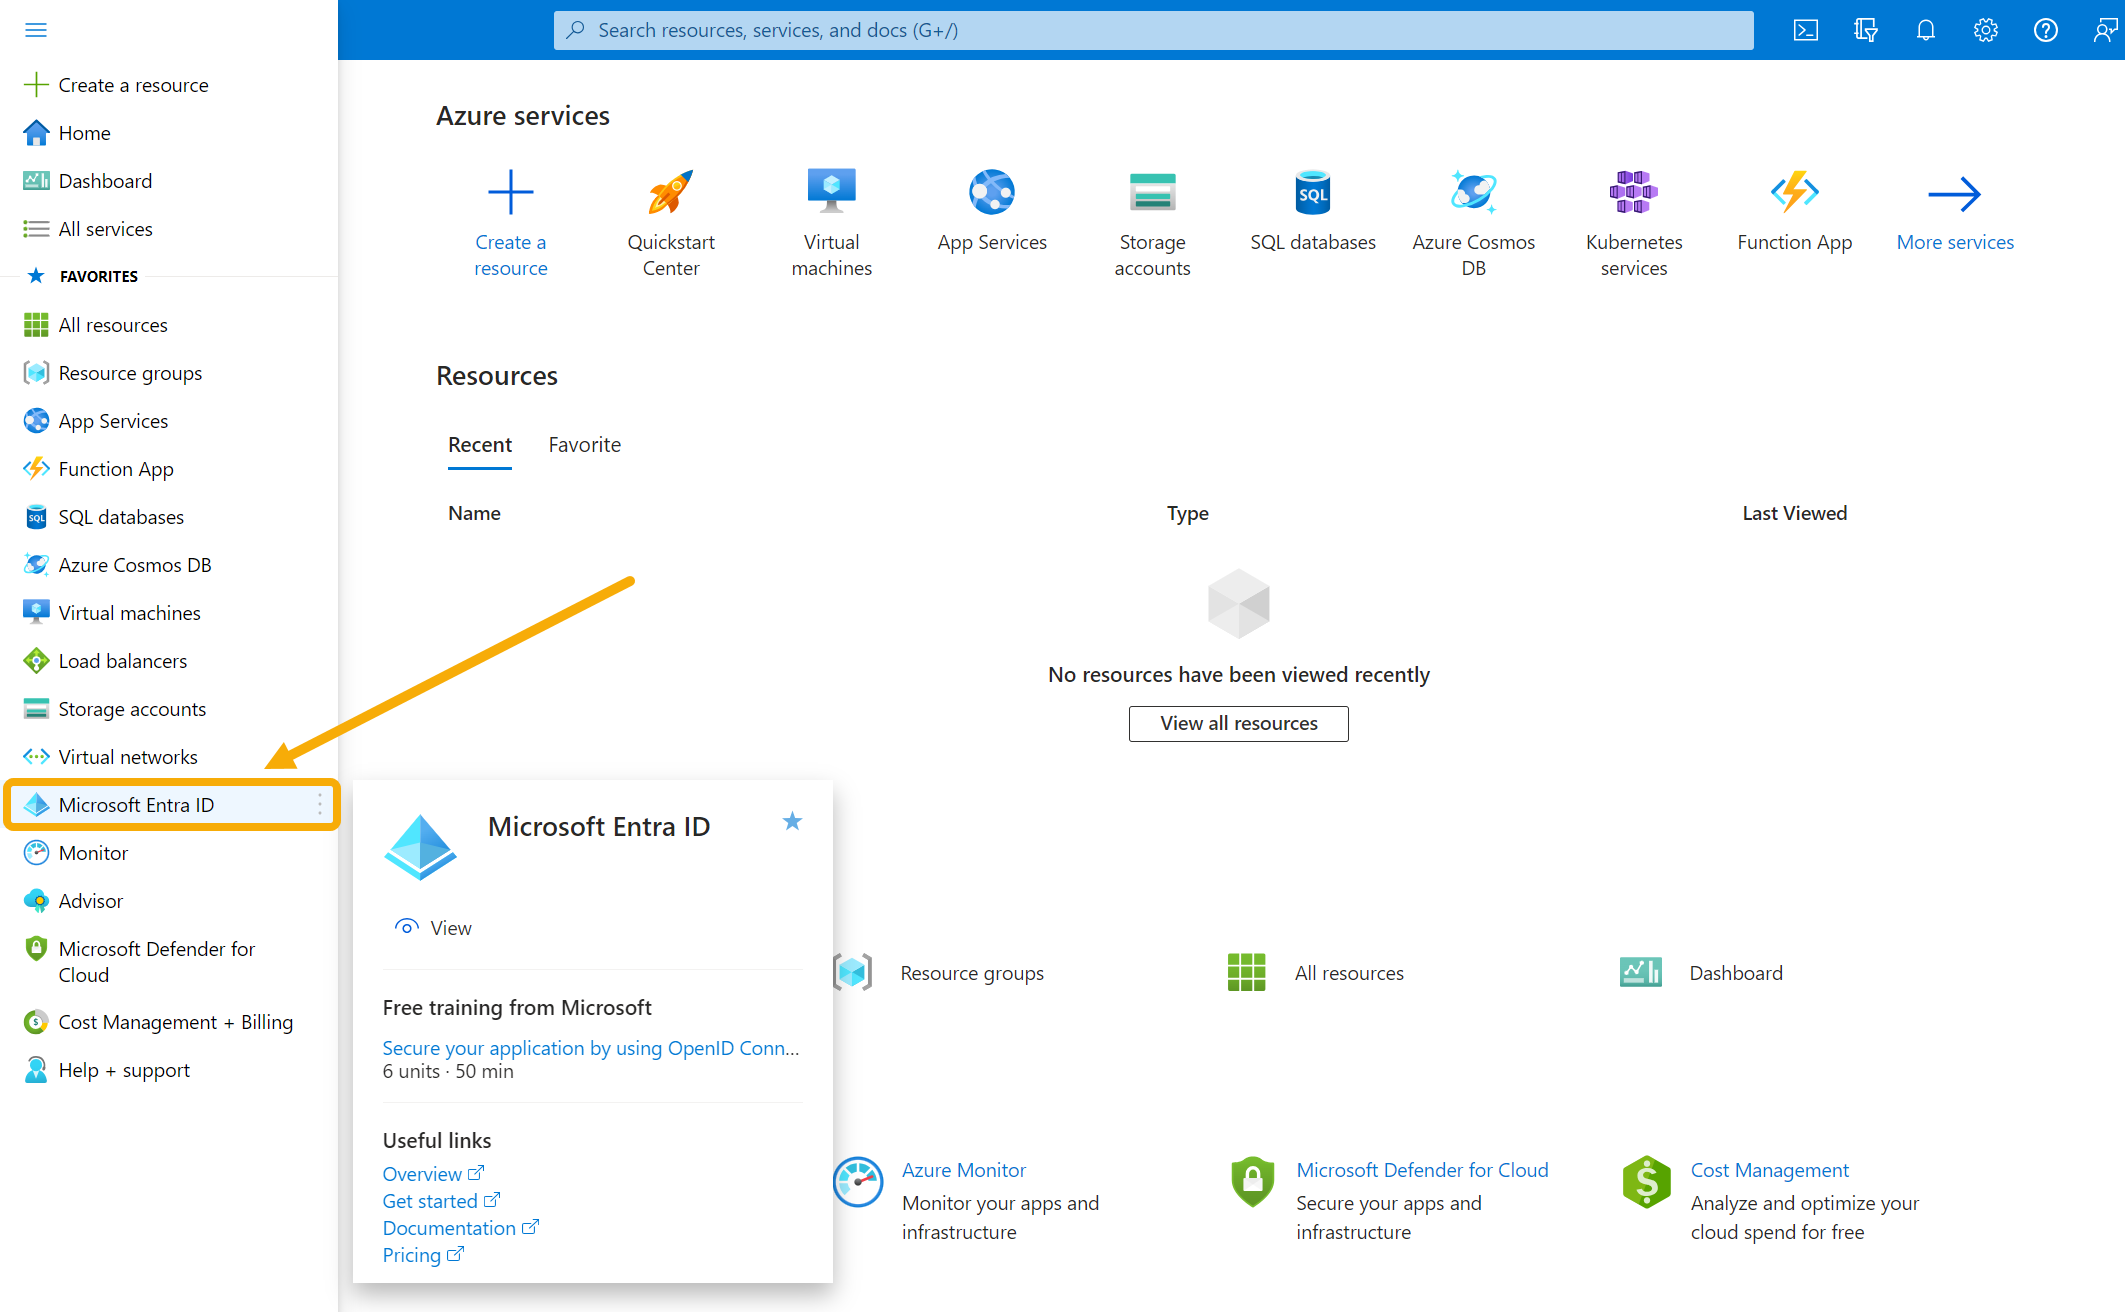
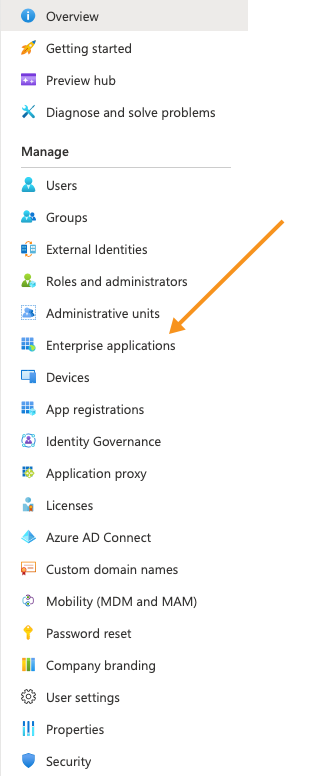
Click the hamburger menu at the upper left and select the entry for Microsoft Entra ID.

Your Microsoft Entra Overview page appears.
-
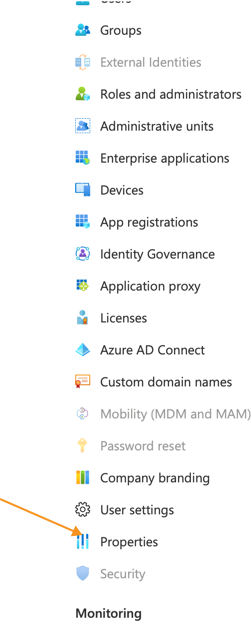
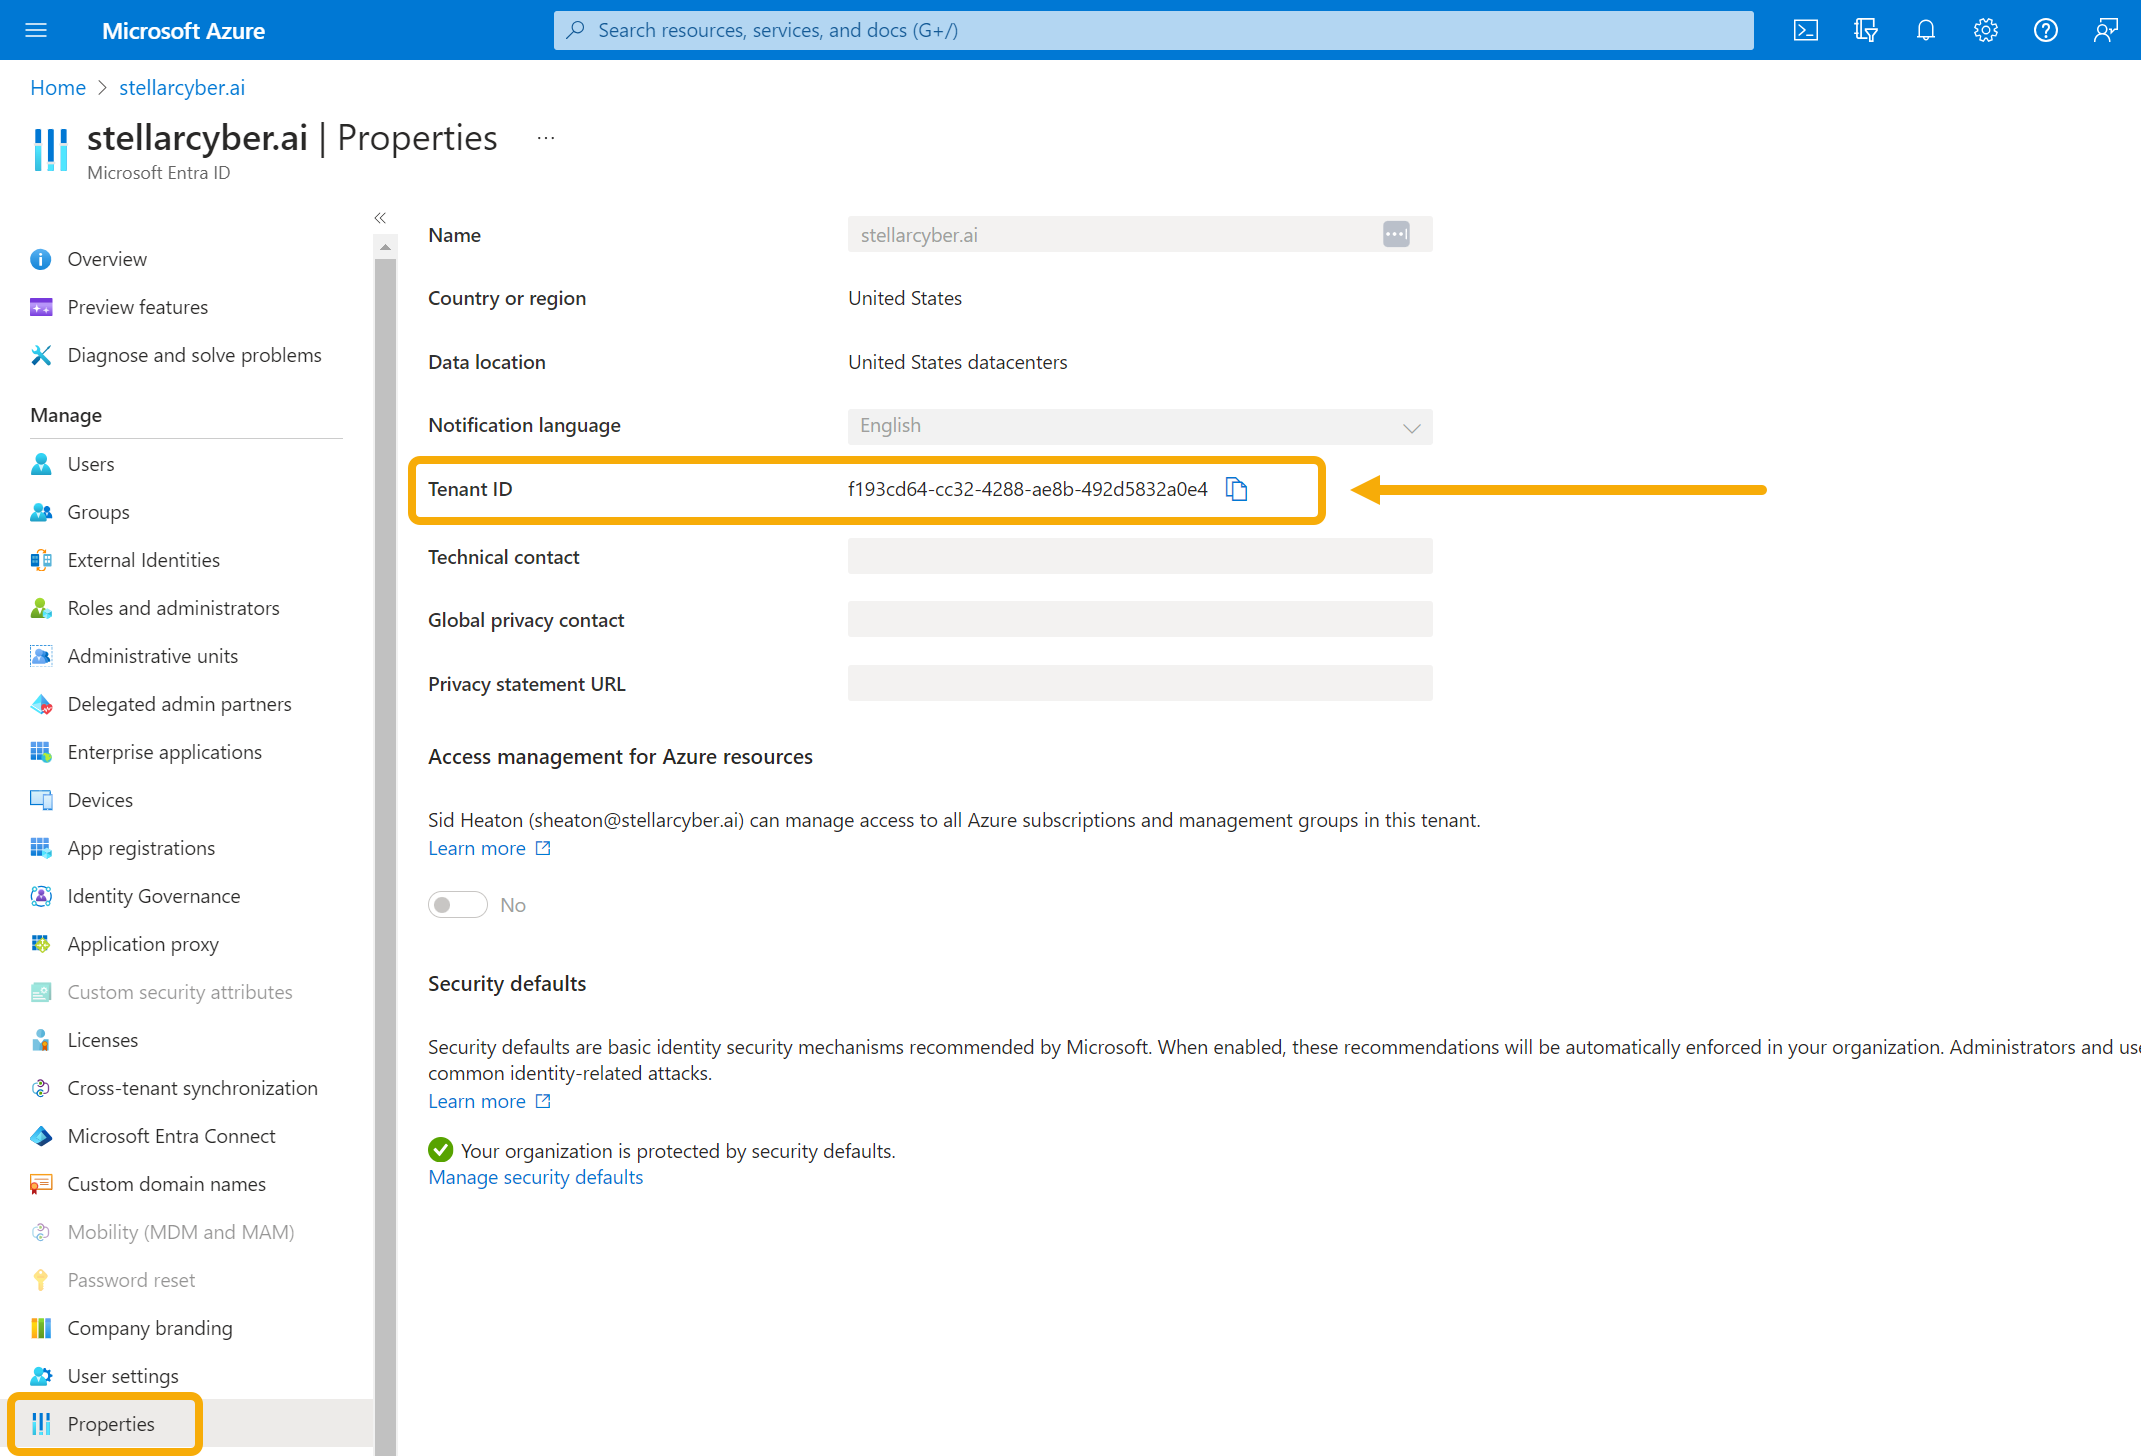
Scroll down and click Properties.
The Properties page appears.
-
Copy the value shown for Tenant ID. You need this for the next step and also when creating the VM, so keep it handy.

-
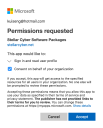
Put your Tenant ID in the following URL and paste it in your browser:
https://login.microsoftonline.com/<tenant id>/oauth2/authorize?client_id=58238038-43b4-4446-8260-0fa97ace1085&response_type=code&redirect_uri=https%3A%2F%2Fwww.microsoft.com%2F
The Permissions requested message appears.
-
Click Consent on behalf of your organization.
-
Click Accept.
-
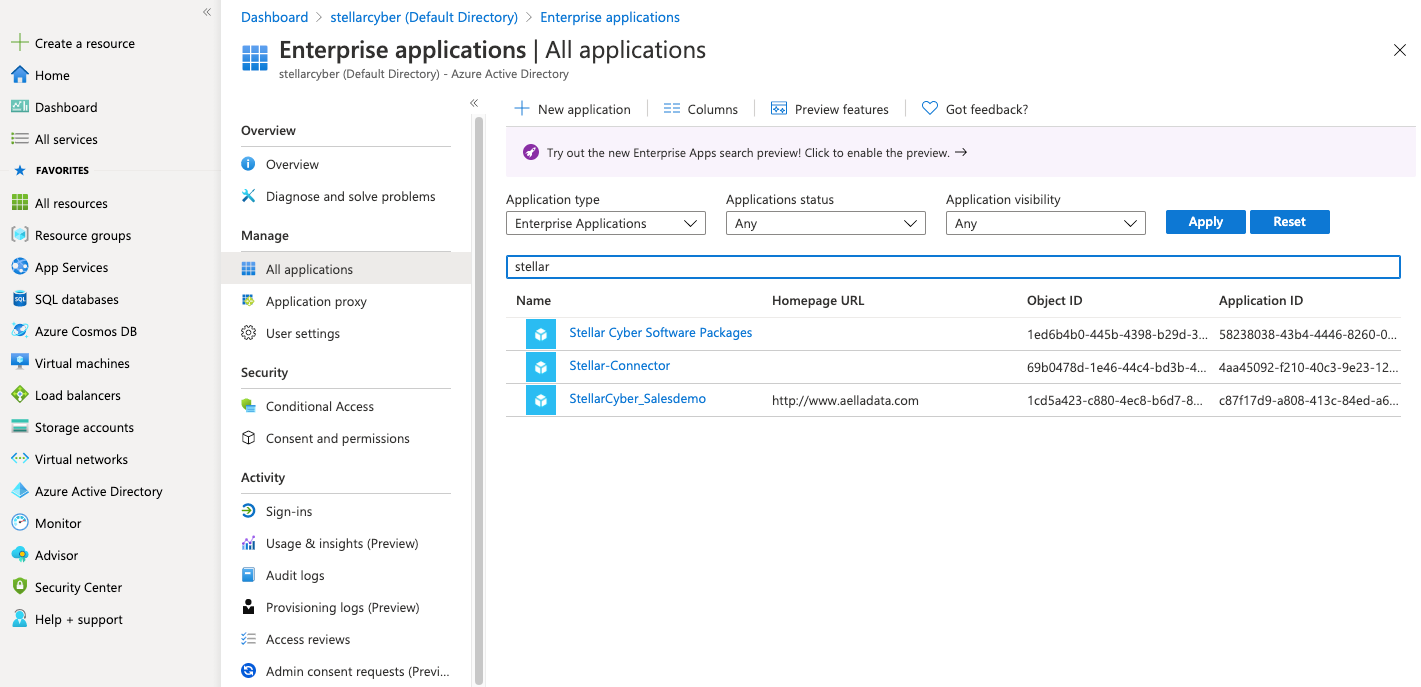
Click Enterprise Applications.
The Enterprise applications | All applications page appears.
-
Search for Stellar. The Stellar Cyber applications that you authorized appear.

If you don't see any Stellar Cyber applications, contact Stellar Cyber support.
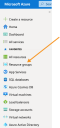
-
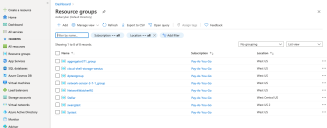
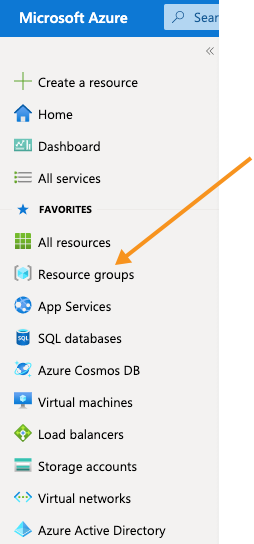
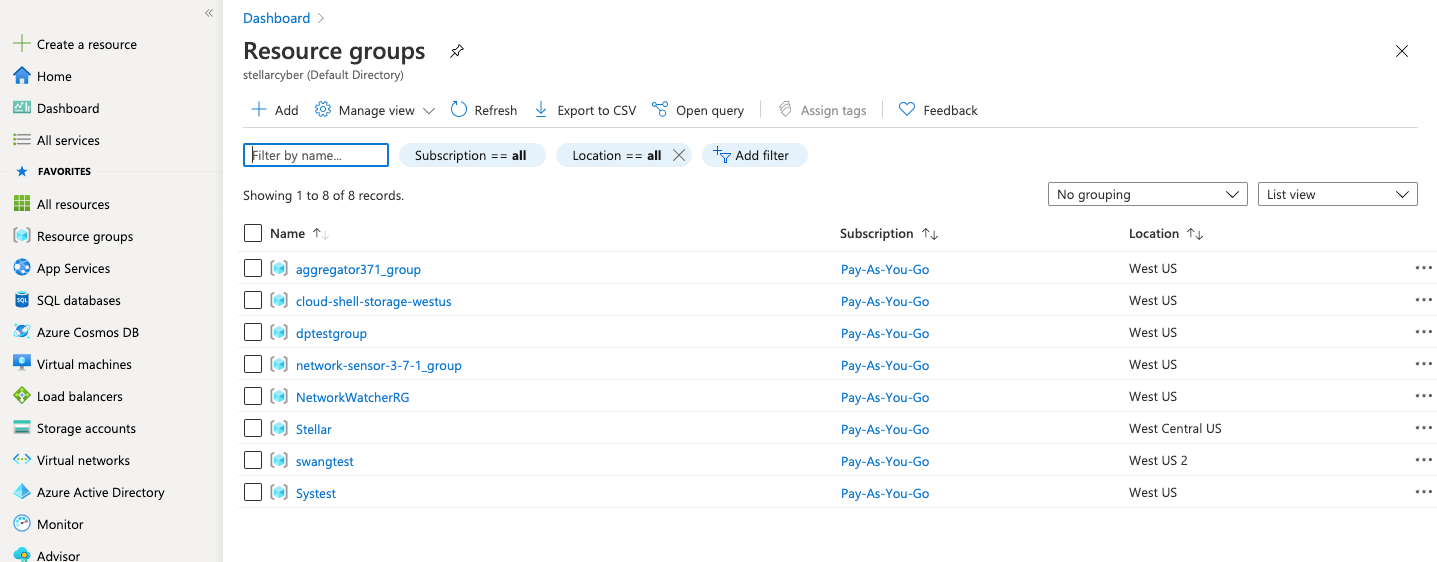
Click Resource Groups.
The Resource groups page appears.
-
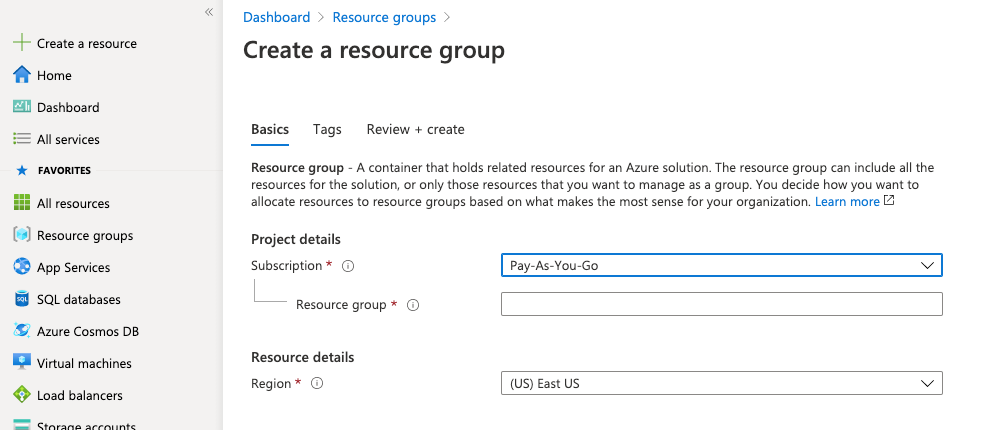
Click Add. The Create a resource group page appears.

-
Choose your Subscription.
-
Enter the name of your group in the Resource group field.
-
Choose the Region where you want to deploy the resource.
-
Click Review create.
-
Click Create. The resource group is created and the Resource groups page appears.
-
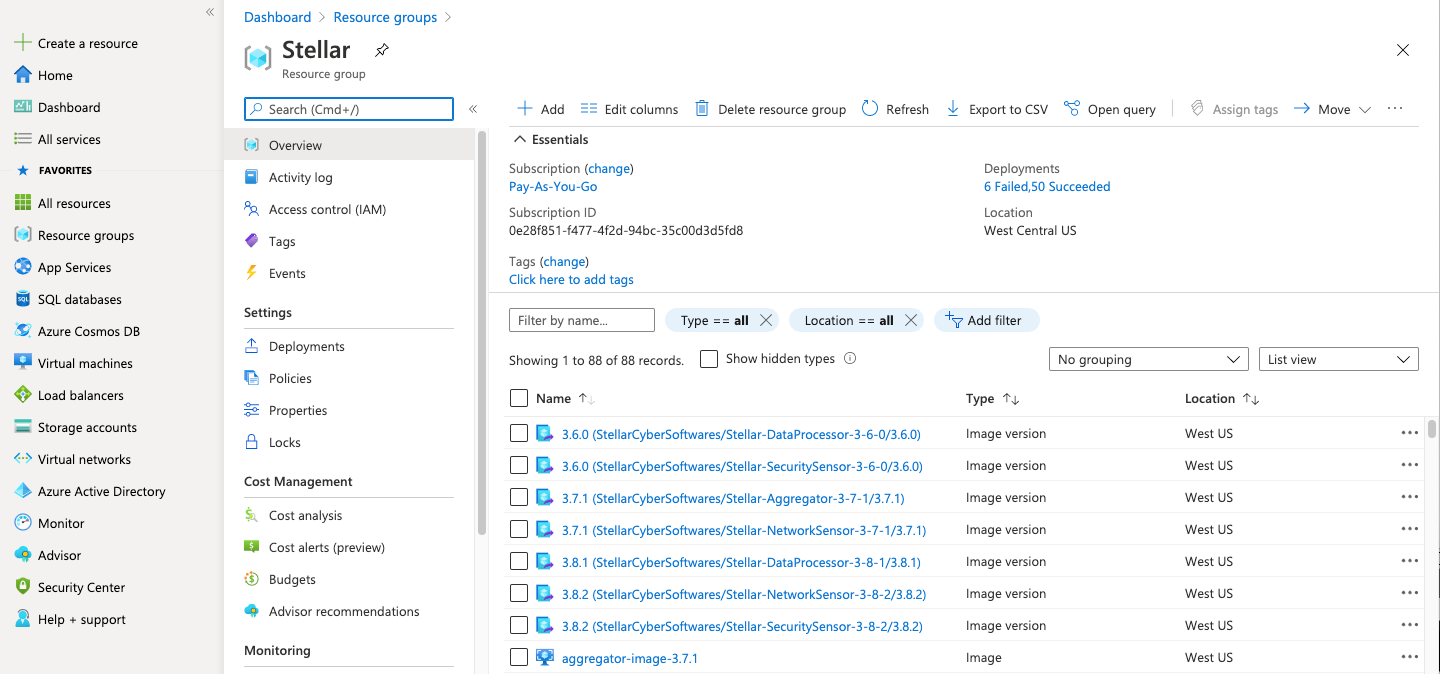
Click the name of the resource group you just created. The group details appear.
-
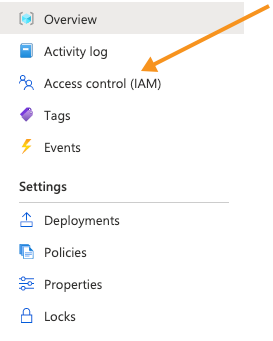
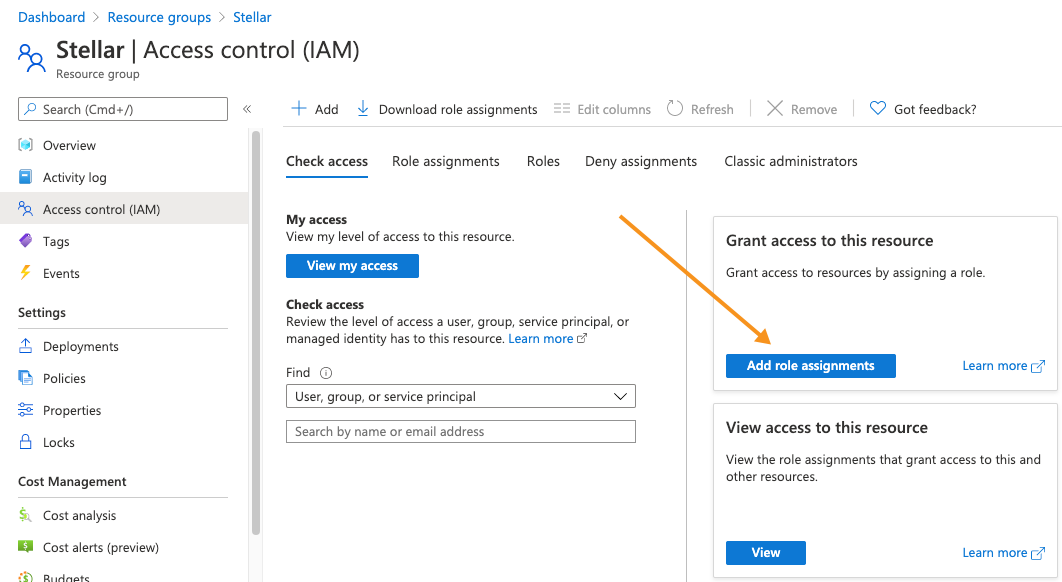
Click Access control (IAM).
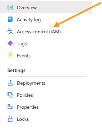
The Access control (IAM) page appears.
-
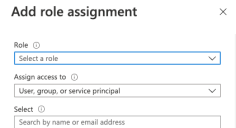
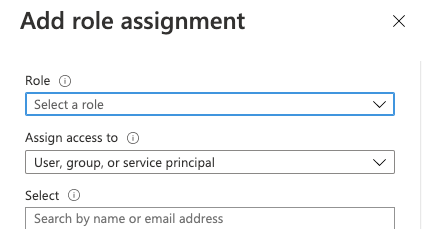
Click Add role assignment.

The Add role assignment panel pops out.
-
Choose Contributor from the Role drop-down.
-
Leave the default selection of User, group, or service principal in the Assign access to drop-down.
-
Enter Stellar in the Select field. The available Stellar Cyber software packages appear.
-
Choose Stellar Cyber Software Packages.
-
Click Save. The Resource groups page appears again.
-
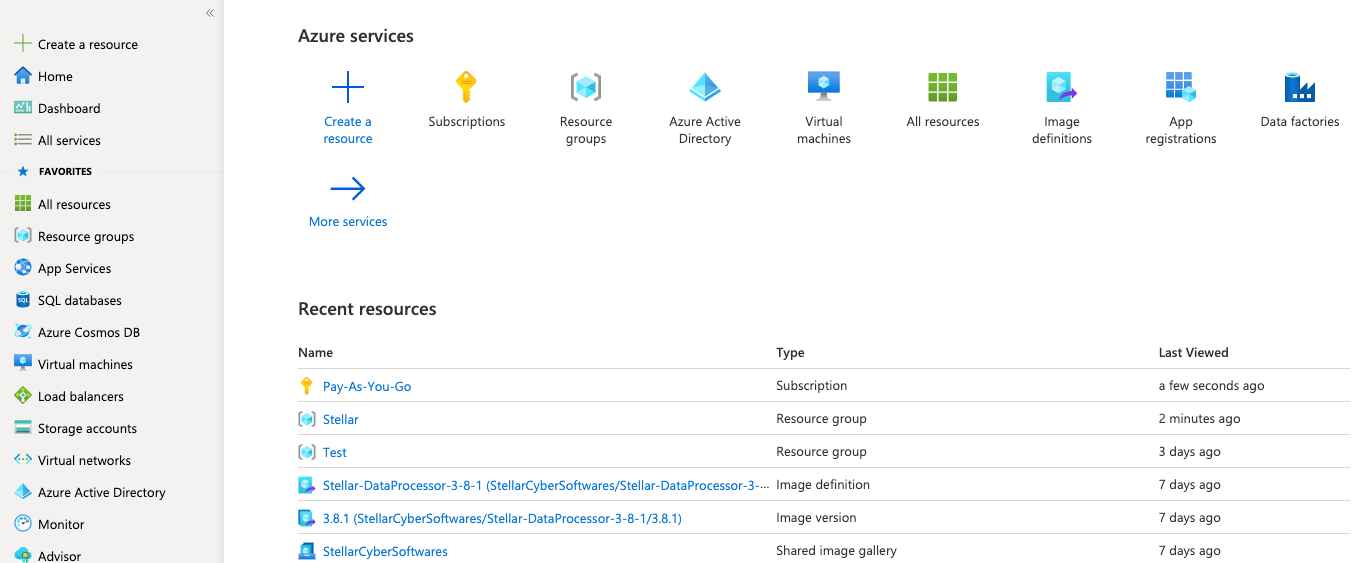
Click Home. The Azure services page appears.
-
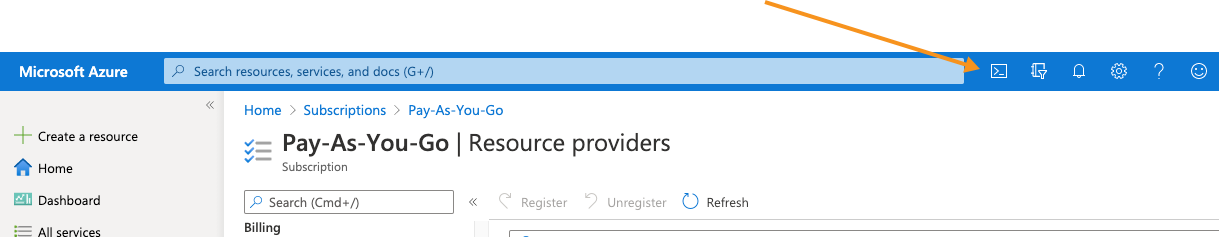
Click Subscriptions. The Subscriptions page appears.
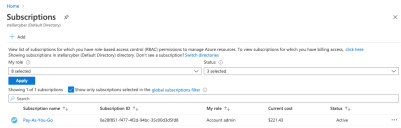
-
Choose your subscription. The subscription details appear.
-
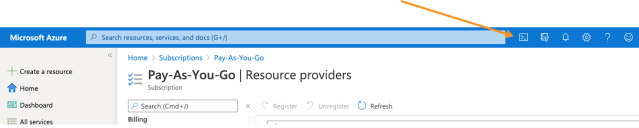
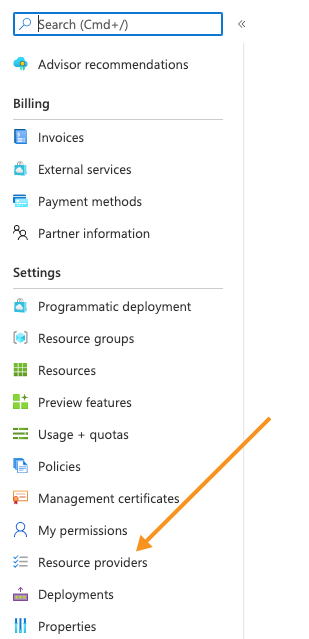
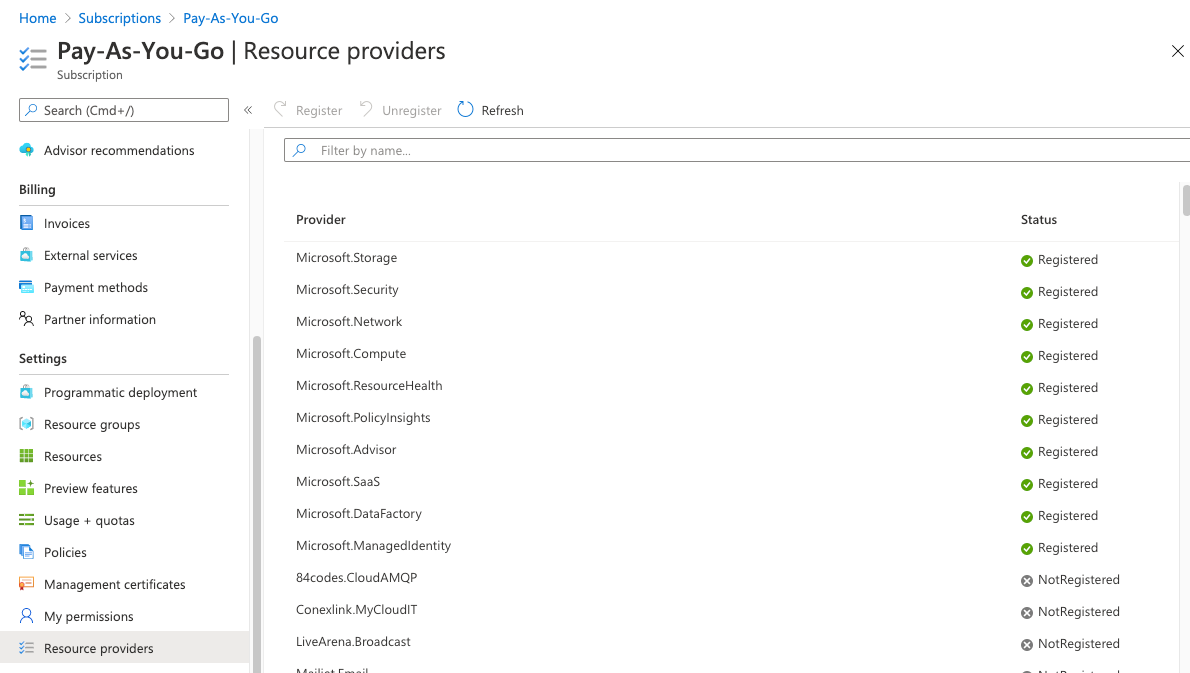
Click Resource providers.
The Resource providers page appears.
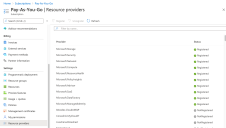
-
Select Microsoft.Network.
-
Click Register.
-
Select Microsoft.Compute.
-
Click Register.
-
Click Cloud Shell.
A PowerShell windows opens and connects.
-
Enter the following 3 commands to get an access token from the Stellar Cyber Azure portal:
az account clear
az login --service-principal -u '58238038-43b4-4446-8260-0fa97ace1085' -p '3238Q~KMtVAIyuC6gDVMhboKEW7w6W~bXYQhFcZx' --tenant '2f580e30-1cc1-4c08-9e80-704999508e1a'
az account get-access-token
-
Enter the following commands to get the access token from your tenant ID. Replace Tenant ID with the value you copied earlier.
az login --service-principal -u '58238038-43b4-4446-8260-0fa97ace1085' -p '3238Q~KMtVAIyuC6gDVMhboKEW7w6W~bXYQhFcZx' --tenant '<Tenant ID>'
-
az account get-access-token
-
Create an aggregator VM with the following command. Replace <resource-group> with an existing resource group in your deployment and <version> with the version of software you want to install (for example, 4.3.7:
az vm create --size Standard_A4_v2 --resource-group <resource-group> --name StellarAggregator --image "/subscriptions/0e28f851-f477-4f2d-94bc-35c00d3d5fd8/resourceGroups/Stellar/providers/Microsoft.Compute/galleries/StellarCyberSoftwares/images/Stellar-Aggregator/versions/<version>" --admin-username azureuser --admin-password P@ssw0rd#2022 --os-disk-size-gb 64
Note that you can optionally specify the virtual network and subnet to be used by each of these VMs as part of the commands that create them by including the
--vnet-nameand--subnetarguments. The networks you specify must exist in the same resource group where you are creating the VM. For example:az vm create --size Standard_A4_v2 --resource-group <resource-group> --name StellarAggregator --name StellarModularSensor --vnet-name <vnet-name> --subnet <subnet-name> --image "/subscriptions/0e28f851-f477-4f2d-94bc-35c00d3d5fd8/resourceGroups/Stellar/providers/Microsoft.Compute/galleries/StellarCyberSoftwares/images/Stellar-Aggregator/versions/<version>" --admin-username azureuser --admin-password P@ssw0rd#2022 --os-disk-size-gb 64 -
Create inbound security groups for the aggregator with the following commands, replacing <resource-group> with the name of your resource group and <NSG NAME> with the name of your network security group.
az network nsg rule create -g <resource-group> --nsg-name <NSG NAME> -n StellarPort1 --direction Inbound --protocol Tcp --destination-port-ranges 6640-6648 --priority 501
az network nsg rule create -g <resource-group>--nsg-name <NSG NAME> -n StellarPort2 --direction Inbound --protocol Tcp --destination-port-ranges 8888-8889 --priority 502
az network nsg rule create -g <resource-group>--nsg-name <NSG NAME> -n StellarPort3 --direction Inbound --protocol Tcp --destination-port-ranges 8443 --priority 503
If necessary, you can restrict these to a specific IP address from the Azure portal.


Connecting the Aggregator to the DP
To connect to the DP:
- Log in to your new aggregator. The default username/password is aella/changeme. You are immediately prompted to change the password.
- Change the password.
-
Use the set cm command to specify the IP address to reach the management interface of the Data Processor. For a DP cluster, this is the IP address of the DL-master's management interface. For a single DP deployment, this is simply the DP's management IP address:
set cm [IP address of the DP]If you specify a hostname rather than an IP address, the system attempts to verify the hostname with the DNS server. If the DNS server is not reachable, the system reports the error and lets you either proceed with the configured hostname or quit. This way, you can specify a hostname for the
set cmdestination in an offline environment without access to a DNS server. - Verify your settings with the
show cmcommand. You should see the IP address of the DP listed as the CM Controller and the Status should be Established. - The time zone is automatically set to UTC+0. You can verify with the
show timecommand. - Log out with the
quitcommand.
The aggregator automatically contacts the DP to register itself.
Authorize the Aggregator
You must authorize the aggregator when it appears in the network.
You can authorize multiple aggregators at a time. So if you're installing multiple aggregators, install them all, then authorize them all at once.
Configure Sensors to Use the Aggregator
After you install the aggregator, you can configure sensors to use the aggregator.
