Working with Dashboards
Stellar Cyber stores a vast amount of information which must be sorted, sifted, and displayed in a concise and understandable way in order to be useful. The dashboards under the Visualize | Creation | Dashboards menu help you do that by allowing you to define and view visual reports on activity in your network.
Filters at the top of this page are applied when you are viewing a dashboard. They are not applicable for filtering dashboards that have objects related to the filters.

You can define custom dashboards, add components to display data you find relevant, share your custom dashboards, and view predefined dashboards, all via the following tabs:
License Usage reports are visible from the Respond | Reports | License Usage tab. You can clone License Usage reports from that tab, and then edit them from the Visualize menu. You cannot create a clone of this report directly from the Visualize menu unless you have first cloned it so that it appears in the Visualize | Custom list.
Custom
The Custom page allows you to:
- See an existing custom dashboard
- Create a new custom dashboard
- Edit a custom dashboard
- Delete a custom dashboard
- Clone (and then customize) an existing dashboard
- Export a dashboard as a PDF
- Export a dashboard as a configuration
- Import a dashboard
See an Existing Dashboard
To see an existing dashboard:
-
Click Visualize | Creation | Dashboards.
-
Click Custom.
-
Choose a dashboard.
Stellar Cyber displays your dashboard.
Create a New Dashboard
To add a new custom dashboard:
-
Click Visualize | Creation | Dashboards.
-
Click Create.
-
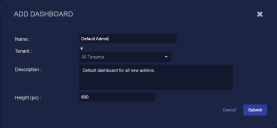
Choose Add New Dashboard. The Add Dashboard screen appears.
-
Enter the dashboard name. We entered Default Admin. This field does not support multibyte characters.
Special characters are not permitted in name fields for Queries, Lookup lists, Reports/Dashboards. Letters, underscores, spaces, dashes, numbers and periods are permitted.
You cannot change the dashboard name after you create the dashboard.
-
Choose the tenant. We chose All Tenants.
-
Enter a Description and custom Height if you’d like.
-
Click Submit. Stellar Cyber displays an empty dashboard.
-
Click Edit. Stellar Cyber displays your new dashboard with a blank canvas and buttons for adding components.

-
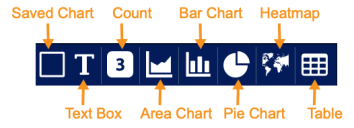
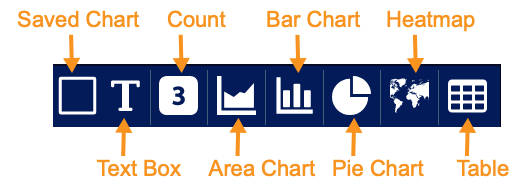
Click a button to add a component. See the Dashboard Components page for details on each component.
-
Click Save to add the component to your dashboard canvas. Stellar Cyber displays the canvas with the new component, and you can resize, move, edit, or delete the component.
When you export a dashboard as a scheduled report, components are expanded so that all information is visible on the PDF (because you cannot scroll individual images within the PDF). For more control over the design of the PDF report, resize components in the layout area to remove scrollbars.
-
Move and add components.
When moving a component, just get it close to the grid; when you save the dashboard, the components automatically snap to the grid.
-
Click Preview to see your dashboard.
-
Click Save when you’re done.


If you cannot see all of the components on your dashboard, edit the dashboard and increase the height.
Edit a Custom Dashboard
To edit a custom dashboard:
-
Click Visualize | Creation | Dashboards.
-
Click Custom.
-
Choose the custom dashboard that you want to edit.
-
Click Edit. The Edit button becomes the Cancel Edit button. Stellar Cyber changes the dashboard view to the editing canvas with a group of buttons for adding components.
-
Click a button to add a component. See the Dashboard Components page for details on each component.
-
Click Save to add the component to your dashboard canvas. Stellar Cyber displays the canvas with the new component, and you can edit or delete the component.
-
Move and add components.
-
Click Preview to see your changes.
-
Click Cancel Edit to abandon all changes.
-
Click Save when you’re done.
Delete a Custom Dashboard
To delete a custom dashboard:
-
Click Visualize | Creation | Dashboard.
-
Click Custom.
-
Choose the custom dashboard that you want to delete.
-
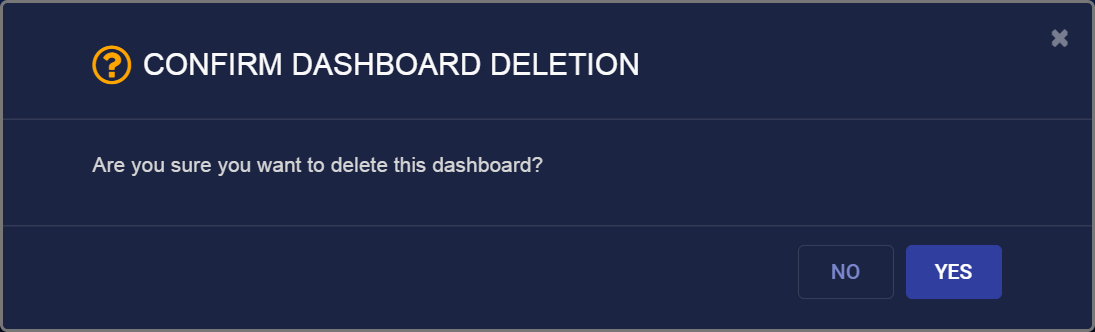
Click the Delete button. The Confirm Dashboard Deletion dialog appears.

-
Click Yes to immediately delete the dashboard.
-
Click No to cancel.
Clone a Dashboard
-
Click Visualize | Creation | Dashboard.
-
Click Custom.
-
Choose the dashboard, custom or pre-defined, that you want to clone.
-
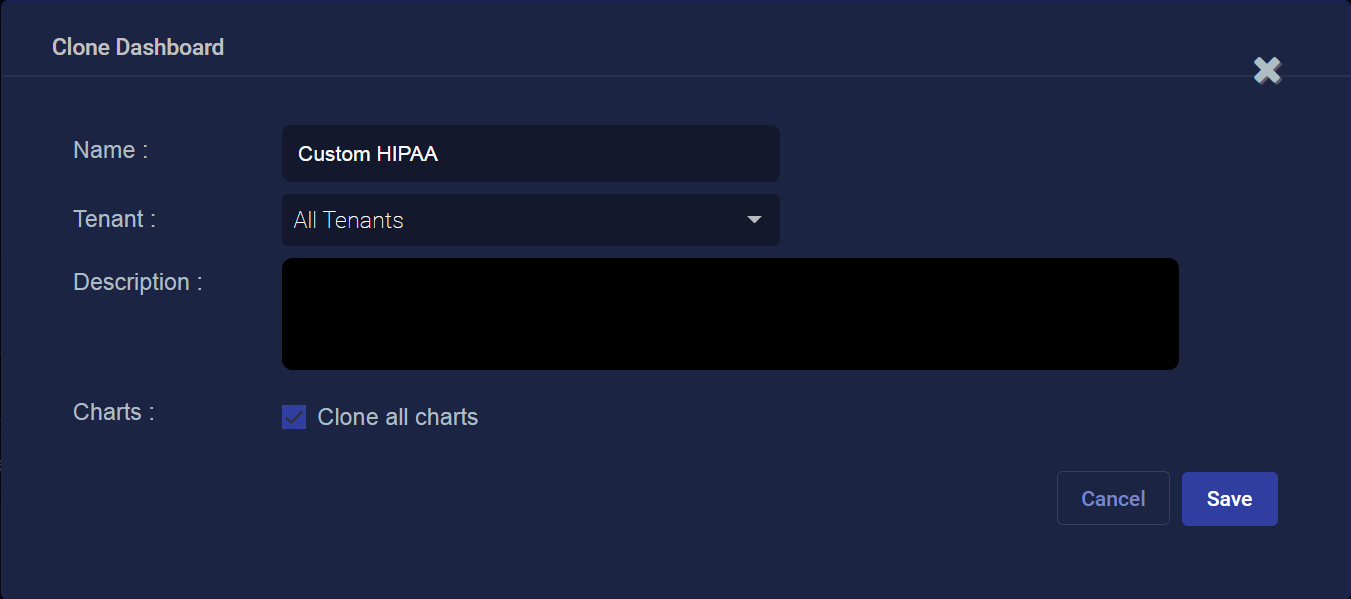
Click the Clone button. The Clone Dashboard screen appears.

-
Name the new dashboard. Our new dashboard title is Custom HIPAA. This field does not support multibyte characters.
Special characters are not permitted in name fields for Queries, Lookup lists, Reports/Dashboards. Letters, underscores, spaces, dashes, numbers and periods are permitted.
-
Choose the tenant. We chose All Tenants.
-
Add a Description.
-
Choose whether to Clone all charts from the source dashboard.
-
Click Save.
To clone a dashboard:
The new dashboard is saved to Custom. You can now edit it as with any custom dashboard.
Export a Dashboard as a PDF / CSV
To export a dashboard:
-
Click Visualize | Creation | Dashboard.
-
Click Custom.
-
Choose the custom dashboard that you want to export.
-
Click Export.
-
Choose the applicable option:
-
PDF/CSV: For dashboards/reports without tables, you are offered the option to Export as PDF. If the dashboard has one or more tables, the export also downloads CSV file, choose Export as PDF / CSV.
Stellar Cyber converts the page to a PDF and displays it in another browser tab. If applicable, a CSV file is downloaded to your desktop.
-
Configuration: For selected dashboards/reports, you may also be offered the option to Export as Configuration. In this case, a JSON file is created for you to save on your local system. From there you can import it within the Visualize | Creation | Dashboards page on other systems.
-
You must enable pop-ups for Stellar Cyber to display the PDF.
Export a Dashboard as a Configuration
You can export a dashboard to share it with another system or another tenant:
-
Click Visualize | Creation | Dashboard.
-
Click Custom.
-
Choose the custom dashboard that you want to export.
-
Click Export.
-
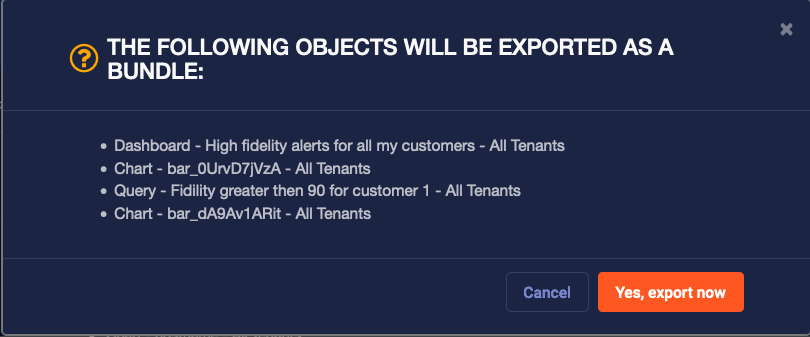
Choose Export as Configuration. A confirmation screen appears.

-
Review what will be exported. Stellar Cyber exports:
-
All charts in the dashboard
-
All associated queries
The tenant is set to All Tenants regardless of the tenant when you export. You can set the tenant when you import.
-
-
Click Yes, export now.
-
A save dialog box appears.
-
Choose the location and click Save.
The dashboard is exported as a JSON file.
Import a Dashboard
You can import a dashboard that was saved in JSON format:
-
Click Visualize | Creation | Dashboard.
-
Click Create.
-
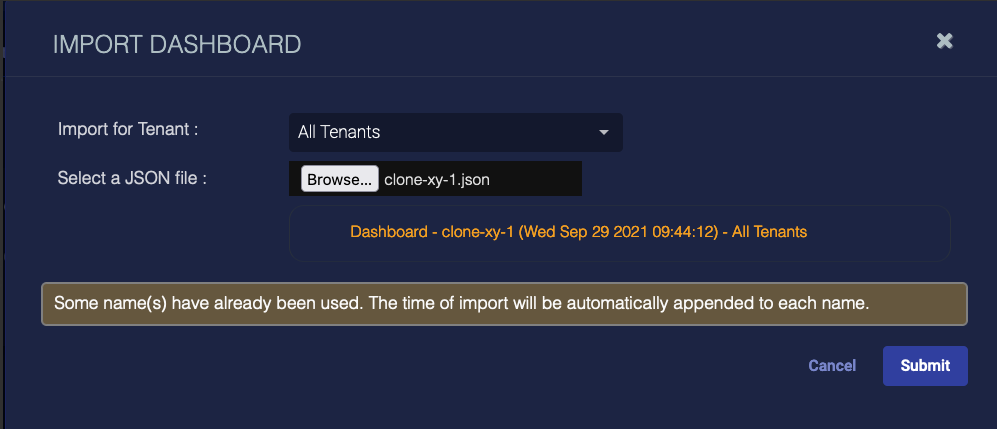
Choose Import Dashboard. The Import Dashboard screen appears.
-
Choose a tenant.
-
Choose the file to import.
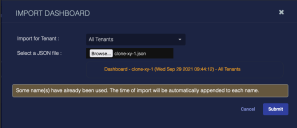
If you have duplicate dashboards, charts, or queries in your system, as we do in this example, Stellar Cyber automatically appends the import time to each object's name.
-
Click Submit.
The dashboard is imported and displayed.
General Reports
Click on General Reports to see the Select a view screen.
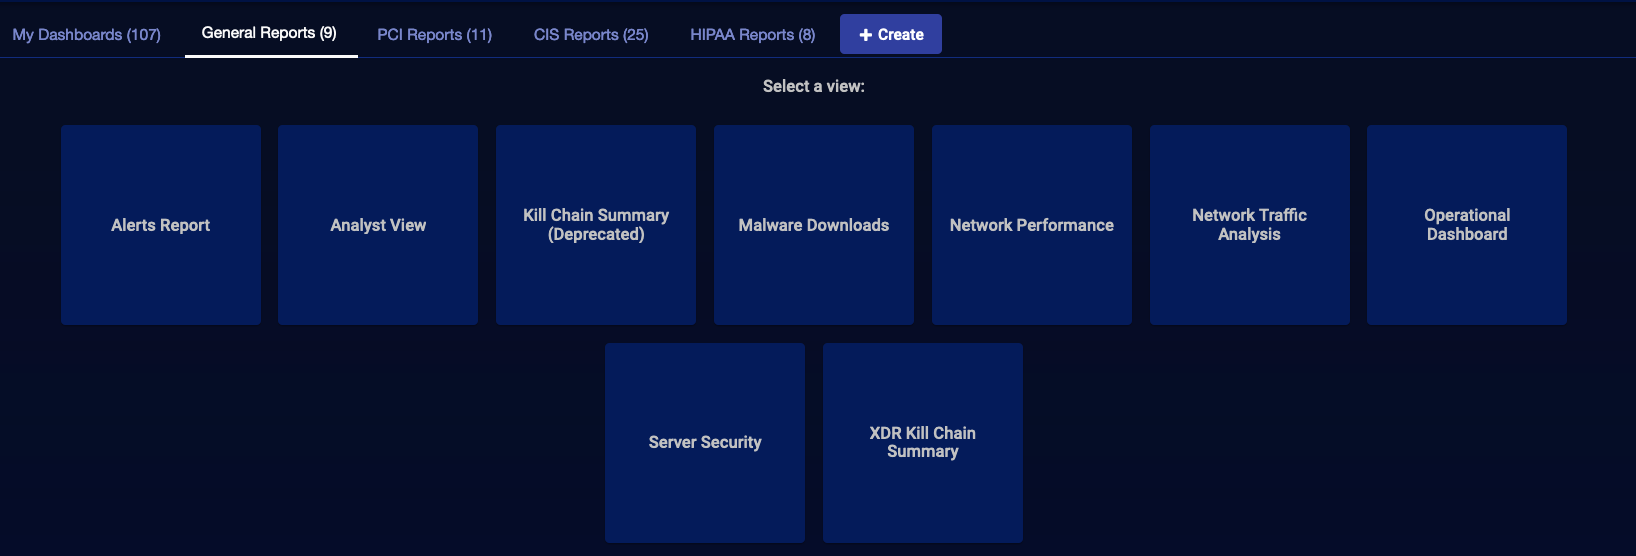
You can clone or export any dashboard.
PCI Reports
Click on PCI Reports to see the Select a view screen.
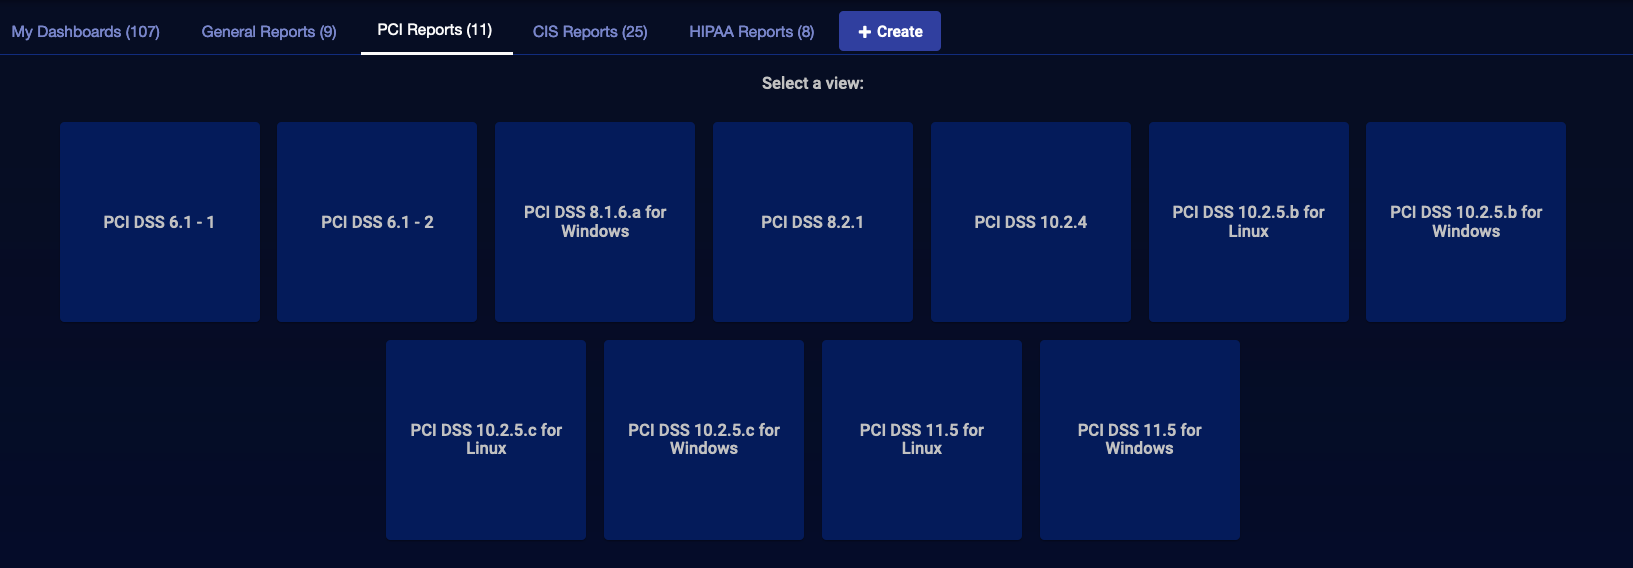
You can clone or export any dashboard.
CIS Reports
Click on CIS Reports to see the Select a view screen.
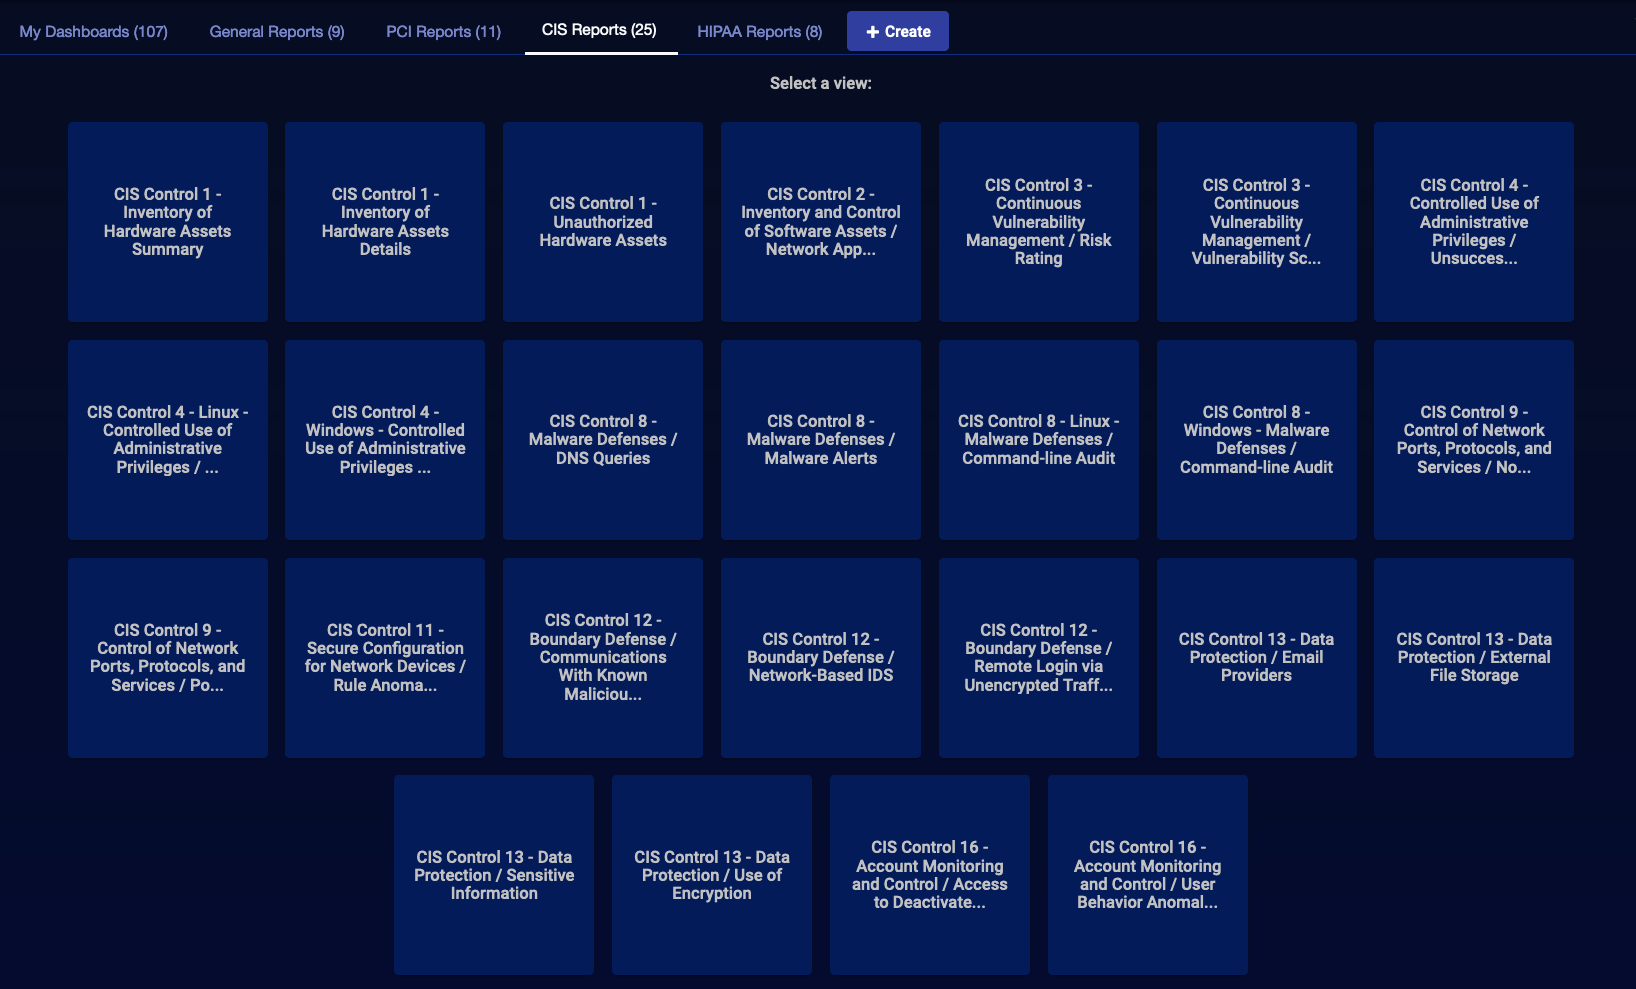
You can clone or export any dashboard.
HIPAA Reports
Click on HIPAA Reports to see the Select a view screen.
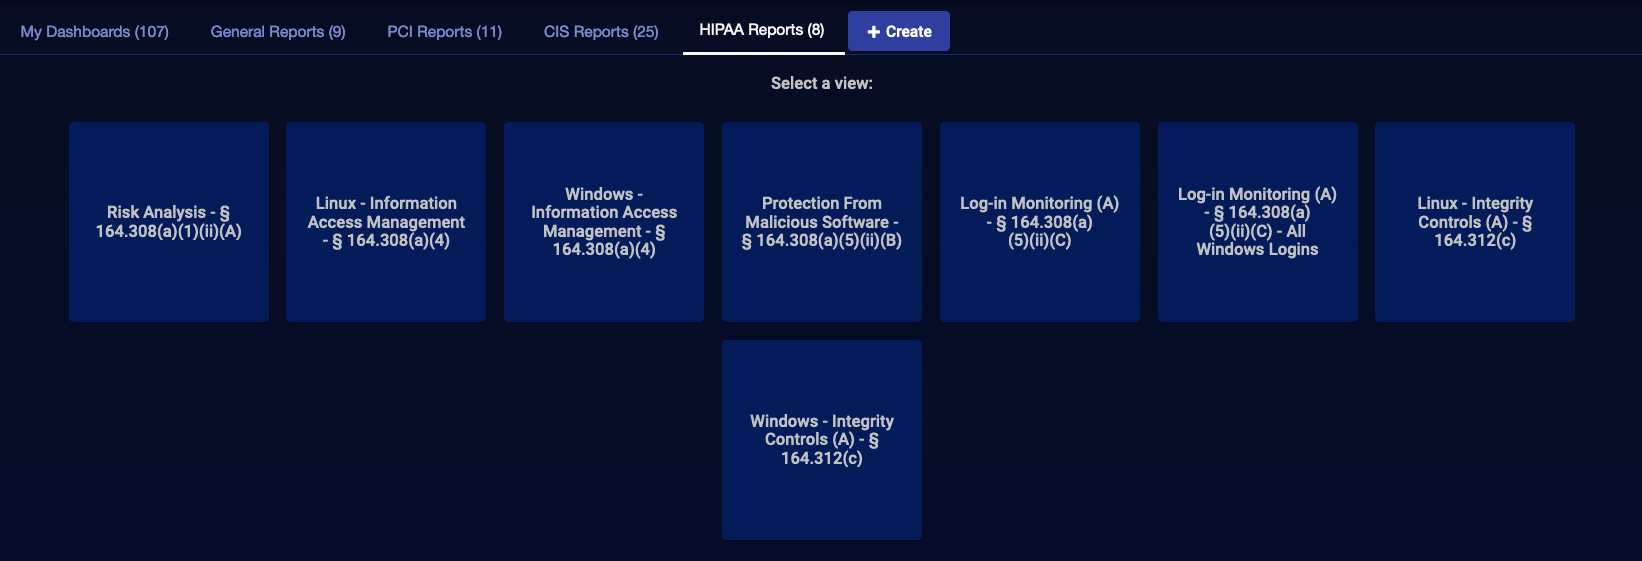
You can clone or export any dashboard.
