Working with the Lookups Table
This System | Configuration | Lookups feature allows you to centrally create and manage lists of IP addresses, text strings, dates, or numbers for conditional matching in queries that you create and edit in any of the Query Builder tools such as:
This is particularly helpful if you want to reuse values for conditions in multiple queries and to import match values in bulk.

Use of this feature requires the Lookup privilege.
The table has common behaviors to all tables in Stellar Cyber, such column management, sorting, editing or deleting. The CSV export at the top of the table is used to export the whole table as a list. Each row, however, includes a button that allows you to Download CSV formatted list for archive and editing offline. You can edit the list and reimport it, or edit it manually.
This feature is specifically for reusable content in Query editors and is not applicable for use with Alert Filters.
Creating or Editing a Lookup List
Create your list with the intention of matching against a specific field such as app_id. Use the instructions in this procedure to create a new list, edit list entries, or upload a replacement set of values to an existing list.
-
Changes you make to an existing list affect all queries referring to the list.
-
You cannot change the Tenant for a list that is in use.
-
If you want to use a lookup list for different tenants, either set it to All Tenants, or create the list again for the other tenant.
As of v4.3.0, the availability of certain components (such as charts, correlations, ATH rules) with tenant visibility settings has changed. Specifically, the top level component cannot have a less restrictive visibility than its children components.
-
For any component, such as a query you create, with visibility set to All Tenants, then all its sub-components (such as a lookup list) must also be set to All Tenants.
-
Similarly, if a component is set for a specific tenant, then all its sub-components must be specified for either that tenant or All Tenants.
-
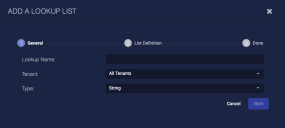
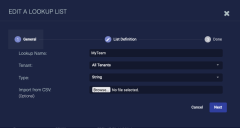
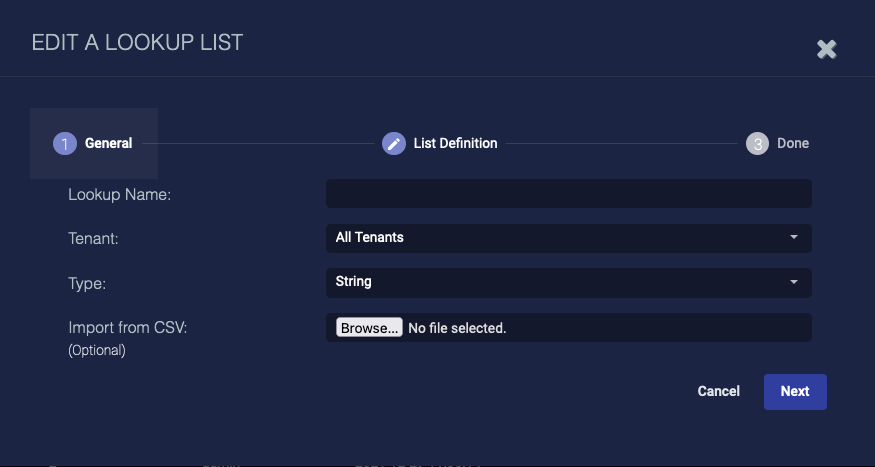
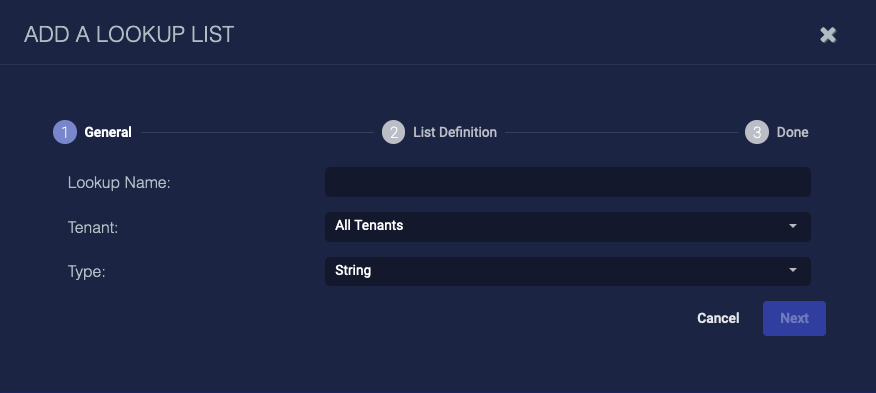
For new lists, click the Create button to begin defining a new list. Select either CSV or Manual for your method of data entry.
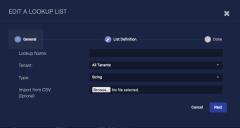
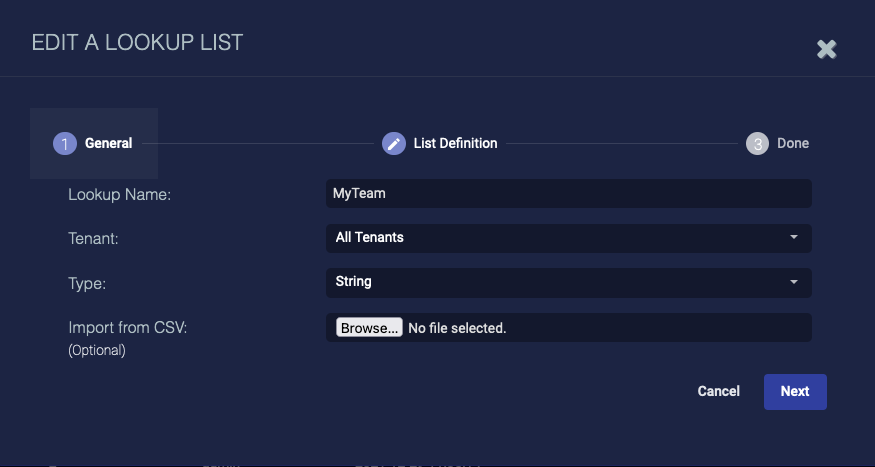
To edit a list, click the edit button at the end of the list row.
CSV Dialog
Manual Dialog
-
In the dialog that opens, provide a unique List Name for display in the Query Builder Value menu.
Special characters are not permitted in name fields for Queries, Lookup lists, Reports/Dashboards. Letters, underscores, spaces, dashes, numbers and periods are permitted.
-
Specify the type of values the list will contain. Supported formats are IP address, number, or text string (see Syntax, below).
-
If you are importing a CSV file, click the Browse button to select and upload a CSV file (see Format, below). When the import completes, the dialog reports the number of entries found.
-
If you are editing rather than creating a new list, the imported records fully replace the existing list.
-
Changes you make to an existing list affect all queries referring to the list.
-
The count of imported records may differ from the number of entries in your import file. The import retrieves only the entries that match the file type you specified.
-
-
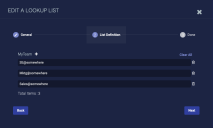
Click Next. to display the list edit pane.
-
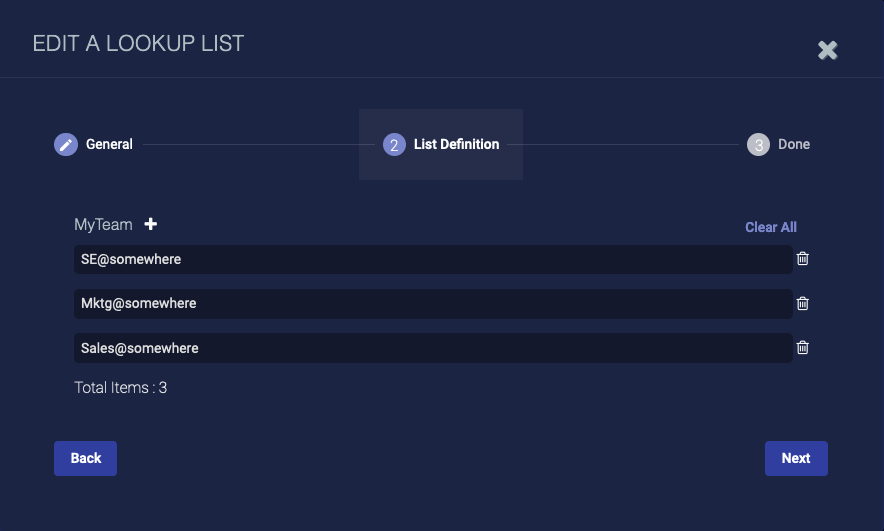
If you are editing a list or have imported a list, the dialog displays the list elements, allowing you to review, edit, or delete them.
-
If you selected Manual, click the plus symbol next to the list name to add a new list element. Follow guidance for Syntax, below, using the plus symbol to add more elements as needed.
-
-
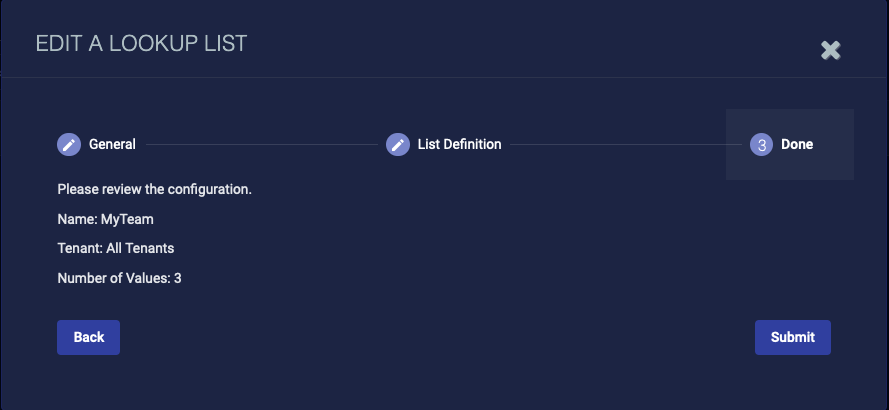
Review your list elements and correct any errors (see Limits and Validation, below). Click the Next button at the bottom of the dialog to review the summary of your list.
-
Click Submit to finalize and create/update the list.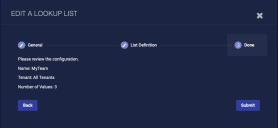
Syntax
All entries for a list must be of the same type.
-
Date: Unix Epoch or ISO 8601 date formats
Examples:
Epoch (in milliseconds is recommended unless you know the field you are matching specifically uses another format)
1641852524004Date only forms (variations of YYYY-MM-DD)
2021-12
2021-10-25
Date plus time forms (variations of above plus time):
1995-02-04T24:00
-
IP address: IPv4 and IPv6 format supported

-
Number: Integer and decimal
-
String: Alphanumeric and symbols
File Format
Use the following notes as a guide when creating or editing your import file:
-
Import files must have a .csv extension.
-
The content should be in a single column list, one entry per row.
If your import file includes more than one column, only the first column is used. For example, given the csv file entries below:
ssh, 22
http, 8080, 8443
ubuntu, 631, 5298, 5900
The imported list elements are: ssh, http, and ubuntu
Limits and Validation
Stellar Cyber performs the following checks when you are creating or editing a list:
-
A maximum of 1K entries are allowed per list. For efficiency, however, smaller list sizes are strongly recommended.
-
Duplicate values are noted and not automatically removed.
-
Syntax is matched to the specified list Type. Errors are noted for manual correction.
-
Numbers and symbols are permitted as String elements.
Special characters are not permitted in name fields for Queries, Lookup lists, Reports/Dashboards. Letters, underscores, spaces, dashes, numbers and periods are permitted.
Deleting a Lookup List
When a lookup list is in use, the delete button is not available.
-
To identify the query that is using the list, hover your mouse cursor over the In Use.
-
A tooltip displays the query names that refer to the list.
-
Access the Queries table to locate the named queries and edit them to remove the lookup list.
-
When you have removed all references to the list, the delete button is available.
Exporting a Lookup List
The CSV export at the top of the table is used to export the whole table as a list. Each row, however, includes a button that allows you to Download CSV formatted list for archive and editing offline. You can edit the list and reimport it, or edit it manually.
Using a Lookup List
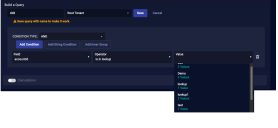
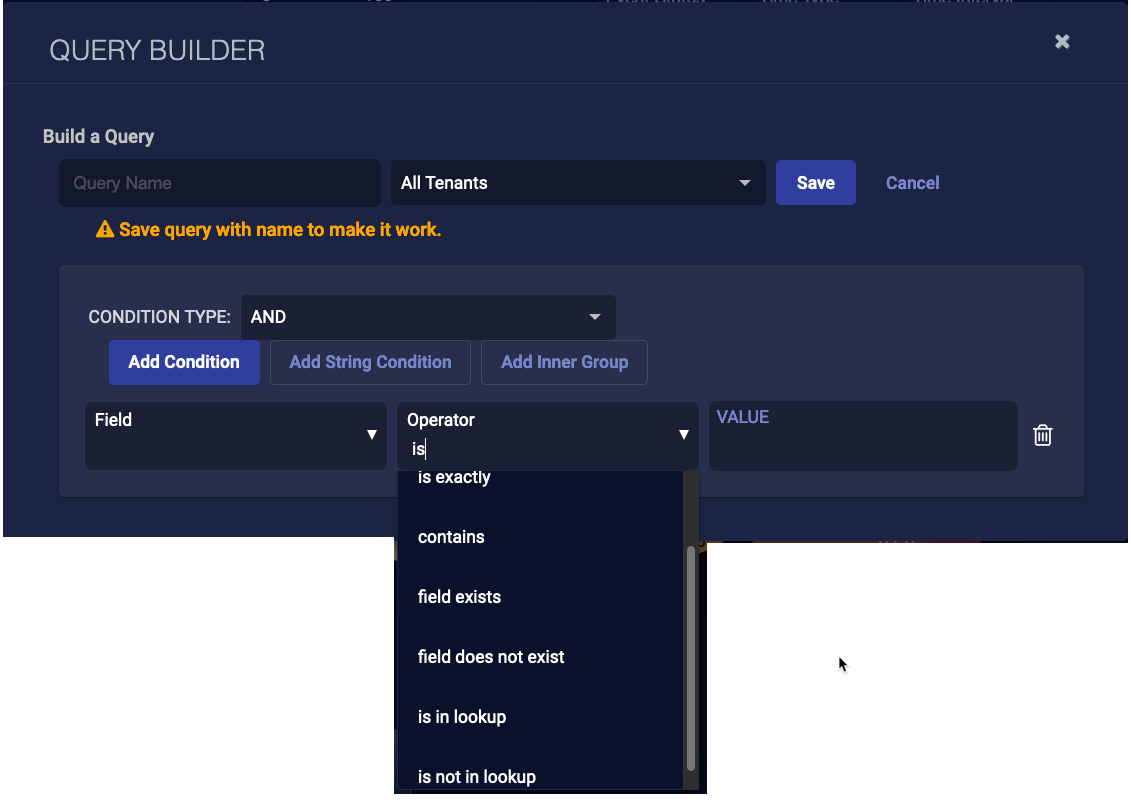
Use the lookups when you add or edit a condition within a query, such as when you are editing a report.
-
Click the Operator menu to locate the needed lookup condition below. This operator is displayed in the menu when the user has the Lookup privilege enabled.
-
is in lookup: Use this to match any of the items in the selected list (boolean OR).
-
is not in lookup: Use this to match anything that is not in the selected list (boolean AND NOT).

-
-
Then, use the Value menu to select the lookup list Name for use in the rule.