Using the Notification Center 
The Notification Center lists the last week's worth of system notifications available to your scope and tenancy according to the current toolbar filters. Notifications are generated based on the settings in the System | Administration | System Action Center page and can help you keep tabs on important system events related to:
-
Case Management – Get notifications when cases are assigned, closed, escalated, created, updated, or have a score that meets or exceeds a specified threshold.
-
Cluster Health – Find out proactively when either the Data Analyzer (DA) or Data Lake (DL) cluster's health is in the red state.
-
Connector Monitoring – Get notifications when specified connectors haven't sent data over a given time interval so you can address issues in real time.
-
Data Storage Capacity – Find out when your data storage is reaching either its soft or hard cap.
-
Disk Capacity – Get notified when root disk usage is reaching its limit.
-
NFS Data Sink Capacity – Get notifications when an NFS Data Sink's storage is reaching either its soft or hard cap.
Refer to Best Practices for the System Action Center for guidance on ways you can configure notifications effectively in your organization.
Required Privileges
The Notification Center is only available to accounts with the System | Administration | Notification privilege assigned to their profile in the System | Role-Based Access Control page. By default, this includes only the Super Admin or Platform Admin roles.
Displaying the Notification Center
Display the Notification Center as follows:
-
Click the Notifications icon
 in the main toolbar.
The Notifications dropdown appears.
-
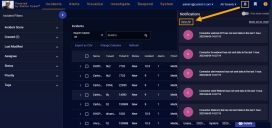
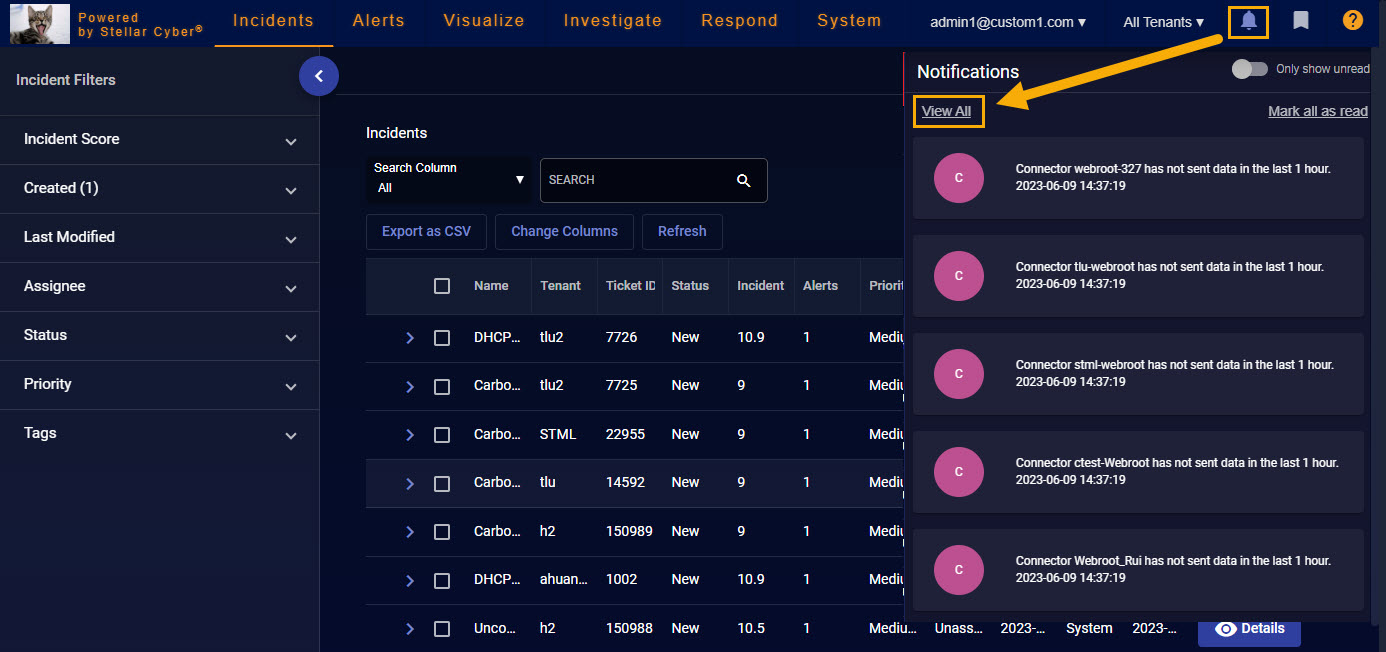
Click the View All link in the Notifications dropdown, as illustrated below.
-
The Notification Center appears, as shown below:

Working with the Notification Center
The Notification Center provides a handy interface to view system notifications generated based on the rules configured in the System Action Center. You can perform the following tasks from here:
-
Click a notification to drill to further details elsewhere in the user interface. The link destination is different depending on the category of the notification you click:
-
Clicking a Connector Monitoring notification takes you to the Connector Details page for the associated connector.
-
Clicking a Case Management notification takes you to the Case Detail page for the corresponding case.
-
Clicking the various health and capacity notifications (Cluster Health, Data Storage Capacity, Disk Capacity, and NFS Data Sink Capacity) takes you to the Visualize | System Status page.
-
-
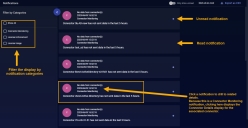
Use the Filter by Categories options to limit the display to just those alerts corresponding to the selected categories.
-
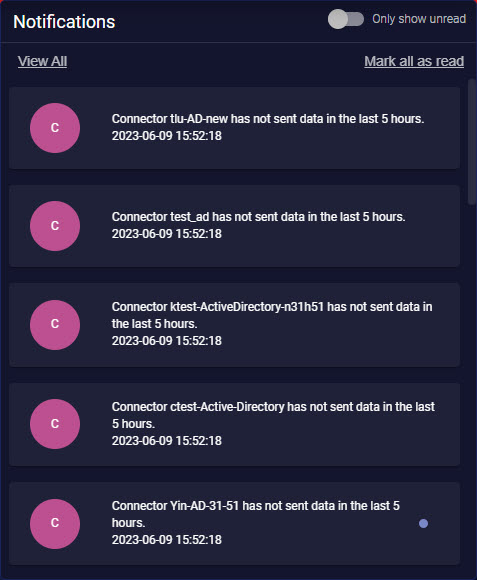
Use the Only show unread toggle at the top of the Notification Center to limit the display to just those notifications you have not marked as read.
-
Mark all notifications as read by using the Mark all as read link at the top of the Notification Center.
-
Mark an individual notification as read by clicking the small dot at the right of its entry in the Notification Center, as illustrated below:


Using the Notifications Dropdown
The Notification Center is an expanded version of the Notifications dropdown that appears when you first click the Notifications icon in the main toolbar.
In addition to letting you launch the full Notifications Center with the View All link, the Notifications dropdown also provides the following features:
-
Click a notification to drill to details.
-
Mark all notifications as read.
-
Only show unread notifications.
These features all work in the same way as they do in the full Notification Center.
